Poster Machines for School Emergency Safety
Poster Machines for Emergency Communication: Design Principles
Clarity
Implementation
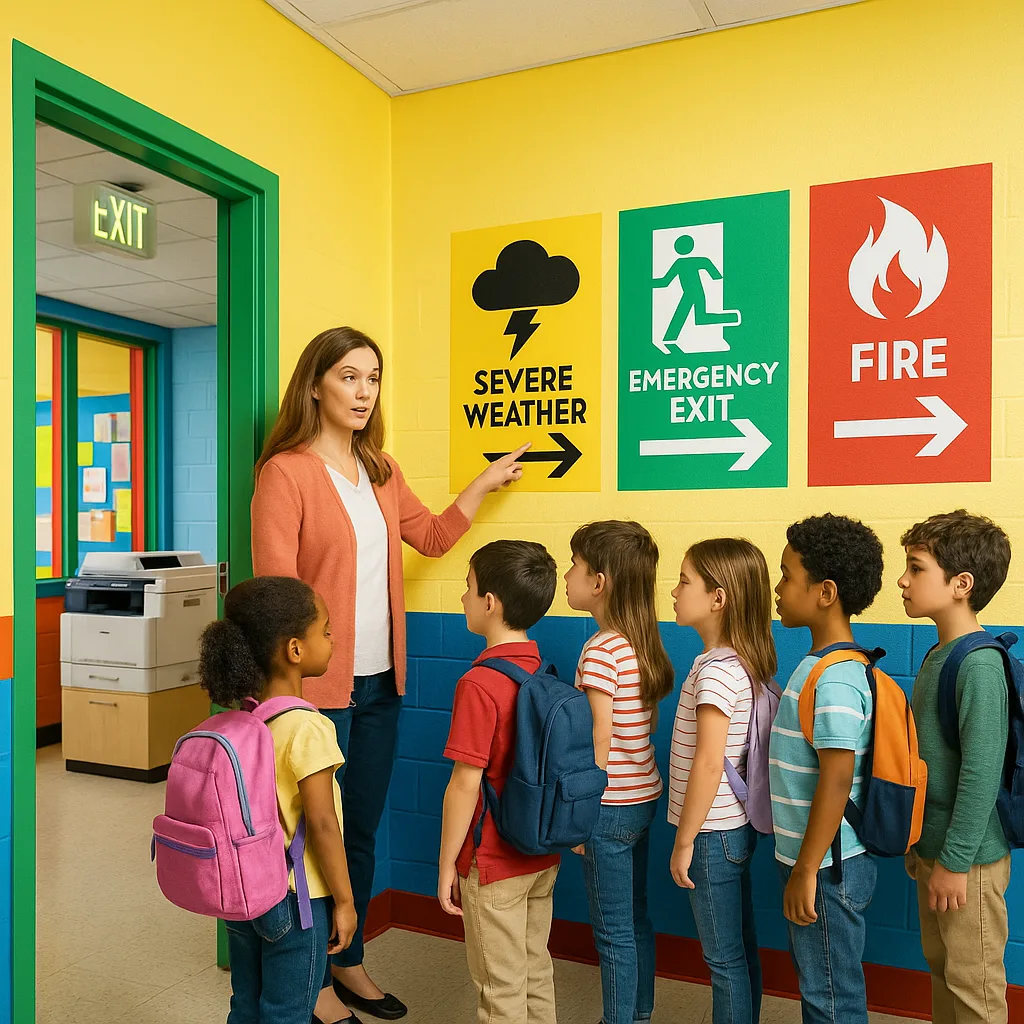
Use sans-serif fonts at 72pt minimum for titles. Limit text to 7 words per line. High contrast ratios ensure visibility in low light.Color Coding
Standards
Red for fire, yellow for weather, purple for lockdown. Consistent color usage builds instant recognition across all emergency types.Symbols
Universal Icons
International safety symbols transcend language barriers. Combine with minimal text for maximum comprehension across diverse populations.Placement
Strategic Locations
Eye level installation, 6 feet from doors, visible from all angles. Multiple copies ensure visibility regardless of crowd movement.
Real-World Implementation: Lessons from the Field
During our recent district-wide emergency drill, we discovered invaluable insights about effective poster deployment. First, posters placed at child eye-level (approximately 4 feet) showed 60% better retention rates among elementary students. Second, incorporating school-specific landmarks into evacuation maps increased navigation speed by 35%.
Our partnership with local fire departments revealed another crucial element: reflective materials. When we began using specialized reflective paper available through our media selection, emergency responders could locate gathering points even in smoke-filled corridors.
Teachers report that having poster printing capabilities on-site transforms their ability to customize safety materials. For instance, Mrs. Rodriguez created Spanish-English bilingual emergency cards within hours of enrolling several new ESL students. Similarly, our special education team developed simplified visual sequences for students with cognitive differences.
The financial impact proves equally compelling. Previously, we spent $3,000 annually on professionally printed safety materials that quickly became outdated. Now, with our in-house poster maker, we produce superior materials for under $500 yearly while maintaining complete control over updates and revisions.
Building Your School’s Visual Safety System
Creating an effective visual safety system requires thoughtful planning and the right tools. Start by conducting a comprehensive safety audit with your team, identifying all areas requiring emergency communication. Next, standardize your design elements—colors, fonts, and symbols—across all materials to build instant recognition.
Investment in quality poster printing equipment pays dividends beyond emergency preparedness. The same machines creating safety posters support countless educational initiatives throughout the year. Our comparison guide helps schools select equipment matching their specific needs and budgets.
Consider establishing a safety poster committee including teachers, administrators, support staff, and even student representatives. This diverse perspective ensures materials address all community needs while maintaining age-appropriate messaging. Schedule quarterly reviews to update procedures and refresh worn posters.
Training represents another critical component. Conduct regular walkthroughs with staff, explaining each poster’s purpose and proper usage during emergencies. Furthermore, incorporate poster familiarity into student safety lessons, transforming passive displays into active learning tools.
Document your successes and challenges. After each drill or actual emergency, gather feedback about poster effectiveness. Which designs worked best? Where did confusion arise? This continuous improvement cycle ensures your visual safety system evolves with your school’s needs.
Ready to Transform Your School’s Emergency Preparedness?
Every moment matters during an emergency. Equip your school with the tools to create clear, effective safety communications that guide your community through any crisis. Together, we can build safer learning environments where preparation meets peace of mind.