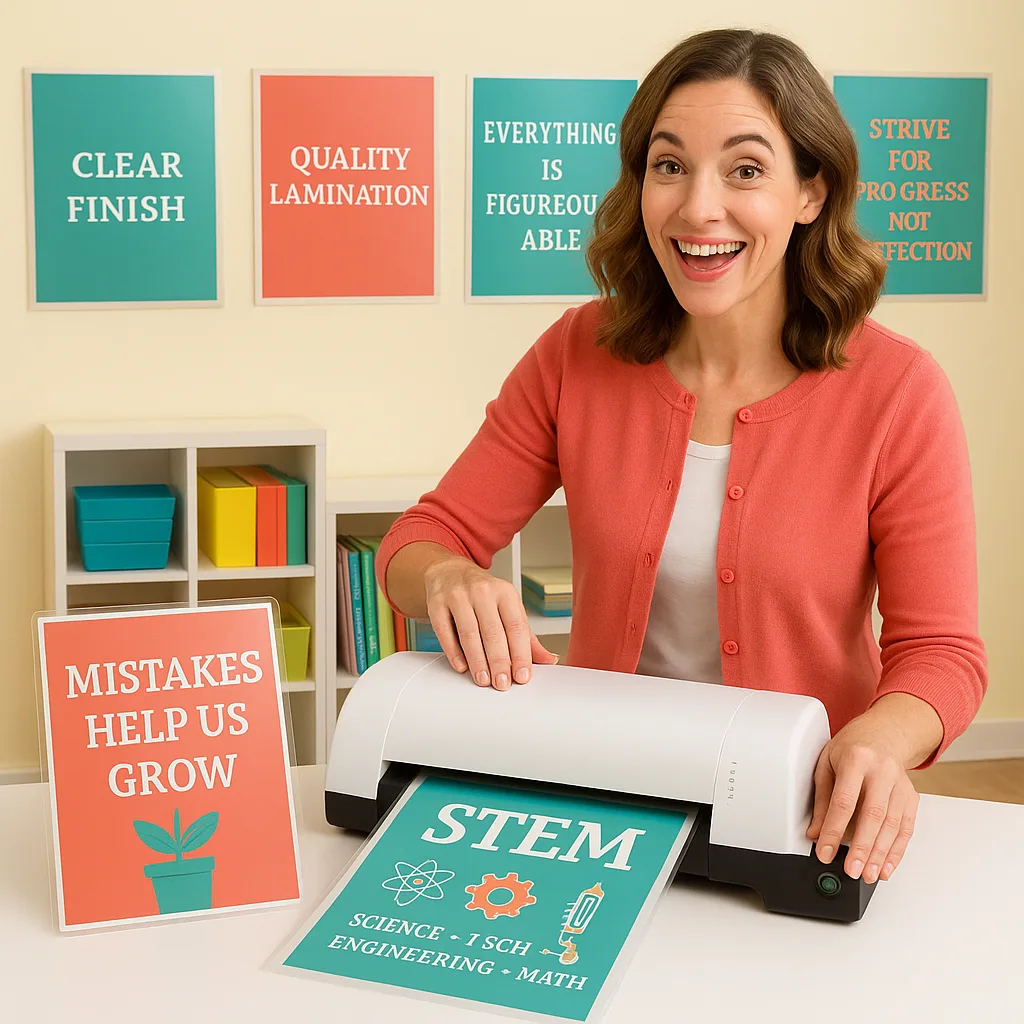
Teacher Poster Maker Lamination Science Guide
Ever wondered why some laminated posters look pristine after years of sticky fingers and accidental spills, while others bubble up faster than you can say “growth mindset”? The answer lies in understanding the science behind lamination. Whether you’re using our amazing Classroom Pro 24 Poster Maker Elite Package or exploring other teacher poster maker lamination techniques, mastering these fundamentals will transform your classroom materials from temporary to timeless.
,")
Teacher Poster Maker Lamination Techniques: Temperature Matters
Let’s talk temperature! Different materials require different heat settings, and getting this wrong is like trying to use the same lesson plan for kindergarteners and eighth-graders—it just won’t work. For standard poster paper from your teacher poster maker, aim for 270-290°F (132-143°C). But here’s where it gets interesting…
Photo paper and glossy materials need gentler treatment—think 250-265°F (121-129°C). Going too hot causes that dreaded silvering effect where your beautiful visuals look like they’re covered in aluminum foil. Meanwhile, thicker materials like our Heavyweight Coated Paper can handle the heat better, tolerating temperatures up to 300°F (149°C) without breaking a sweat.
Pressure Points: Finding Your Sweet Spot
Pressure in lamination is like classroom management—too little and things fall apart, too much and you create unnecessary stress. The ideal pressure depends on your material thickness and the type of adhesive you’re using.
Troubleshooting Common Lamination Challenges
Let’s address the elephant in the classroom—those frustrating lamination fails we’ve all experienced. Understanding the science helps us troubleshoot like pros!
Bubbles & Wrinkles
That annoying trapped air ruining your perfect posterThe Solution
Cause: Insufficient pressure or uneven feedFix: Increase pressure by 5-10 PSI and ensure smooth, consistent feeding. Pre-warm your laminator for 15 minutes before use.
Cloudy Finish
When your laminated poster looks foggyCrystal Clear Fix
Cause: Temperature too low for proper adhesive activationFix: Increase temperature by 10-15°F. Remember, cold laminating requires our Cold Laminator for best results!
Maximizing Longevity: Pro Preservation Tips
Want your laminated materials to outlast even the most enthusiastic student handling? Here’s my secret sauce for creating virtually indestructible educational resources!
UV-Resistant Laminates
Prevent fading with specialized films that block harmful rays
Sealed Edges
Leave 1/4″ border to create waterproof seal
Match Film Thickness
5mil for everyday use, 10mil for high-traffic areas
Ready to Master Your Lamination Game?
Understanding the science behind lamination transforms good teachers into preservation pros! Whether you’re protecting anchor charts, student work displays, or those beautiful posters from your poster maker machines, these techniques ensure your materials stay classroom-ready for years.
Remember, every perfectly laminated poster is an investment in your students’ learning environment. By mastering these teacher poster maker lamination techniques, you’re not just preserving paper—you’re creating lasting educational resources that inspire learning day after day. Keep experimenting, keep learning, and most importantly, keep making those classrooms amazing! 🌟