Poster Printer for Schools History Timelines
Hey there, fellow educators! Rachel here, and I’ve got to share something that’s been absolutely blowing up in my X feed lately. Remember those dull, institutional hallways we all trudge through daily? Well, what if I told you they could become immersive time-travel corridors where students physically journey through history? Using a poster printer for schools, you can create poster printer for schools history timelines that transform passive wall space into active learning environments.

Poster Printer for Schools History Timelines: Getting Started
Before diving into the creative process, let’s talk logistics. The beauty of using a school poster maker is the flexibility it gives you. Unlike ordering pre-made materials that arrive weeks later (and never quite match your vision), you can iterate, customize, and print on demand. This means your timeline can grow organically with your curriculum.
Start by measuring your available hallway space. Pro tip: Use the fire extinguisher locations as natural period breaks—they’re already visual markers students recognize! I typically plan for 30-40 feet of timeline per historical era, but even 10 feet can work wonders with creative design.
Design Templates That Actually Work
After three years of timeline experiments (and yes, some spectacular fails), I’ve developed templates that balance visual impact with educational substance. The key is creating a consistent visual language that students can decode intuitively.
Ancient Civilizations
Earth tones, hieroglyphic borders
American History
Red, white, blue with period fonts
World Wars Era
Sepia tones, newspaper styles
Making It Truly Interactive
Static displays are so 2019. Today’s students expect to touch, move, and manipulate their learning environment. Here’s how I’ve transformed our timelines into interactive experiences:
Moveable Event Cards: Print major events on separate cards that students can reposition. This works brilliantly for cause-and-effect discussions. Watching kids physically move “The Boston Tea Party” and debate where it belongs in relation to other events? Pure pedagogical gold.
Timeline Challenges: Create mystery cards with clues about historical figures or events. Students must place them correctly on the timeline. I use the Classroom Pro 24 Poster Maker to print these on cardstock for durability.
Student Contribution Zones: Designate sections where students can add their own research findings. Using clear protective sleeves, they can insert their mini-posters, creating an ever-evolving display.
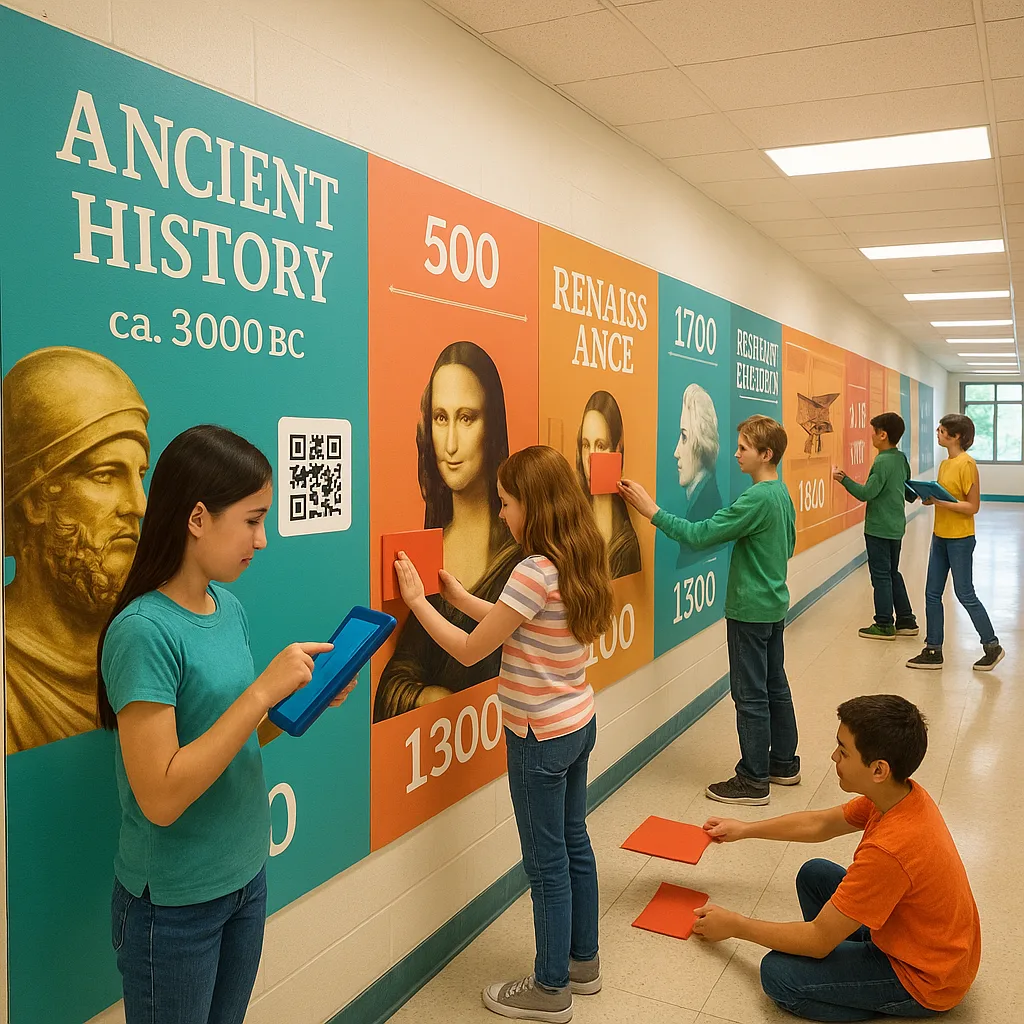
Front View
Interactive zones visibleBehind the Scenes
Our timelines include dedicated spaces for student additions, QR code scanning stations, and moveable elements that encourage hands-on exploration.Implementation Strategies That Spark Joy
Rolling out your timeline doesn’t have to be a solo mission. In fact, involving students in the creation process amplifies engagement exponentially. Here’s my tested roadmap:
Phase 1: Student Research Teams
Assign different groups to research specific time periods. They become the “experts” who help design their section. This distributed approach not only lightens your workload but creates immediate buy-in.
Phase 2: Design Workshops
Host after-school sessions where students use Canva or similar tools to create their timeline segments. The poster printer for schools makes it easy to test different versions quickly. No more waiting weeks for professional printing!
Phase 3: Installation Celebration
Turn the installation into an event. I invite other classes to witness the “unveiling” of each new section. Students present their portions, explaining the design choices and historical significance. It’s like a gallery opening, but cooler because it’s theirs.
Maintenance and Evolution
Unlike traditional bulletin boards that become background noise by October, interactive timelines stay fresh through constant evolution. Using banner printing machines with durable materials means your base timeline can last years while the interactive elements change with each unit or semester.
I’ve found that appointing “Timeline Ambassadors” from each class creates a sense of ownership. These students help maintain the display, update QR codes, and even give tours to younger grades. It’s become such a coveted role that I now have an application process!
The Amplify Poster Maker has been game-changing for quick updates. When breaking news connects to historical events (hello, teachable moments!), we can add contemporary connections within hours, not weeks.
Join the Movement
I’d love to see your timeline creations! Tag me on X with #HistoryWalks and let’s share ideas. Remember, every hallway is a potential portal to the past—we just need to unlock it with creativity, technology, and a really good poster printer for schools history timelines.
Keep making those walls talk, teach, and inspire!
Rachel ✨