Poster Machines Beyond Posters: 25 Lamination Hacks
Level Up Your Classroom with #LaminationMagic
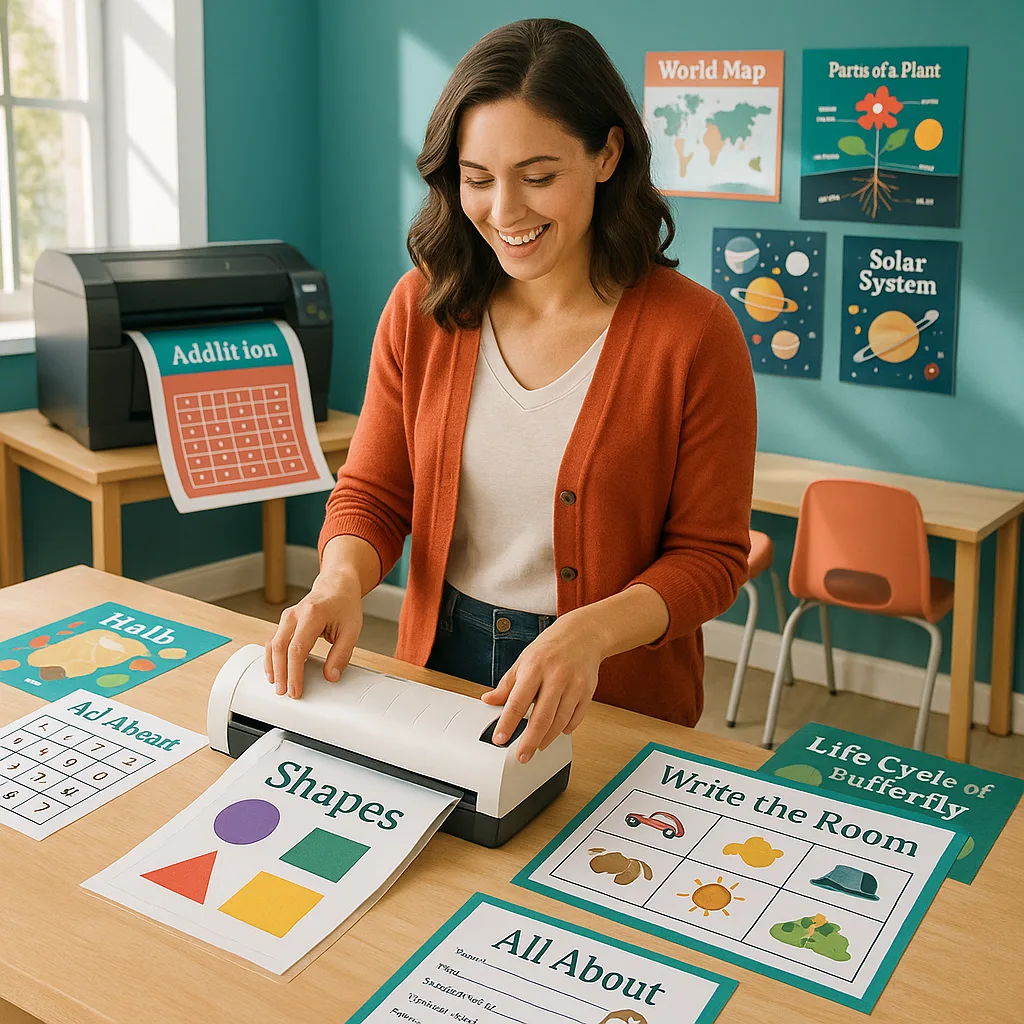
Hey teacher friends! 🌟 Ready to turn your humble laminator into the MVP of your classroom? I’ve been diving deep into the world of creative lamination, and let me tell you—your poster machines lamination station is about to become SO much more than just a poster protector!
25 Unexpected Lamination Projects That’ll Change Your Teaching Game
1. Reusable Worksheets
Transform any worksheet into a dry-erase activitySave Trees & Time!
Students use dry-erase markers to complete math problems, grammar exercises, or any worksheet—then wipe clean for the next class! Perfect for exit tickets and bell ringers.2. Interactive Anchor Charts
Make your charts work harderStudent Engagement+
Add velcro dots to laminated anchor charts so students can move pieces around, sort concepts, or build understanding kinesthetically. Great for word families and math operations!3. Choice Boards
Empower student choiceAgency & Autonomy
Create laminated choice boards for centers, early finisher activities, or project options. Students mark their choices with dry-erase markers or clips.
Game-Based Learning
7. Board Game Boards: Design custom board games aligned to your curriculum and laminate for durability. Think sight word races or math fact adventures!
8. Bingo Cards: Create reusable bingo cards for vocabulary, math facts, or any subject. Use dry-erase markers or counters.
9. Memory Match Cards: Laminate matching pairs for any concept—fractions to decimals, states to capitals, vocabulary to definitions.
10. Outdoor Scavenger Hunts: Weather-resistant laminated cards survive outdoor learning adventures and nature walks!
of teachers report increased student engagement with hands-on laminated materials
Transform Your Poster Machines Lamination Station Into a Learning Lab
Here’s where it gets really exciting! When you combine the power of poster machines with strategic lamination, you create resources that last for years. Let me share some next-level projects that’ll make you the teaching hero of your grade level:
Advanced Projects
15. Interactive Notebooks: Laminate foldables and interactive pieces that students can use repeatedly with dry-erase markers.
16. Math Manipulative Sets: Create class sets of fraction bars, place value charts, or geometric shapes that withstand daily use.
17. Writing Process Strips: Laminated editing marks, transition words, and writing checklists for peer review stations.
18. Science Lab Cards: Durable instruction cards for experiments and STEM challenges.
The Final Seven: Ultimate Lamination Innovations
19. Transparent overlays for guided reading focus
20. Individual goal tracking with moveable markers
21. Themed props for class photos & events
22. Evacuation maps & safety procedures
Step-by-Step Tutorial: Creating Reusable Learning Materials
Ready to create your first laminated masterpiece? Here’s my foolproof process:
Step 1: Design with Purpose
Start by creating your material using your poster maker. For best results, use bold colors and clear fonts. The variety of paper options available means you can choose the perfect base for your project.
Step 2: Print at the Right Size
Whether you’re using a Classroom Pro 24 Poster Maker Elite Package for smaller materials or going big with larger formats, ensure your design fits standard laminating pouches or rolls.
Step 3: Prep for Lamination
Cut your materials leaving a small border (about 1/4 inch) around each piece. This ensures a complete seal when laminating.
Step 4: Laminate Like a Pro
Feed materials slowly and steadily. For thicker items, use a carrier sheet to prevent jams. Our Cold Laminator is perfect for heat-sensitive materials!
Step 5: Finish with Flair
Round corners with a corner rounder for safety and durability. Add velcro dots, magnets, or grommets as needed for your specific use case.
Pro Tips from the #TeacherTrenches
After years of laminating everything in sight (guilty! 🙋♀️), here are my top tips for lamination success:
• Think Modular: Design materials that can be mixed and matched. Create base boards with velcro spots for interchangeable pieces.
• Color Code Everything: Use your poster machines to create materials in specific colors for different subjects or groups. Lamination preserves those vibrant hues!
• Storage Solutions: Invest in a good filing system. Label everything clearly and store flat when possible to prevent curling.
• Quality Matters: Using high-quality materials from the start (like those from your Campus Pro 44 Poster Maker Elite Package) means better results after lamination.
• Collaborate and Share: Team up with grade-level colleagues to create shared resources. One person designs math materials, another does literacy—everyone wins!
• Consider Your Learners: Some students benefit from matte lamination to reduce glare, while others love the wipeable surface of glossy finishes.
The Bottom Line: Your Laminator is a Teaching Superpower
So there you have it, teacher friends—25 ways to transform your humble laminator into the hardest-working tool in your classroom! When you combine these ideas with the amazing visuals you create using poster machines, you’re not just making materials; you’re building a sustainable, engaging learning environment that supports every type of learner.
Remember, every laminated resource is an investment in your teaching future. Those worksheets you laminate today? They’ll be saving you time (and trees!) for years to come. Plus, your students will love the interactive, hands-on nature of these materials.
Ready to take your classroom to the next level? Start small—pick one or two ideas from this list and give them a try. I promise, once you see how engaged your students are and how much easier your prep becomes, you’ll be laminating everything in sight (in the best way possible)!
Drop me a comment below or tag me on X with your lamination creations—I love seeing how creative teachers get with these ideas. Here’s to less prep, more engagement, and teaching materials that last!
Happy laminating! 🌟
#LaminationStation #TeacherHacks #SustainableTeaching #VisualLearning