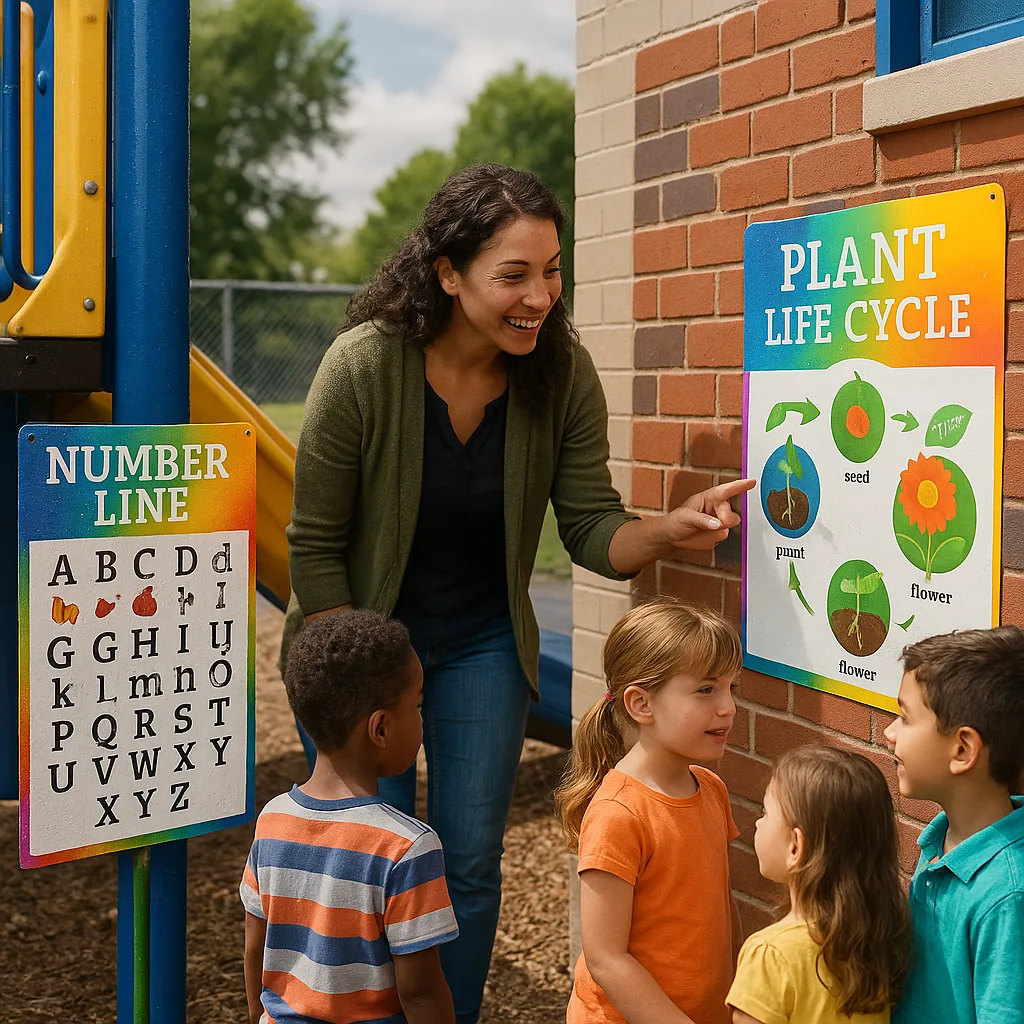
Poster Printer Machine for Outdoor Learning Stations
Hey there, outdoor education enthusiasts! 🌞 If you’re anything like me, you’ve probably watched helplessly as that gorgeous poster you spent hours creating turns into a soggy mess after the first rainstorm. Today, we’re diving deep into the world of weather-resistant educational materials, and I’m sharing all my secrets for creating outdoor learning stations that can handle whatever Mother Nature throws at them. With the right poster printer machine outdoor durability techniques, you’ll be creating displays that last all season long!

Understanding Poster Printer Machine Outdoor Durability
Let’s start with the basics. When we talk about outdoor durability for educational materials, we’re really looking at four key factors that determine whether your posters will survive the elements. First up is UV resistance – because nothing’s worse than watching your vibrant colors fade to pastels after a few weeks in the sun. Next, we need water resistance to handle everything from morning dew to afternoon downpours. Wind resistance matters too (especially if you’ve ever chased posters across the playground!). Finally, temperature flexibility ensures your materials won’t crack in the cold or warp in the heat.
The good news? Modern school poster printers have come a long way in helping us create weather-warrior materials. However, the printer is just the beginning of the story. The real magic happens when you combine the right printing technology with smart material choices and protective treatments. Furthermore, understanding these combinations can save you hundreds of dollars in replacement costs throughout the school year.
Here’s where I get really excited (yes, I’m that teacher who geeks out over paper types!). Through years of trial and error, I’ve discovered that not all poster materials are created equal when it comes to outdoor use. Let me break down your best options:
Outdoor Banner Vinyl: This is your heavy-hitter for extreme weather conditions. With its scrim reinforcement and weather-resistant coating, it laughs in the face of rain, snow, and blazing sun. Perfect for permanent installations like playground rules or sports facility signage.
Water-Resistant Poly Cloth: Think of this as the middle ground – more flexible than vinyl but tougher than paper. It’s tear-resistant and handles moisture beautifully, making it ideal for seasonal displays that need to look professional.
Heavyweight Coated Paper with Lamination: Don’t underestimate this combo! While paper alone won’t survive outdoors, when paired with quality lamination, it becomes surprisingly durable and cost-effective for short to medium-term displays.
Adhesive Vinyl: For smooth outdoor surfaces like windows or metal doors, adhesive vinyl is your best friend. It stays put through weather changes and removes cleanly when it’s time for a refresh.
Climate-Specific Material Performance Chart
Pro Tips from the Trenches
After years of creating outdoor displays, here are my top survival strategies:
• Double-seal edges: Run lamination 2 inches past poster edges for maximum protection
• Rounded corners: Sharp corners peel first – always round them!
• Grommets for wind: Install reinforced grommets every 12-18 inches
• Test first: Always create a small test piece before committing to full-size prints
• Seasonal rotation: Plan for 3-month display cycles to maintain freshness
Cost-Benefit Analysis: Making Smart Investments
Let’s get real about costs – because I know you’re working with a budget (aren’t we all?). The chart above shows actual numbers from my experience over the past three years. Here’s what these numbers tell us:
Initially, unprotected paper seems like the bargain option at just $8 per display. However, when you factor in monthly replacements due to weather damage, you’re looking at $96 annually – that’s 12 times your initial investment! On the flip side, investing in proper lamination and weather-resistant materials might cost more upfront, but the long-term savings are substantial.
For instance, our school switched to using the Campus Pro 44 Poster Maker Elite Package last year, which includes outdoor-rated inks and materials. Combined with our lamination station, we’ve cut our outdoor display replacement costs by 75%. That’s money we’ve redirected to more creative projects and learning materials!
Poster Printer Machine Outdoor Durability Best Practices
Ready to become a weather warrior yourself? Here’s your action plan for creating outdoor learning materials that truly last:
1. Start with the Right Equipment: Invest in school poster printers designed for versatility. Models like the Amplify Poster Maker offer both high-resolution printing and scanning capabilities, perfect for creating and archiving your outdoor designs.
2. Choose Your Battles: Not every outdoor display needs military-grade protection. Reserve your premium materials for permanent installations and use protected paper for seasonal displays.
3. Create a Weather Station: Set up a testing area where you can monitor how different materials perform in your specific climate. This real-world data is invaluable for future projects.
4. Document Everything: Keep samples and notes about what works (and what doesn’t). I maintain a “Weather Warrior Binder” with material samples, lamination tests, and longevity records.
5. Think Modular: Design displays that can be easily updated or replaced in sections rather than entire pieces. This approach saves both time and materials.
Your Weather Warrior Action Plan
Ready to transform your outdoor learning spaces? Here’s your step-by-step guide to success!
Assess Your Needs
Survey outdoor spaces and climate challenges
Choose Materials
Select appropriate media for each application
Test & Create
Make samples before full production
Install & Maintain
Follow best practices for longevity