From Digital Dreams to Classroom Reality!

Have you ever designed the perfect poster on your computer, only to have it print looking completely different? Trust me, I’ve been there! As a first-year teacher navigating the world of classroom visuals, I quickly learned that successful poster printer machine file optimization makes all the difference between a vibrant masterpiece and a muddy disappointment.

Why File Preparation Matters for Your Poster Printer Machine

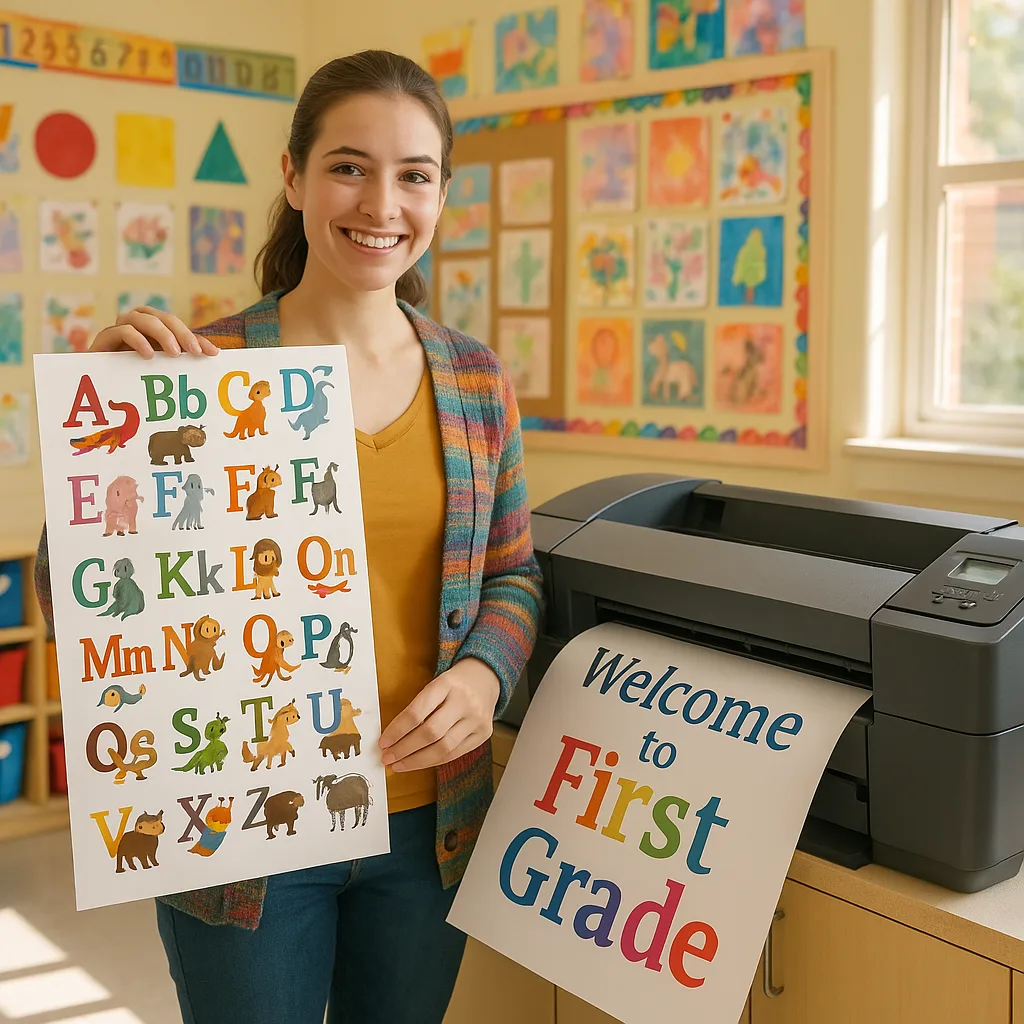
When I first started teaching, I thought creating posters was as simple as clicking “print.” Boy, was I wrong! After wasting countless sheets of paper (and probably a small forest’s worth), I discovered that each type of paper requires different digital settings. Whether you’re using a Campus Pro 24 Poster Maker or planning to upgrade to a larger model, understanding file formats is crucial.

Think of it this way: your digital file is like a recipe, and your poster printer is the oven. Just as you wouldn’t use the same temperature for cookies and bread, different paper types need different “recipes” to turn out perfectly. Today, I’m sharing everything I’ve learned through trial, error, and many late nights preparing classroom materials!

Resolution Requirements: The Foundation of Great Prints

Standard Poster Papers

Matte Paper: 150-200 DPI
Glossy Paper: 200-300 DPI
Canvas: 150 DPI
Design an infographic different DPI requirements for various paper types. Create a split-screen comparison three sections: left side shows pixelated/low-resolution versions, right side shows

Poster Printer Machine File Optimization for Different Paper Types

Let me share what I’ve discovered about preparing files for different paper types. Each one has its own personality, just like my first graders!

Coated Paper

Bright, vibrant colors with sharp details

Best Practices

• Use CMYK color mode
• Add 3mm bleed
• Export as PDF/X-1a
• Sharpen images slightly

Banner Vinyl

Durable outdoor materials

Special Settings

• Increase contrast by 10%
• Use weather-resistant profiles
• 5mm bleed minimum
• Bold fonts only

Photo Paper

Gallery-quality prints

Pro Settings

• RGB color space
• 300+ DPI essential
• Soft proofing recommended
• Calibrate monitor first

Color Profile Magic: Making Your Prints Pop!

Remember when I mentioned my pixelated banner? Well, resolution was only half the problem. The other culprit? Wrong color profiles! Here’s what I’ve learned about making colors sing on different papers:

For Matte Finishes:

Matte papers absorb more ink, which can make colors appear duller. To compensate, I always boost saturation by 10-15% and increase contrast slightly. Think of it like adding extra seasoning to a dish – matte paper needs that extra flavor!

For Glossy Finishes:

Glossy papers reflect light beautifully but can oversaturate colors. I’ve found that reducing saturation by 5-10% prevents that “neon” look. Also, darker colors tend to appear even darker on glossy, so I lighten shadows just a touch.

CMYK

Maximum ink coverage for vibrant prints without oversaturation

Bleed Settings: No More White Edges!

Nothing screams “amateur hour” like white edges on a poster that should be edge-to-edge color. Trust me, I learned this during parent-teacher night when my beautiful welcome poster had unsightly white borders. Here’s how to avoid my mistake:

Campus Pro 24 Poster Maker Advanced Package with ink cartridges, poster paper rolls, and a vibrant educational poster

The Campus Pro 24 Advanced Package handles bleeds beautifully!

Standard Bleed Requirements:

  • Standard posters: 3mm (0.125 inches)
  • Banner printing machine projects: 5mm (0.2 inches)
  • Small classroom signs: 2mm (0.08 inches)
  • Photo prints: 3mm minimum
  • Vinyl banners: 6mm for outdoor use

My Favorite File Preparation Workflow

Sarah’s Step-by-Step Process

  • Design at 300 DPI in the correct dimensions
  • Convert to CMYK for print projects

  • Add appropriate bleeds based on paper type

  • Save as PDF/X-1a for best compatibility

  • Do a test print on plain paper first

  • Adjust and refine based on test results

This workflow has saved me countless hours and materials. Plus, my classroom looks amazing with professional-quality posters!

Software Recommendations for Poster Printer Machine File Optimization

While I’m no tech wizard, I’ve found some user-friendly software that makes file preparation a breeze. Here are my go-to tools for creating print-ready files:

Quick Tip Box!

Most poster design software that comes with school poster makers (like the Amplify Poster Maker) includes templates specifically optimized for different paper types. These templates already have the correct resolution, color profiles, and bleed settings built in – making your job so much easier!

0min
Average time saved per poster using templates

Ready to Transform Your Classroom Visuals?

Learning proper file preparation for your poster printer machine might seem overwhelming at first, but trust me – it becomes second nature! Every perfectly printed poster that brightens my classroom reminds me why taking the time to optimize files is worth it.

Whether you’re creating reading corner displays, math manipulative posters, or celebration banners for your students’ achievements, understanding these technical basics will help you produce professional-quality prints every time. Your classroom (and your budget) will thank you!

Remember, every master teacher started as a beginner! Keep experimenting, learning, and most importantly, having fun with your poster printer. Your students will love the vibrant, engaging classroom environment you create. Happy printing!

Share This Story, Choose Your Platform!