Poster Maker Machine 3D Learning Projects
Why Poster Maker Machine 3D Displays Work Magic in First Grade
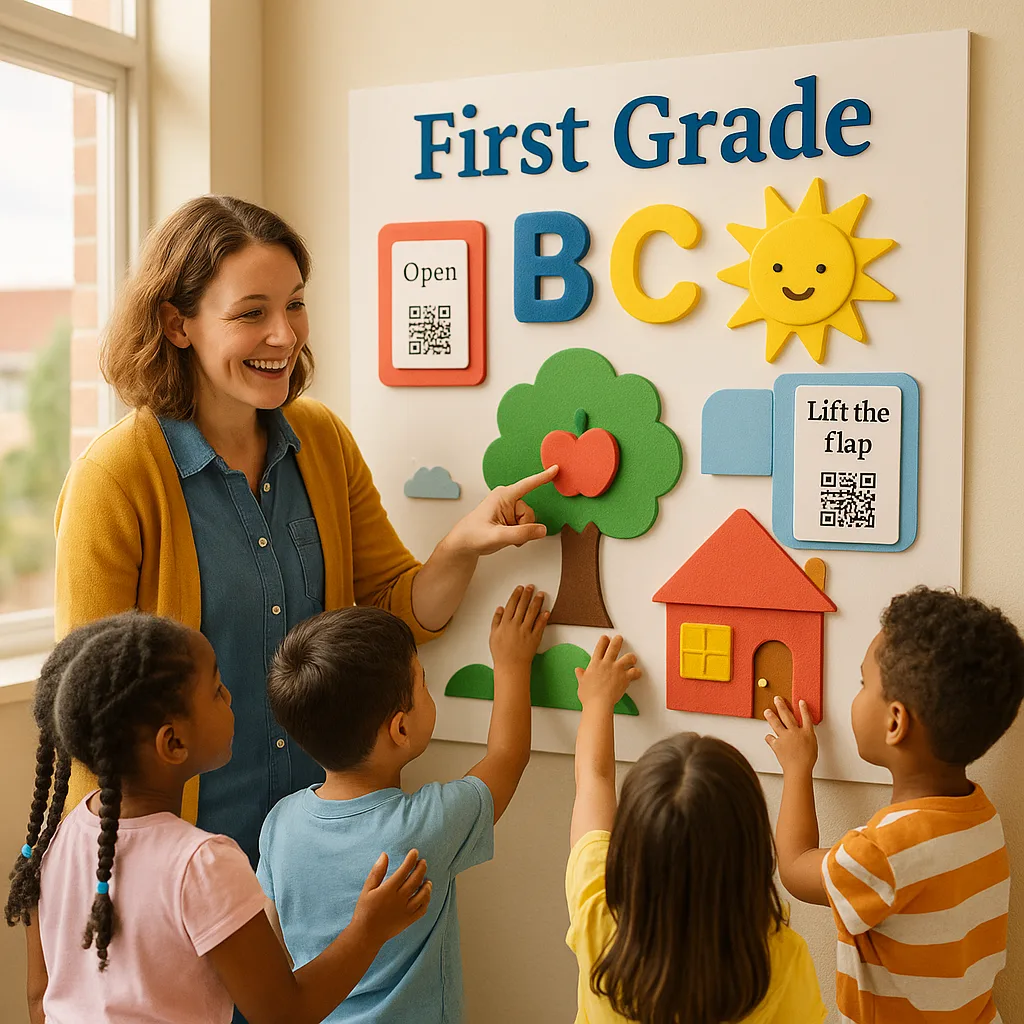
Let me share what happened last Tuesday. During our morning meeting, Emma (one of my quieter students) practically bounced out of her seat when she discovered she could lift the flaps on our new weather chart. “Mrs. Nguyen! The clouds move!” she exclaimed. That moment captured exactly why combining our poster printing machine with tactile elements has revolutionized how my students interact with classroom materials.
Research shows that 6 and 7-year-olds learn best through multiple senses. Therefore, when we add dimensional elements to our posters, we’re not just decorating – we’re building bridges between abstract concepts and concrete understanding. For instance, our number line isn’t just printed numbers anymore. Now it features removable foam pieces that students can physically move while solving problems.
Essential Tools for Creating Poster Maker Machine 3D Displays
Before diving into projects, let me share my must-have supply list. After months of experimentation (and yes, a few craft disasters!), I’ve found these materials work best with posters from our school’s poster printing machine:

For attachment methods, I’ve discovered that removable mounting putty works wonders for temporary displays. Meanwhile, hot glue (applied by adults) creates permanent dimensional features. Double-sided foam tape adds instant depth without bulk.
The paper types you choose matter too! I prefer matte paper for displays with lots of handling – it shows fewer fingerprints. Glossy works beautifully for “look but don’t touch” displays.
Project 1: Interactive Word Family Houses
Start by printing colorful house shapes using your poster printing machine. Next, cut doors that open to reveal word family endings (-at, -ig, -op). Then, create removable roof tiles with different beginning sounds. Students physically build words by switching out the tiles!
Project 2: Lift-the-Flap Animal Habitats
Design habitat backgrounds on your poster maker machine. Subsequently, add flaps made from cardstock that reveal hidden animals underneath. For extra engagement, include QR codes that play animal sounds when scanned. My students beg to visit this station during choice time!
Adding QR Codes and Audio Elements
Technology doesn’t have to be complicated! Here’s my simple system for adding audio to posters:
First, record short audio clips (I use my phone’s voice recorder). Then, upload to a free QR code generator. Print QR codes on sticker paper from your poster maker machine. Finally, attach codes to relevant poster sections. Students love scanning to hear me read instructions, their classmates sharing facts, or even parent volunteers speaking in different languages!
Recently, we created a “Feelings Check-In” poster where each emotion has a QR code linking to calming strategies recorded by our school counselor. Similarly, our Spanish vocabulary wall now speaks! Each word features a code that pronounces it correctly.
QR Magic
Scan to hear!Easy Steps
1. Record audio2. Generate QR
3. Print & stick
4. Watch kids explore!
My favorite discovery this year? Transforming poster displays into interactive learning stations! Our reading corner now features a “Story Elements” poster with removable pieces. Students physically sort characters, settings, and events into pockets after each read-aloud.
For science, we built a weather station using our poster printing machine as the base. Movable arrows indicate temperature, removable cloud shapes show conditions, and a real thermometer extends from the poster for hands-on measurement!
Making It Work in Your Classroom
Ready to transform your flat posters into interactive learning experiences? Start small with one project and watch the magic happen!

Organization Tip:
Store 3D elements in labeled zip bags attached to poster backs

Engagement Hack:
Let students help design and create 3D elements

Durability Secret:
Laminate base posters before adding 3D features