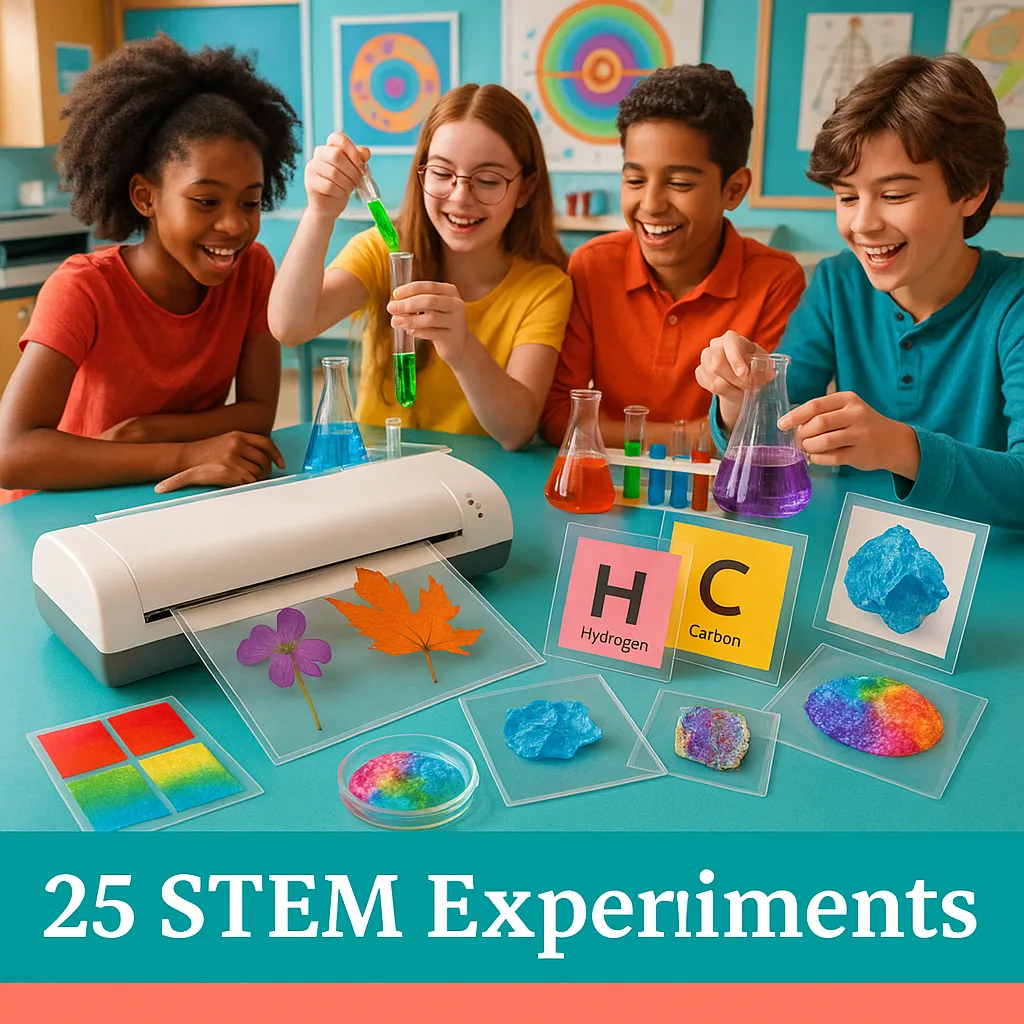
Lamination Labs: 25 STEM Experiments for Schools
The Science Behind the Seal: Why Lamination = Learning Gold
Think lamination is just about preserving posters? Think again! When you combine thermal technology with inquiry-based learning, magic happens. Let’s explore how your school’s laminator becomes a gateway to understanding polymers, heat transfer, and material preservation—all while creating resources that last all year long.
Getting Started: Essential Equipment for Your Lamination Lab
Before we dive into the experiments, let’s talk tech! You’ll need a quality laminator (bonus points if you’ve got a Cold Laminator for heat-sensitive materials). Plus, having a poster maker machine for schools means you can create custom experiment templates on demand. Pro tip: Print your lab sheets on durable paper from your school’s poster printer, then laminate for year-round use!
, scientific")
Botanical Preservation Projects (11-15)
11. Leaf Anatomy Preservers: Create permanent botanical specimens for microscopy studies.
12. Flower Pressing 2.0: Document plant life cycles with sequential laminated samples.
13. Seed Germination Viewers: Build clear germination chambers between laminating sheets.
14. Photosynthesis Color Wheels: Preserve chlorophyll extraction results for comparison.
15. Plant Cell Models: Layer transparent materials to create 3D cell representations.
Chemistry in Action (16-20)
16. pH Testing Stations: Laminate universal indicator charts for reusable testing.
17. Crystal Growth Documentation: Create time-lapse displays of crystal formation.
18. Chromatography Preservers: Capture and display separation results permanently.
19. Chemical Reaction Timelines: Document color changes in sequential laminated panels.
20. Periodic Table Manipulatives: Build interactive element cards with properties.
Physics Phenomena (21-25)
21. Magnetism Mappers: Laminate iron filing patterns to study magnetic fields.
22. Light Refraction Sheets: Create prism effect demonstrations with clear materials.
23. Circuit Board Templates: Design reusable circuit-building surfaces.
24. Wave Pattern Preservers: Capture interference patterns in permanent displays.
25. Pressure Point Detectors: Build laminated pressure-sensitive teaching tools.
Pro Tips from the Poster Machine Maker STEM Experiments Trenches
After running these experiments for three years (and yes, dealing with the occasional laminator jam during state testing week 😅), here’s what I’ve learned:
Temperature Matters: Different materials require different heat settings. Start low and work your way up—especially with delicate botanical specimens. Your Amplify Poster Maker can create temperature reference charts that you can, wait for it, laminate!
Batch Production Saves Time: Use your poster maker machine for schools to print multiple experiment templates at once. I typically prep 30 copies of each lab sheet at the start of the year. Then laminate in batches during planning periods.
Quality = Longevity: Invest in good laminating pouches. The cheap ones will bubble, peel, and generally make your beautiful STEM materials look sad by October. Trust me on this one.
Student Ownership: Let kids design their own experiment recording sheets using design software, print on the poster printer, then laminate. When they create it, they own it—engagement through the roof!
Budget-Friendly Implementation: Making Every Dollar Count
Let’s talk real numbers, because I know you’re working with that shoestring budget (aren’t we all?). Here’s how to maximize your STEM lamination lab without breaking the bank:
Initial Investment: A quality poster maker machine for schools pays for itself within months when you stop outsourcing. The Campus Pro 24 Poster Maker is perfect for smaller classrooms and comes with everything you need to start creating.
Supply Strategy: Buy laminating pouches in bulk during back-to-school sales. Stock up on Coated Poster Paper for printing durable experiment templates. Pro tip: Apply for mini-grants specifically for STEM supplies—lamination materials totally qualify!
Resource Sharing: Partner with other grade levels to share materials. My 7th-grade botanical specimens become the 6th-grade life science reference collection next year. Collaboration = cost savings!
Final Thoughts: Science Is Everywhere (Even in Your Laminator!)
As I wrap up this mega-guide, I can’t help but smile thinking about how a simple laminator has sparked such incredible learning moments in my classroom. From the kid who discovered that different plastics have different melting points (oops, but what a teachable moment!) to the group that created an award-winning science fair project on material preservation—these experiments have transformed how we think about everyday classroom tools.
Remember, the best learning happens when students can touch, test, and take ownership of their discoveries. Your poster machine maker STEM experiments don’t need to be perfect—they need to be engaging. Start with one or two activities, see what resonates with your students, and build from there.
And hey, when admin walks in and sees your students literally preserving their learning for future classes? That’s the kind of visible impact that gets noticed (and maybe scores you that materials budget increase you’ve been hoping for 😉).
Ready to join the lamination revolution? Tag me on X with your experiment results—I’d love to see your students’ discoveries in action! Until next time, keep making, keep experimenting, and keep those laminators running!
Happy teaching, innovators! 🚀✨