Banner Printing Machines for Outdoor Learning
Why Outdoor Learning Spaces Need Special Attention
I remember the excitement on my students’ faces when we first installed our outdoor classroom three years ago. However, that enthusiasm quickly dimmed when our beautiful posters became weathered and illegible within weeks. This experience taught me that creating effective outdoor learning materials requires specialized equipment and knowledge that goes far beyond standard classroom printing.
Outdoor educational displays face unique challenges that indoor posters never encounter. Rain, wind, UV exposure, and temperature fluctuations can destroy traditional paper posters in days. Additionally, outdoor learning environments need materials that are not only durable but also vibrant enough to capture attention in bright sunlight and engaging enough to compete with nature’s distractions.
The solution lies in understanding how to select the right materials, utilize proper printing technology, and apply protective measures that ensure your educational displays remain crisp and colorful throughout every season. Modern banner printing machines specifically designed for schools now make it possible to create professional-grade outdoor signage in-house, saving both time and money while ensuring consistent quality.
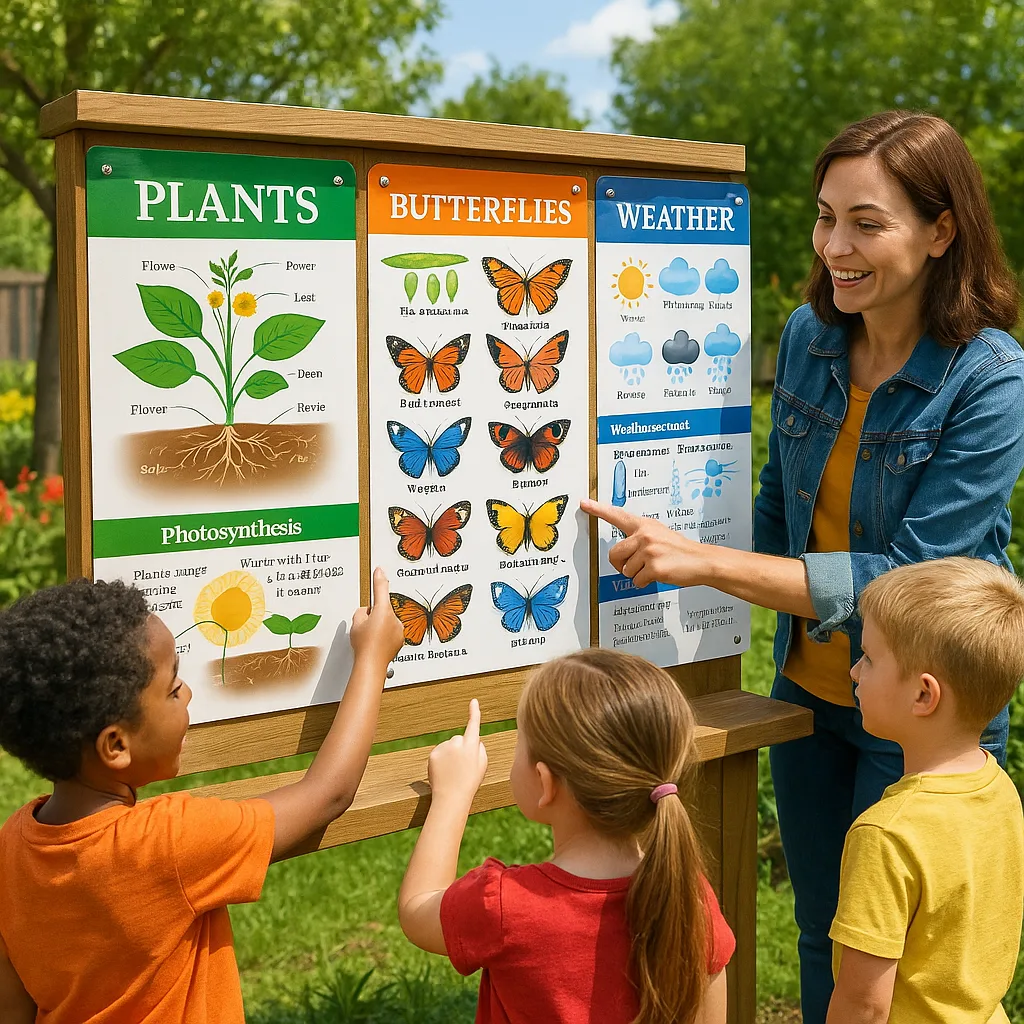
Essential Materials for Weatherproof Posters
Selecting appropriate materials forms the foundation of any successful outdoor poster project. Through years of trial and error, I’ve discovered that not all printing materials are created equal when it comes to outdoor durability. Let me share what works best for different outdoor applications.
Vinyl Banner Material stands as the gold standard for outdoor educational displays. This material resists water, UV rays, and tearing while maintaining vibrant colors for years. Our school uses 13-ounce vinyl for permanent installations and 10-ounce vinyl for seasonal displays. The Outdoor Banner Vinyl available through School Poster Makers has transformed how we approach outdoor learning stations.
Waterproof Synthetic Papers offer another excellent option, particularly for displays that need frequent updating. These materials feel like paper but possess the durability of plastic. They work beautifully for plant identification cards in school gardens or rotating lesson displays at playground stations.
Adhesive Vinyl Options prove invaluable for creating weatherproof labels and smaller educational signs. The Adhesive Wall and Floor Signage Vinyl adheres securely to various surfaces while withstanding outdoor conditions. We’ve used this material to create durable pathway markers and equipment labels that survive playground wear and tear.

Mastering Banner Printing Machines for Outdoor Education
Print Technology
Why It Matters
Pigment-based inks resist fading and water damage far better than dye-based alternatives. The best printer for posters in outdoor settings uses UV-resistant pigment inks that maintain vibrancy for 3-5 years.Resolution Settings
Optimal Quality
For outdoor viewing distances, 720-1440 dpi provides the perfect balance between quality and efficiency. Higher resolutions waste ink without improving visibility from typical viewing distances.Media Handling
Professional Results
Modern banner printing machines automatically adjust heat and pressure settings based on material thickness, ensuring consistent results whether printing on vinyl, fabric, or synthetic paper.Lamination Techniques That Last
Proper lamination serves as the armor that protects your outdoor educational displays from nature’s elements. After experimenting with various lamination methods over the years, I’ve developed a systematic approach that ensures maximum longevity for outdoor posters.
Cold Lamination remains my go-to method for most outdoor applications. The Cold Laminator in our media center has become indispensable for creating weatherproof materials quickly and safely. Unlike hot lamination, cold lamination doesn’t require heat, making it perfect for heat-sensitive materials and safer for student involvement in the creation process.
The key to successful outdoor lamination lies in selecting the right film thickness. For temporary displays lasting 3-6 months, 3-mil laminate provides adequate protection. However, permanent installations require 5-mil or thicker laminate to withstand years of exposure. Additionally, UV-protective laminate films add an extra layer of defense against sun damage, preventing colors from fading prematurely.
Edge sealing represents another critical step often overlooked in outdoor lamination. Water infiltration at the edges causes more poster failures than any other factor. Therefore, I always leave a half-inch border of laminate around all edges and use a roller to ensure complete adhesion. Some teachers in our district have started using liquid laminate sealers on the edges for extra protection in particularly wet climates.
Design Considerations for Maximum Impact
Creating effective outdoor educational posters requires a different design approach than indoor materials. Outdoor environments present unique visibility challenges that demand bold, strategic design choices.
Color Selection plays a crucial role in outdoor poster effectiveness. High-contrast color combinations ensure readability from distances and in varying light conditions. I’ve found that dark text on light backgrounds works best for shaded areas, while light text on dark backgrounds excels in sunny locations. Avoid pastels and subtle color gradients that disappear in bright sunlight.
Font Choices for outdoor posters should prioritize readability over style. Sans-serif fonts like Arial Bold or Helvetica Heavy maintain clarity at distances. As a rule, I use fonts at least 50% larger than I would for indoor posters. For playground signs viewed from 20 feet away, body text should be minimum 72-point font size.
Installation Best Practices
Proper installation ensures your weatherproof posters perform as intended throughout their lifespan. Through trial and error, I’ve developed installation techniques that maximize durability while maintaining aesthetics.
Mounting Methods vary based on location and expected weather conditions. For permanent installations, I recommend using weather-treated wooden frames with UV-resistant plexiglass covers. This combination provides ultimate protection while allowing easy poster updates. The frames should include drainage holes to prevent water accumulation and ventilation gaps to reduce condensation.
Temporary Display Solutions work well for seasonal educational content. Heavy-duty zip ties secure laminated posters to chain-link fences effectively, while grommeted corners allow for rope or bungee cord attachment to posts or trees. Always reinforce grommet areas with extra laminate or vinyl patches to prevent tearing in high winds.
Height and Angle Considerations significantly impact both visibility and weather resistance. Install posters at slight downward angles to encourage water runoff and reduce direct rain impact. For elementary students, center posters at 3-4 feet height; for middle school, 4-5 feet works best. Consider creating duplicate posters at different heights for mixed-age outdoor learning spaces.
Comparison of poster durability over time with different protection methods