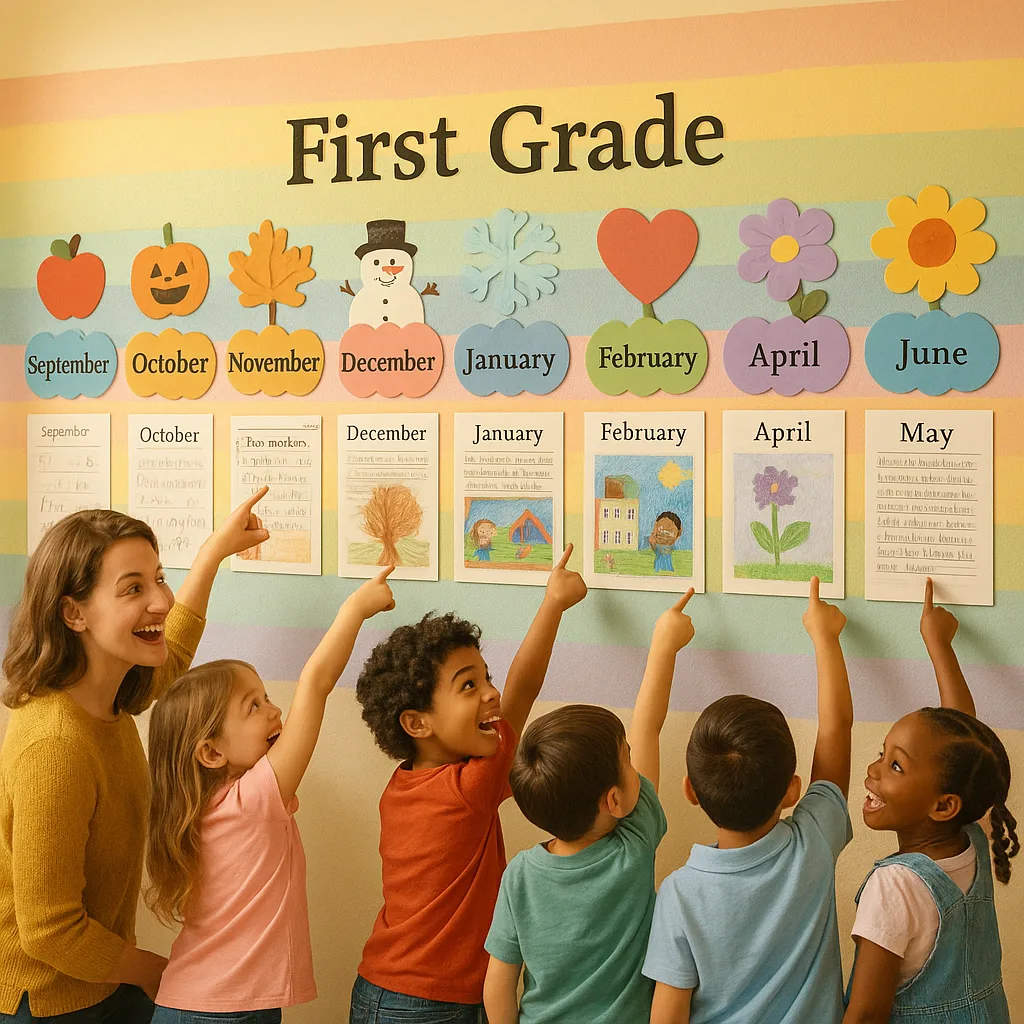
Banner Printing Machines for Student Progress Timelines
Picture this: It’s September, and little Emma can barely write her name. Fast forward to June, and she’s crafting full sentences with confidence! But here’s the thing – without visual documentation, both Emma and her parents might forget just how incredible that journey was. That’s where our poster timeline system comes in.
Using Amplify Poster Maker, I create monthly snapshot posters that capture each student’s progress. Furthermore, these aren’t just decorations – they’re powerful tools for building confidence and celebrating growth over perfection.

Setting Up Your Banner Printing Machines for Progress Portfolios
When I first started, I was overwhelmed by the poster printer price concerns. However, after calculating how much we spent on store-bought charts that never quite fit our needs, the investment made perfect sense! Moreover, having our own machine meant unlimited creativity.
The setup process was surprisingly simple. First, I designated a corner of our classroom as the “Progress Portfolio Station.” Next, I organized monthly themes and created templates for consistency. Additionally, I involved students in the design process, making them active participants in documenting their growth.
Monthly Snapshot Ideas That Work
Let me share my favorite monthly poster themes that have transformed how we track progress:
September: “Where We Begin” – Students create handprints, write their names, and draw self-portraits. Subsequently, we add their favorite book titles and counting abilities.
October: “Growing Like Pumpkins” – We measure reading levels using pumpkin-themed charts. Meanwhile, math skills bloom on vine-shaped number lines.
November: “Thankful for Learning” – Students write what they’re grateful they’ve learned. Therefore, we see writing skills develop naturally!
December-May themes continue… Each month brings new ways to showcase growth using our Campus Pro 44 Poster Maker Advanced Package.
Design Tips for Effective Progress Posters
Creating impactful progress posters isn’t just about pretty designs – it’s about meaningful documentation. First, I learned to focus on growth rather than achievement levels. For instance, instead of highlighting that Jake reads at “Level C,” we celebrate that he moved from recognizing 10 sight words to 50!
Here’s my tried-and-true design formula:
1. Consistent Layout: Each monthly poster follows the same template, making progress easy to track
2. Student Work Samples: Include actual handwriting samples, not just descriptions
3. Visual Progress Bars: Use colorful charts that students can understand
4. Photo Documentation: Add pictures of students engaged in learning activities
5. Celebration Corners: Dedicate space for “Wow Moments” and breakthroughs
The paper and media types we use make a huge difference too. Consequently, I opt for glossy paper for portfolio pieces parents will keep, and matte for classroom displays.
Making Banner Printing Machines for Progress Portfolios Work for You
When considering the poster printer price for your classroom, remember you’re investing in years of documentation tools. Additionally, our total cost of ownership guide helps you understand the long-term value.
I’ve discovered that involving students in the printing process adds another layer of engagement. They love watching their progress come to life on our Classroom Pro 24 Poster Maker Elite Package. Furthermore, it teaches them about technology and design!
Traditional Methods
With Poster Makers
Limited to pre-made charts, expensive outsourcing, delayed timeline updates, generic designs that don’t match student needsUnlimited custom designs, instant printing capability, real-time progress updates, personalized for each student’s journey, cost-effective long-term solution
Implementation Timeline and Best Practices
Starting your visual progress portfolio system doesn’t have to be overwhelming. Therefore, I’ve created a simple timeline that any teacher can follow:
Month 1: Setup and Introduction
– Choose your banner printing machine (consider funding sources available)
– Create portfolio folders for each student
– Design your first “baseline” poster template
– Introduce the concept to students and parents
Month 2-3: Building Momentum
– Establish monthly poster creation routines
– Involve students in selecting work samples
– Start simple with 2-3 progress indicators per poster
Month 4+: Full Implementation
– Expand to comprehensive monthly snapshots
– Add student reflections and goal-setting
– Create hallway displays celebrating growth
The beauty of using our poster makers lies in their flexibility. Subsequently, you can adjust designs based on what works for your unique classroom dynamic.
Parent and Student Reactions
The response to our visual progress portfolios has been overwhelming! Parents love seeing concrete evidence of growth, especially during conferences. Instead of abstract grades, they see their child’s handwriting evolution, expanding vocabulary, and mathematical thinking development.
One parent told me, “I was in tears seeing Sarah’s September writing compared to May. Additionally, I never realized how much she’d grown until I saw it all together!” These portfolios have transformed parent-teacher conferences from potentially stressful meetings into celebrations of achievement.
Students themselves become more motivated when they see their progress visualized. Furthermore, shy learners who might not recognize their own growth suddenly see themselves as capable and improving. The quality of our printers versus Canon and Epson ensures these memories last for years.

