Best Poster Maker for Schools Art Shows
I’ll be honest – when our principal first suggested hosting a student art show, I felt that familiar flutter of “new teacher panic.” How could I possibly transform crayon drawings and finger paintings into something gallery-worthy? But here’s what I learned: with the right tools (hello, Classroom Pro 24 Poster Maker Advanced Package!) and a little creativity, you can create an experience that will have parents tearing up and students beaming with pride.
This journey taught me that every classroom can become a gallery, and every student deserves to see their work displayed professionally. So grab your coffee (or in my case, my third cup ☕), and let’s dive into how you can host an unforgettable student art show!
The Journey Begins: Curating Your Student Art Collection
Alright, confession time – I used to think “curating” was something only fancy museum people did. Turns out, it’s just a fancy word for “picking the good stuff!” 😄 Here’s how I tackled selecting artwork for our show:
1. Every Artist Gets Featured
This was non-negotiable for me. Whether it was Jayden’s abstract “dinosaur in a tornado” or Sophia’s meticulous rainbow patterns, every child deserved their moment. I aimed for 2-3 pieces per student.
2. Variety is Your Friend
Mix different mediums – watercolors, crayons, markers, collages. It keeps the show visually interesting and celebrates different artistic styles.
3. Theme It Up!
We organized our show around “Seasons of Creativity,” grouping fall leaves with winter snowflakes, spring flowers with summer suns. It gave the exhibition a cohesive feel without being restrictive.
of parents said seeing their child’s art professionally displayed boosted their child’s confidence!

Printing Like a Pro (Even When You’re Not!)
Okay, real talk – the first time I used our poster printer, I was terrified. What if I broke it? What if I wasted expensive paper? But you know what? Modern school poster makers are surprisingly user-friendly! Here’s my foolproof process:
Step 1: Size It Right
Standard sizes work best: 11x17, 18x24, or 24x36 for larger piecesPro Tip!
For first grade art, 11×17 is usually perfect – big enough to impress, small enough to frame affordably!Step 2: Paper Matters
Choose based on the original medium and desired finishMy Favorite!
Satin Photo Paper gives that perfect gallery finish without too much glare!Step 3: Color Check
Always do a test print on regular paper firstGame Changer!
This saved me SO much expensive paper and helped me perfect the color settings!Creating the Gallery Experience
Here’s where the magic really happens! Transforming your classroom or hallway into a gallery doesn’t require a huge budget – just some creativity and strategic planning. Let me share what worked for us:
Lighting is Everything! 🌟
We borrowed clip-on spotlights from the drama department (genius move, if I do say so myself). Positioned above each display, they made even stick figure drawings look museum-worthy.
Create Flow with Signage
Using our best poster printer for schools, I created directional arrows, welcome signs, and section headers. Fancy fonts + colorful borders = instant sophistication!
The Power of Labels
Every piece got a professional label with the artist’s name, title, and a brief “artist statement” (yes, even “This is my dog. He likes pizza.” counts!).
Our opening night was… well, it was chaos, but the beautiful kind! Here’s what made it special:
Student Artists as Docents 👨🎨
Each child stood by their artwork for 10 minutes, explaining their creative process. Watching six-year-olds seriously discuss their “artistic vision” was priceless!
The Red Carpet Treatment
We literally rolled out a red plastic tablecloth as a “red carpet.” Kids dressed up, parents took photos, and everyone felt like celebrities.
Interactive Elements
We set up a “visitor’s book” where guests could leave comments for the artists. The kids treasured these notes more than any grade I could give!
Amazing turnout! Nearly every family attended our first art show!


Making It Sustainable: Year-Round Gallery Ideas
After our first show’s success, I couldn’t let this be a one-time thing! Here’s how we’ve kept the gallery momentum going:
Monthly Rotating Exhibits 🔄
Each month features a different theme or medium. January was “Winter Wonders,” February showcased “Kindness in Color.” Having the best poster maker for schools means we can quickly print and rotate displays without breaking the budget.
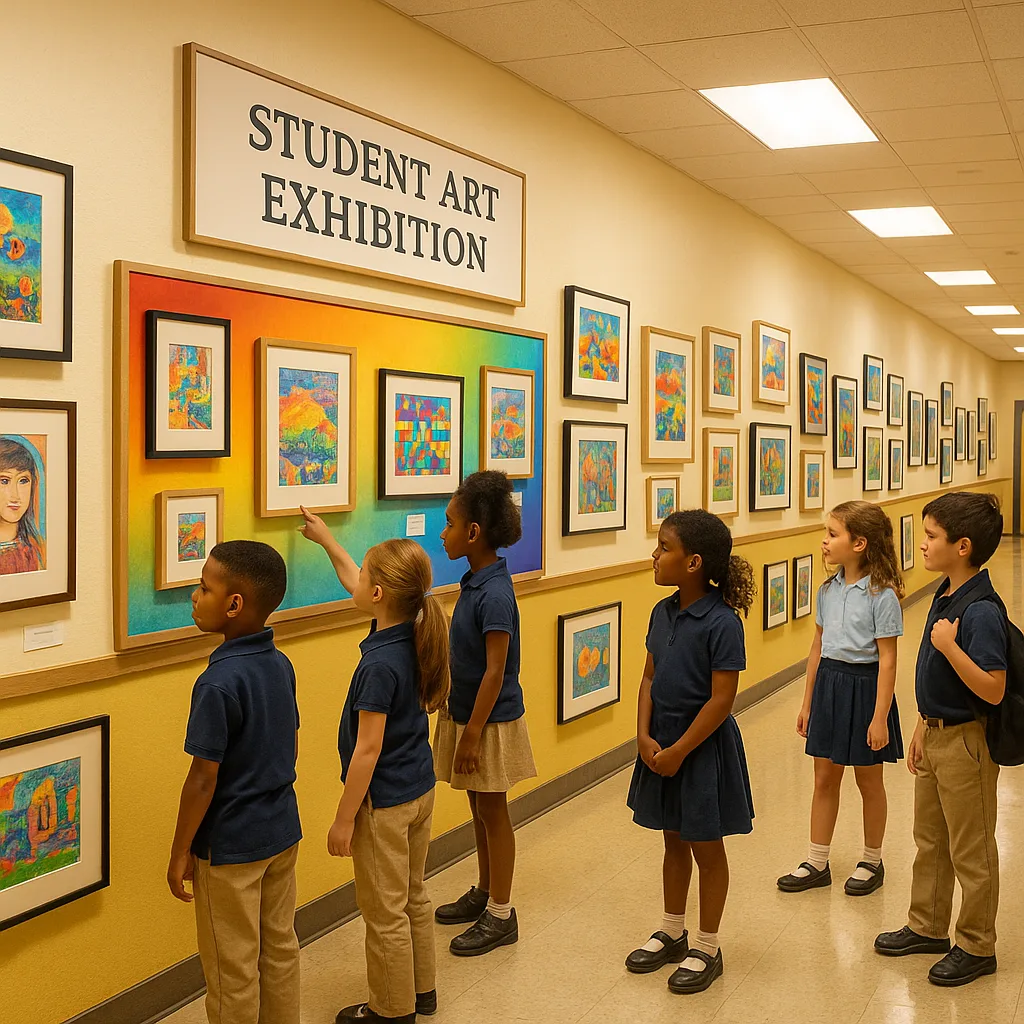
Hallway Gallery Walks
Every Friday, we do a 10-minute gallery walk before dismissal. Students practice being both artists and respectful viewers. It’s become a cherished routine!
Digital Extensions 💻
We created a virtual gallery on our class website. QR codes next to physical displays link to artist interviews (adorable 30-second videos of kids explaining their work).
Community Connections
Local businesses now request student art for their walls! The Outdoor Banner Vinyl has been perfect for weather-resistant displays at the farmer’s market.
Lessons Learned (The Hard Way!)
Because sharing our mistakes helps everyone! Here are my biggest “oops” moments and how to avoid them: