Best Poster Printer for Schools Outdoor Weather Protection
 and one unprotected (faded, water damaged,")
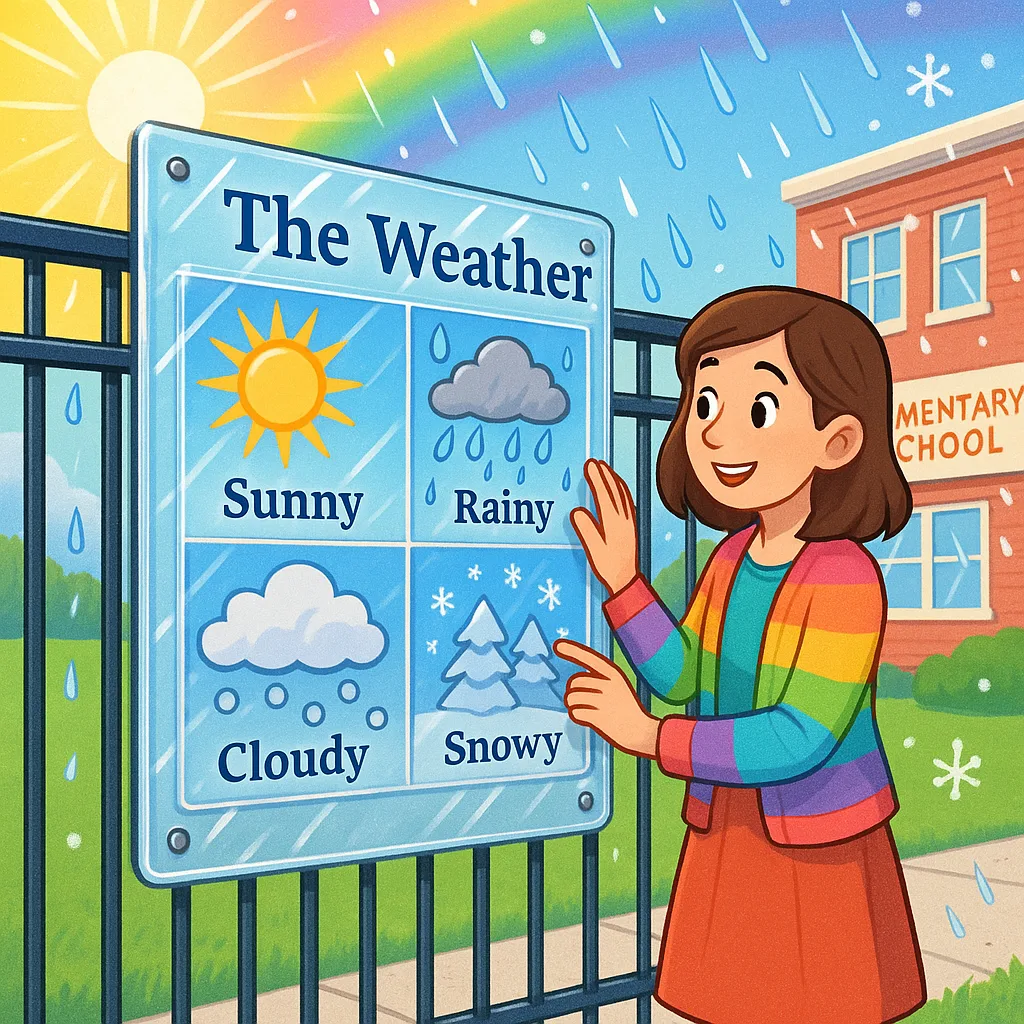
Best Poster Printer for Schools Outdoor Learning Adventures
Let me paint you a picture: It’s October, and I excitedly hung my first outdoor learning station posters around our school’s nature trail. By November, they looked like sad, soggy napkins clinging to the posts. That’s when I realized that creating outdoor educational materials requires more than just a good poster printing machine – it demands strategic protection planning!
Through trial and error (mostly error at first!), I’ve discovered that successful outdoor displays start with understanding your local weather patterns. Here in Arizona, we battle intense UV rays that can fade even the brightest posters within weeks. Meanwhile, our monsoon season brings unexpected downpours that can turn unprotected paper into papier-mâché art projects. Whether you’re dealing with coastal humidity, mountain snow, or desert heat, choosing the right laminating approach makes all the difference.
The journey begins with selecting materials specifically designed for outdoor durability. Our Outdoor Banner Vinyl has become my go-to for permanent outdoor installations. Unlike standard poster paper, this vinyl material already has weather-resistant properties that provide a solid foundation for additional protection.
Understanding Laminating Thickness Options
One of my biggest “aha!” moments came when I discovered that laminating thickness isn’t just about making posters feel sturdy – it’s about creating armor against the elements. Let me break down what I’ve learned about choosing the right thickness for different outdoor applications.
3 Mil Laminate
Light-duty protection for covered areasBest For:
Perfect for posters under covered walkways, protected bulletin boards, or seasonal displays that won’t face direct weather exposure. This thickness provides basic water resistance and UV protection while remaining flexible enough for easy handling.5 Mil Laminate
Moderate weather exposureBest For:
My go-to choice for most outdoor applications! This thickness handles rain, wind, and sun like a champ. Ideal for playground signs, outdoor learning station materials, and event posters that need to survive a full season.7-10 Mil Laminate
Extreme weather conditionsBest For:
Heavy-duty protection for permanent installations. These thicker laminates stand up to harsh winters, scorching summers, and everything in between. Perfect for wayfinding signs, permanent outdoor classroom markers, and year-round displays.Edge Sealing: Your Secret Weapon Against Weather
Here’s something I learned the hard way: even the best laminating job can fail if water seeps in through the edges. After watching several posters delaminate from the corners inward, I became obsessed with proper edge sealing techniques.
The most reliable method I’ve found involves leaving a clear border of at least 1/4 inch around your printed material when laminating. This creates a watertight seal that prevents moisture from creeping between the layers. For extra protection on displays that will face heavy rain or snow, I double-seal the edges using our Cold Laminator with overlapping passes.
Another game-changer has been rounded corners. Sharp corners are weak points where lamination tends to lift first. By trimming corners with a corner rounder after laminating, I’ve dramatically increased the lifespan of our outdoor displays. It’s such a simple step, but it makes a huge difference!
Proven Mounting Strategies
Grommet System: For fence-mounted displays or banners, I install grommets every 12-18 inches around the perimeter. This distributes wind stress evenly and prevents tearing. Pro tip: reinforce grommet areas with clear packing tape on the back before punching holes!
Foam Board Mounting: For semi-permanent displays, I laminate posters directly onto weather-resistant foam boards using our Foam Core Boards. The rigid backing prevents flapping in the wind and adds an extra barrier against moisture.
Frame Systems: For high-traffic areas or premium displays, investing in outdoor-rated frames with gasket seals provides museum-quality protection. While more expensive upfront, these systems can protect posters for years with minimal maintenance.
Adhesive Mounting: Our Adhesive Wall and Floor Signage Vinyl works brilliantly for smooth outdoor surfaces. The key is ensuring the surface is completely clean and dry during application.

Essential Mounting Supplies
The Campus Pro 24 Poster Maker delivers high-quality, vibrant prints for schools.
Seasonal Maintenance Tips
Just like our classroom displays need occasional touch-ups, outdoor posters benefit from regular TLC. I’ve developed a simple seasonal maintenance routine that keeps our outdoor learning materials looking fresh and extends their usability.
Spring Cleaning: After winter weather, I inspect all outdoor displays for lifting edges, water damage, or mounting issues. A gentle cleaning with diluted dish soap removes pollen and grime that can accelerate deterioration.
Summer Shield: Before the intense summer sun, I apply a UV protectant spray to laminated surfaces. It’s like sunscreen for your posters! This extra layer of protection has doubled the life of our playground signs.
Fall Preparation: As leaves begin falling, I check that all mounting points are secure for windier weather ahead. This is also when I add extra edge sealing to any posters showing early signs of delamination.
Winter Warriors: Before the first freeze, I ensure no water can pool on horizontal surfaces where ice expansion could damage lamination. Strategic placement under eaves or adding slight angles prevents this issue.
Real-World Success Stories
Let me share some victories from our outdoor display adventures! Our school garden identification signs have survived two full growing seasons thanks to 7-mil lamination and aluminum stake mounting. The science department’s weather station posters, protected with UV-resistant laminate and mounted in waterproof frames, still look as vibrant as the day we installed them 18 months ago.
My proudest achievement? Our outdoor reading nook signage has endured Arizona’s extreme temperature swings, monsoon rains, and countless small hands. By using heavy-duty lamination with reinforced edges and secure grommet mounting, these motivational reading posters continue inspiring young readers in our outdoor classroom space.
The key to these successes has been matching protection methods to specific environmental challenges. What works for a covered walkway display might not survive next to the playground equipment. By thinking strategically about placement, protection, and maintenance, we’ve created outdoor learning environments that truly stand the test of time.
Remember, every outdoor display is a learning opportunity – both for your students and for perfecting your weatherproofing techniques. Don’t be discouraged if your first attempts aren’t perfect. With each season, you’ll discover new tricks and refine your approach. Before you know it, you’ll be the go-to expert for outdoor display advice in your school!
Happy creating, and may all your outdoor posters weather the storms ahead! 🌈