Best Printer for Posters Hidden Costs
Breaking Down the True Cost of DIY Posters
Let me share what happened when I tracked every expense for creating posters at home last semester. Between trips to the office supply store, countless ink cartridge replacements, and the hours spent designing and printing, I was spending far more than I realized. Most teachers don’t factor in the hidden costs that make DIY poster creation surprisingly expensive.
The Ink Cartridge Money Pit
Here’s what shocked me most: home printer ink costs more per ounce than champagne! When I calculated my expenses, I was spending about $3.50 per poster just on ink. That’s before considering paper, lamination, or the inevitable reprints when little hands accidentally tear them. Compare this to professional poster maker machines for schools, which cost pennies per print.
The Quality Gap You Can’t Ignore
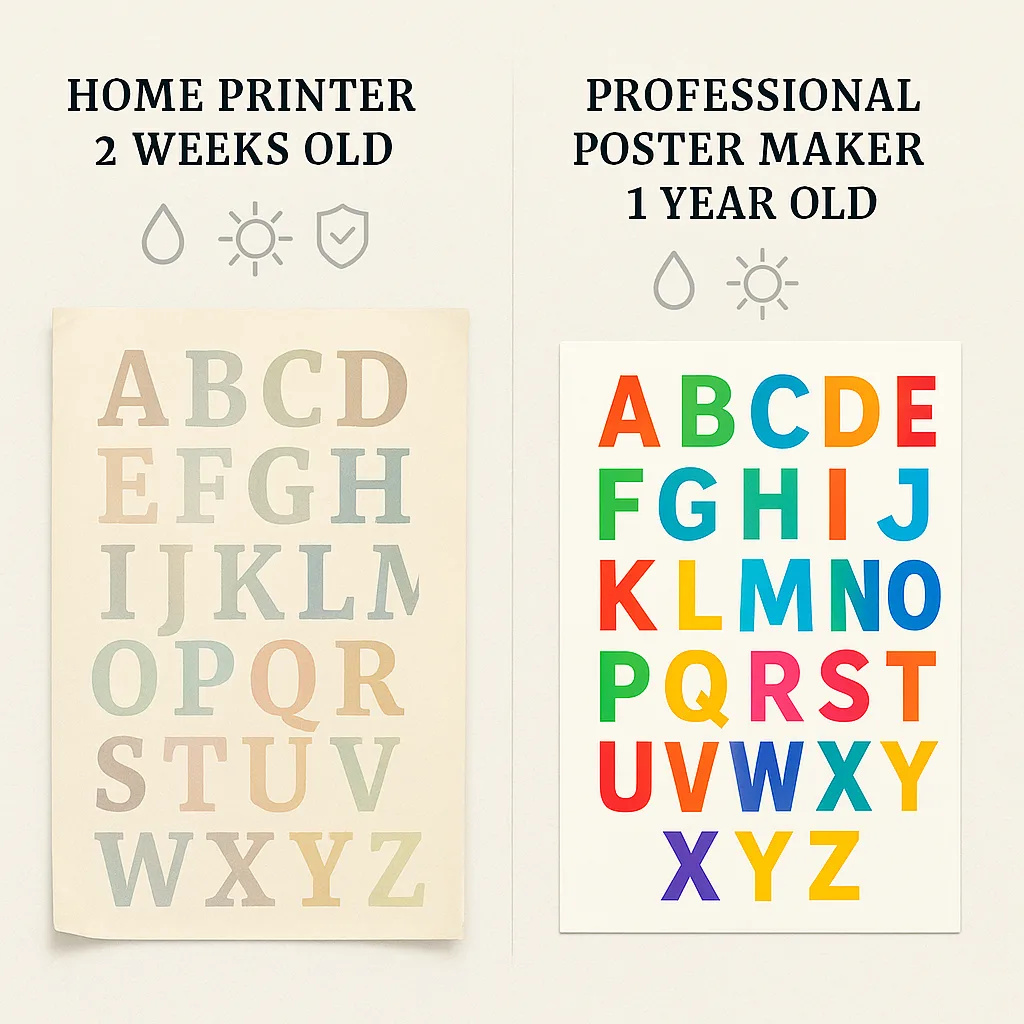
Remember that beautiful alphabet poster I spent three hours creating last fall? Within two weeks, the colors had faded, and the edges were curling despite lamination. Meanwhile, posters from professional poster maker machines for schools in my colleague’s room still looked brand new after an entire year. The difference isn’t just aesthetic—it affects how students engage with the material.

Professional poster makers use pigment-based inks that resist fading and water damage. They print on heavier paper stocks that don’t curl or tear easily. Most importantly, they produce consistent, vibrant colors that capture and hold student attention—something my home printer simply couldn’t match, no matter how expensive the ink cartridges.
Real Teachers, Real Savings Stories
When my grade-level team invested in a Campus Pro 36 Poster Maker Advanced Package, we split the cost four ways. Within three months, we’d already saved money compared to our individual DIY expenses. But the real transformation went beyond dollars and cents.
Breaking Down the Investment
I know what you’re thinking: “But the upfront cost!” Trust me, I had the same concern. Then I discovered the flexible payment plans and calculated the long-term savings. Many schools use various funding sources to make the investment manageable. When you factor in the durability and quality of professional posters, the best printer for posters actually pays for itself within the first year.
Break-even point: Month 8. After that, it’s all savings!
Final Thoughts from One Teacher to Another
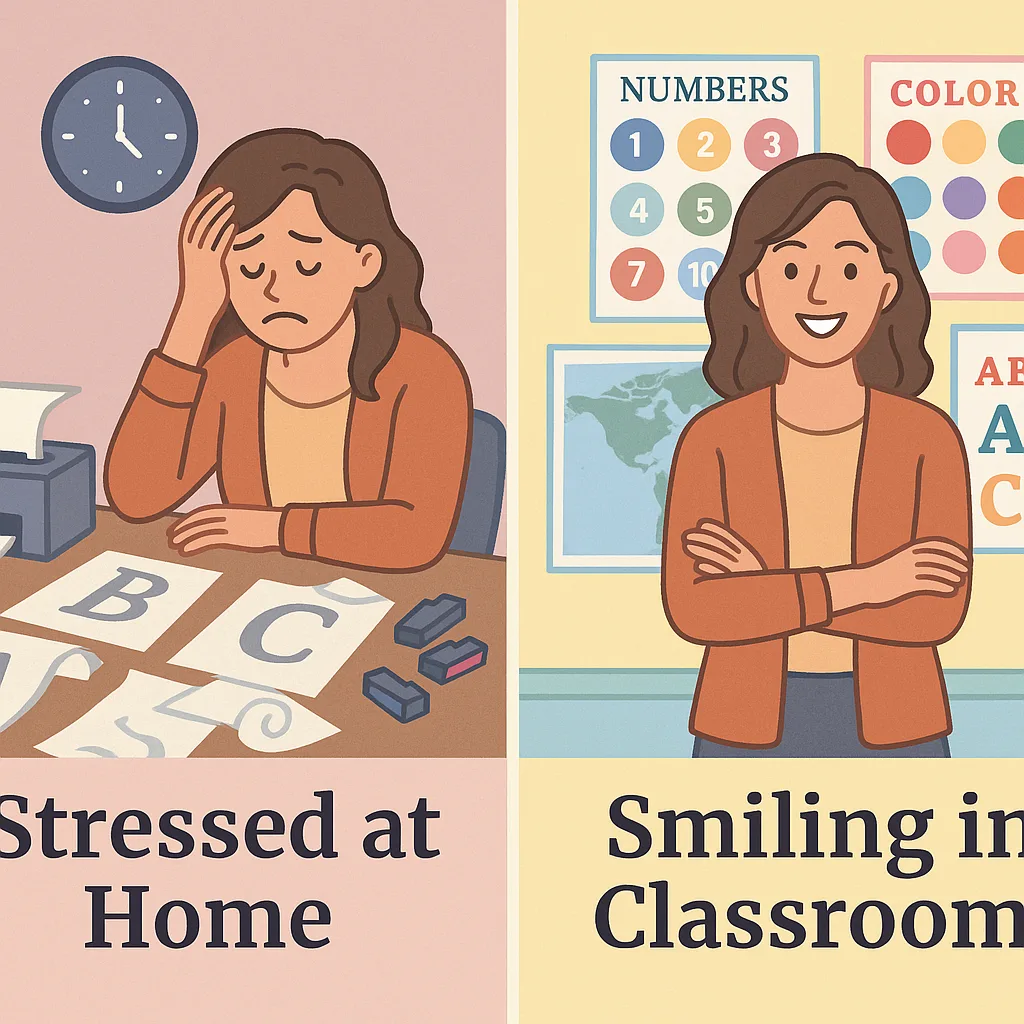
Looking back, I wish I’d made the switch sooner. Those Sunday evenings I spent fighting with my home printer? I now use them for meal prep and family time. The money I save on ink cartridges? It goes toward actual classroom supplies my students need. Most importantly, my classroom walls showcase professional-quality visuals that truly enhance learning.
If you’re still on the fence about investing in a best printer for posters, I encourage you to do what I did: track your actual DIY costs for just one month. Include everything—ink, paper, lamination, failed prints, and your time. Then compare that to the cost per poster from a professional machine. The numbers will speak for themselves.
Remember, investing in quality tools isn’t just about saving money—it’s about investing in your teaching practice and your students’ learning experience. When we have the right resources, we can focus on what matters most: inspiring young minds to learn and grow.

