Mindful Transitions with School Poster Maker Machine
Why School Poster Maker Machine Breathing Stations Work
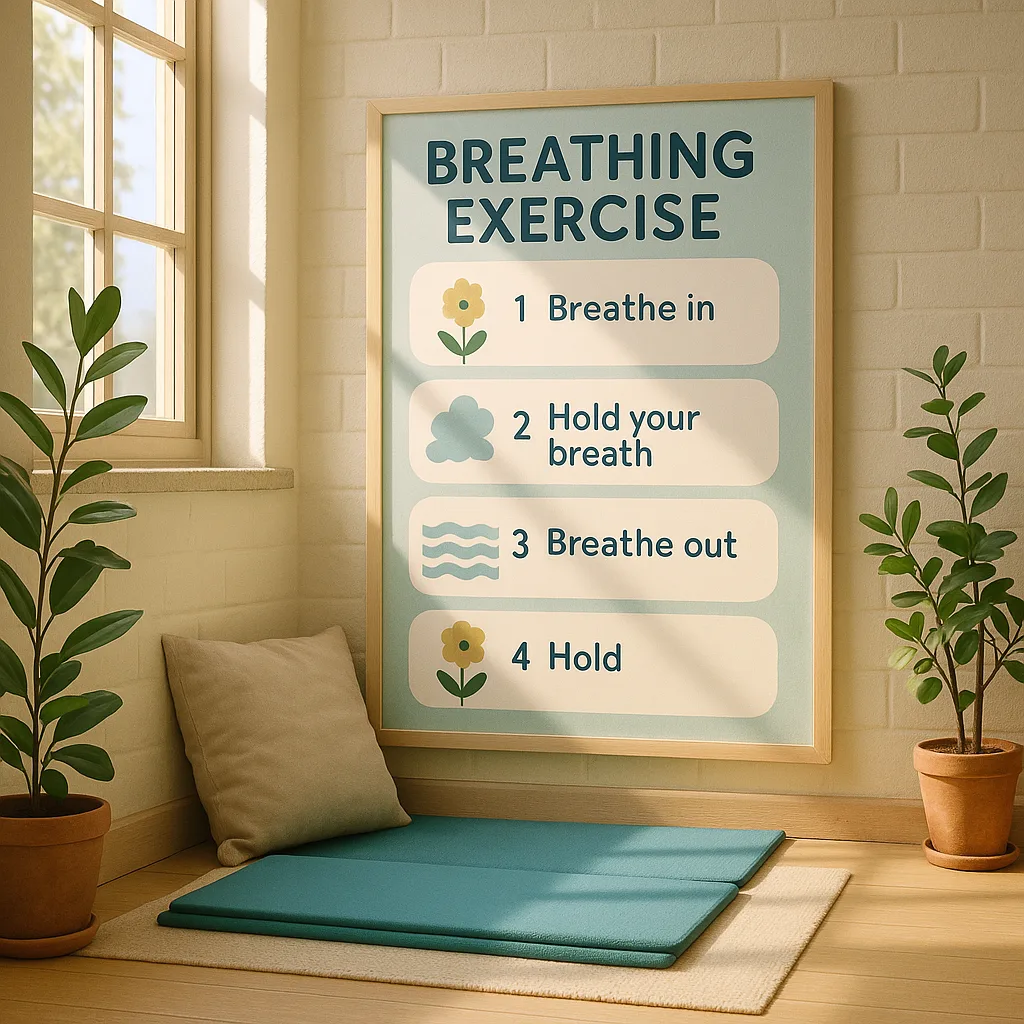
Visual breathing guides serve multiple purposes in our classrooms. First, they provide a consistent, non-verbal cue that helps students independently manage their emotions. Second, they create predictable routines that reduce anxiety during transitions. Finally, when created with a Campus Pro 36 Poster Maker Advanced Package, these stations become vibrant, engaging focal points that students actually want to use.
When we use a poster maker machine to create these visual aids, we’re not just decorating our walls—we’re building essential self-regulation tools. The large, colorful format makes instructions clear and accessible, even from across the room.
of teachers report improved transition times after implementing visual breathing stations
Creating Your School Poster Maker Machine Breathing Stations
Now that we understand the “why” and “what,” let’s dive into the “how.” Creating effective breathing stations requires thoughtful design and strategic placement. Here’s my step-by-step approach:
1. Design with Clarity in Mind
When using your poster maker machine, prioritize visual simplicity. Use large, bold numbers for counting exercises and arrows to indicate breathing direction. The Amplify Poster Maker offers exceptional color accuracy, ensuring your breathing guides are both beautiful and functional.
2. Choose Calming Color Palettes
Research indicates that blues and greens have naturally calming effects on the nervous system. However, don’t be afraid to incorporate warmer tones for energy-boosting exercises. Consider creating a series of posters with different color schemes for various emotional states.
3. Include Visual Metaphors
Abstract breathing instructions can confuse younger students. Instead, use relatable imagery: waves for ocean breathing, shapes expanding and contracting for belly breathing, or nature scenes for grounding exercises.
4. Make It Interactive
Add elements that encourage engagement. QR codes linking to guided audio, texture samples for sensory integration, or moveable parts can transform a static poster into an interactive experience.
Strategic Placement for Maximum Impact
Where you place your breathing stations matters just as much as their design. Through my workshops, I’ve identified key locations that maximize student engagement and accessibility.
Effectiveness Ratings by Location
These percentages reflect teacher-reported effectiveness based on my research with over 500 educators. Notice how proximity to high-traffic areas correlates with usage rates.
Door Placement: Students naturally pause here, making it perfect for quick breathing exercises before entering or leaving.
Transition Zones: Areas between activity centers benefit from visual reminders to breathe and reset.
Dedicated Calm Spaces: These allow for longer, more intensive breathing sessions when needed.
Hallways: While less intimate, hallway stations serve entire grade levels and normalize mindfulness school-wide.
Measuring Success and Adjusting Your Approach
As with any classroom intervention, monitoring effectiveness helps refine your approach. I recommend tracking both quantitative and qualitative data to understand your breathing stations’ impact fully.
The data above represents typical improvement patterns when implementing visual breathing stations. Notice how both transition time and student engagement improve steadily over the first two months. This reinforces the importance of consistency and patience when introducing new wellness practices.
Your Next Steps
Remember, implementing visual breathing stations is a journey, not a destination. Each classroom is unique, and what works for one group of students may need adjustment for another. The beauty of having a poster maker machine in your school is the flexibility to iterate and improve your designs based on student feedback and observed outcomes.
Here’s your action plan:
1. Assess Your Current Transitions: Identify which transitions cause the most disruption or stress in your classroom.
2. Choose Your First Station Location: Start with one high-impact area where students naturally congregate.
3. Design Your First Poster: Keep it simple—one breathing technique with clear visual instructions.
4. Introduce the Practice: Model the breathing exercise yourself and practice together as a class.
5. Monitor and Adjust: Notice what works and be ready to modify based on student needs.
6. Expand Gradually: Add new stations or techniques as students become comfortable with the practice.
Creating a mindful classroom isn’t about perfection—it’s about progress. Every breath counts, every moment of calm matters, and every visual support you create with your school poster maker machine breathing stations contributes to a more regulated, focused learning environment.
As you embark on this journey, remember that you’re not just teaching academic content; you’re equipping students with lifelong self-regulation skills. The breathing techniques they learn through your visual stations will serve them well beyond your classroom walls, helping them navigate stress, build resilience, and find calm in an increasingly chaotic world.
What breathing exercise will you introduce first? I’d love to hear about your experiences implementing visual breathing stations. Together, we can create classrooms where both learning and well-being flourish.


