Oh my goodness, you all! I just discovered the most amazing way to bring our favorite picture books to LIFE in the classroom, and I can’t wait to share it with you! Remember how magical it felt when you were little and could step inside your favorite story? Well, with our poster machine for schools story scenes, we can create that same wonder for our first graders!

Why Life-Size Story Scenes Are Pure Magic

Last week, I watched my students’ eyes grow wide as they walked into our classroom transformed into the world of “Where the Wild Things Are.” Max stood six feet tall on our reading carpet, wild things danced across the walls, and suddenly, every single student wanted to read! That’s the power of bringing stories to life with visual displays.

Creating life-size character cutouts and scene backdrops isn’t just about decoration—it’s about immersion. When children can physically interact with story elements, they develop deeper connections to the text. They remember details better, engage in richer discussions, and most importantly, they fall in love with reading!

Getting Started: Your Poster Machine for Schools Story Scenes Setup

Before we dive into specific book projects, let me share how I organize my poster-making station for story scene creation. Having a dedicated space makes the whole process so much smoother!

Planning Station

Sketch layouts and measure character sizes
Keep graph paper, measuring tape, and sticky notes here for planning your life-size creations. I also store printable templates from our design software!

Design Computer

Where the digital magic happens
This is where we use the poster design software to create and resize our characters. Pro tip: Save templates for popular books!

Printing Hub

Your poster printing machine station
Keep your poster printing machine here with easy access to paper rolls and cutting tools.

Step-by-Step Guide: Creating “The Very Hungry Caterpillar” Experience

Let’s start with a classroom favorite! This project typically takes me about 2 hours from start to finish, and the results last all year long.

Materials Needed:

  • Access to your poster printing machine
  • 4-5 sheets of poster paper (36″ width works best)
  • Laminating supplies (optional but recommended)
  • Scissors and mounting tape
  • Reference images or the actual book

Creating Your Caterpillar

Step 1: Design

Using your poster design software, create circles for the caterpillar’s body. For a life-size version, I make the head about 24″ in diameter and body segments 18″ each. Add simple features like eyes and antennae.

Step 2: Print

Send your design to the poster machine for schools. I print each segment separately for easier handling. The vibrant greens and reds really pop on our coated poster paper!

Step 3: Cut & Laminate

Carefully cut out each piece. If you want these to last (and trust me, you do!), laminate each segment. This takes extra time but means your caterpillar can survive enthusiastic first-grade hands all year.

Step 4: Display

Mount your caterpillar along a wall at child height. I like to create a winding path so students can follow along as we read. Add food items from the story around the caterpillar for interactive counting!

More Picture Book Transformation Ideas

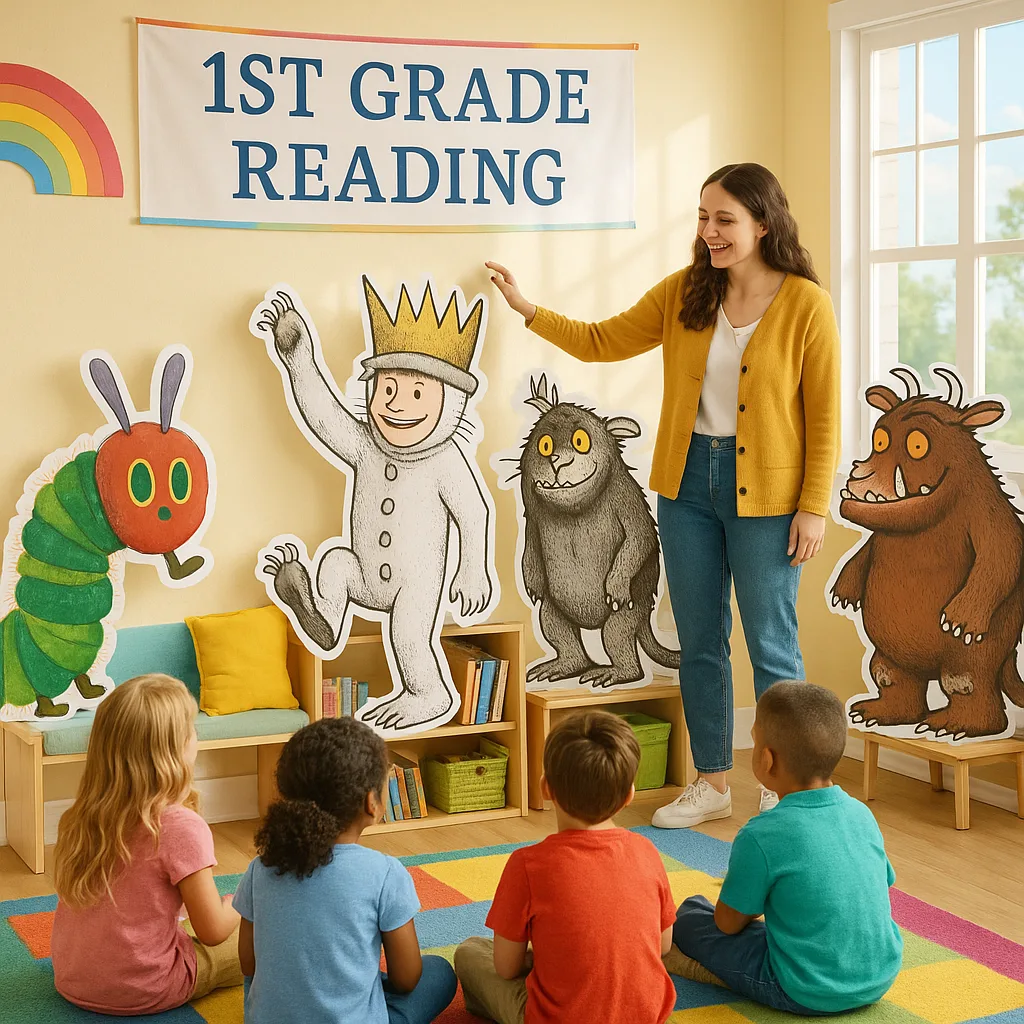
After the success with our caterpillar friend, I’ve been on a mission to transform more beloved books! Here are some of my students’ favorite installations:

Picture book scene examples

Our Classroom Pro 24 creates stunning book scenes!

Interactive Storytelling Activities

Once you’ve created your life-size scenes, the real fun begins! Here are my favorite ways to use these displays for active learning:

95%

Student Engagement
Increase when using life-size story props during read-alouds

100%

Participation Rate
Every student wants to interact with our story scenes!

85%

Comprehension Boost
Students show improved story recall with visual aids

Creative Activity Ideas Using Your Poster Machine for Schools Story Scenes

Character Interviews: Students take turns “becoming” the life-size characters and answering questions from classmates. This builds speaking skills and comprehension!

Story Retelling Stations: Place characters around the room in story order. Students walk from scene to scene, retelling the plot. Perfect for sequencing practice!

Size Comparison Math: Use your poster printing machine to create characters at different scales. “How many first graders tall is the Giant from Jack and the Beanstalk?”

Emotion Exploration: Create multiple facial expressions for characters. Students can swap them out to show how characters feel at different story points.

Writing Prompts: Place a character in an unexpected location (like the Gruffalo in the cafeteria!). Students write about the adventure that happens next.

Tips from My First-Year Teacher Journey

Creating these story scenes has been one of my biggest wins this year, but I’ve definitely learned some lessons along the way! Here’s what I wish I’d known from the start:

Start Simple: Don’t try to recreate all of Hogwarts for your first project! Begin with stories that have just a few main characters. “Brown Bear, Brown Bear” was my very first success.

Involve Your Students: Even first graders can help design simple elements. They love voting on colors or adding details with markers after printing. It becomes OUR project, not just mine.

Think Durability: Yes, laminating takes time, but seeing “The Hungry Caterpillar” still looking fresh in May makes it worth it. Check out the printing costs breakdown to budget for materials.

Storage Solutions: I learned this the hard way—plan where you’ll store scenes when not in use! Large poster tubes or a dedicated closet space work great. Label everything clearly.

Document Everything: Take photos of each setup and keep notes about what worked. Next year, you’ll thank yourself for the reminders!

Poster maker supplies

The Campus Pro 44 gives you even more room for creativity!

Maximizing Your Investment

When I first proposed getting a poster printing machine for our grade level, I had to really think about the value. Now, halfway through the year, I can confidently say it’s transformed how we teach! Not only do we create these amazing story scenes, but we also use it for:

• Alphabet walls that change with our themes
• Number lines that stretch down the hallway
• Student work displays that make everyone feel like an author
• Parent communication boards that actually get noticed
• Special event decorations that used to cost hundreds to outsource

If you’re considering this for your classroom or school, check out the different funding options available. Many schools don’t realize how many resources exist to help with this kind of technology!

Looking Ahead: Spring Story Projects

As we head into the second half of the school year, I’m already planning our next story transformations! Spring brings so many wonderful picture books about growth, change, and new beginnings. I can’t wait to create:

• A garden scene from “The Curious Garden” that grows throughout the season
• Life-size flowers from “Planting a Rainbow” for our science unit
• Characters from “The Day the Crayons Quit” to teach about feelings and perspective

The best part? My students are now suggesting books they want to see come to life. That enthusiasm for reading is worth every minute spent cutting and laminating!

Ready to Bring Your Favorite Stories to Life?

Creating life-size story scenes has brought so much joy and learning to our classroom. Every time I see a student hugging our cardboard Wild Thing or measuring themselves against the Gruffalo, I’m reminded why we became teachers—to make learning magical!

Share This Story, Choose Your Platform!