Poster Machine Interactive Alphabet Walls
The Interactive Alphabet: Building Kinesthetic Letter Learning Walls
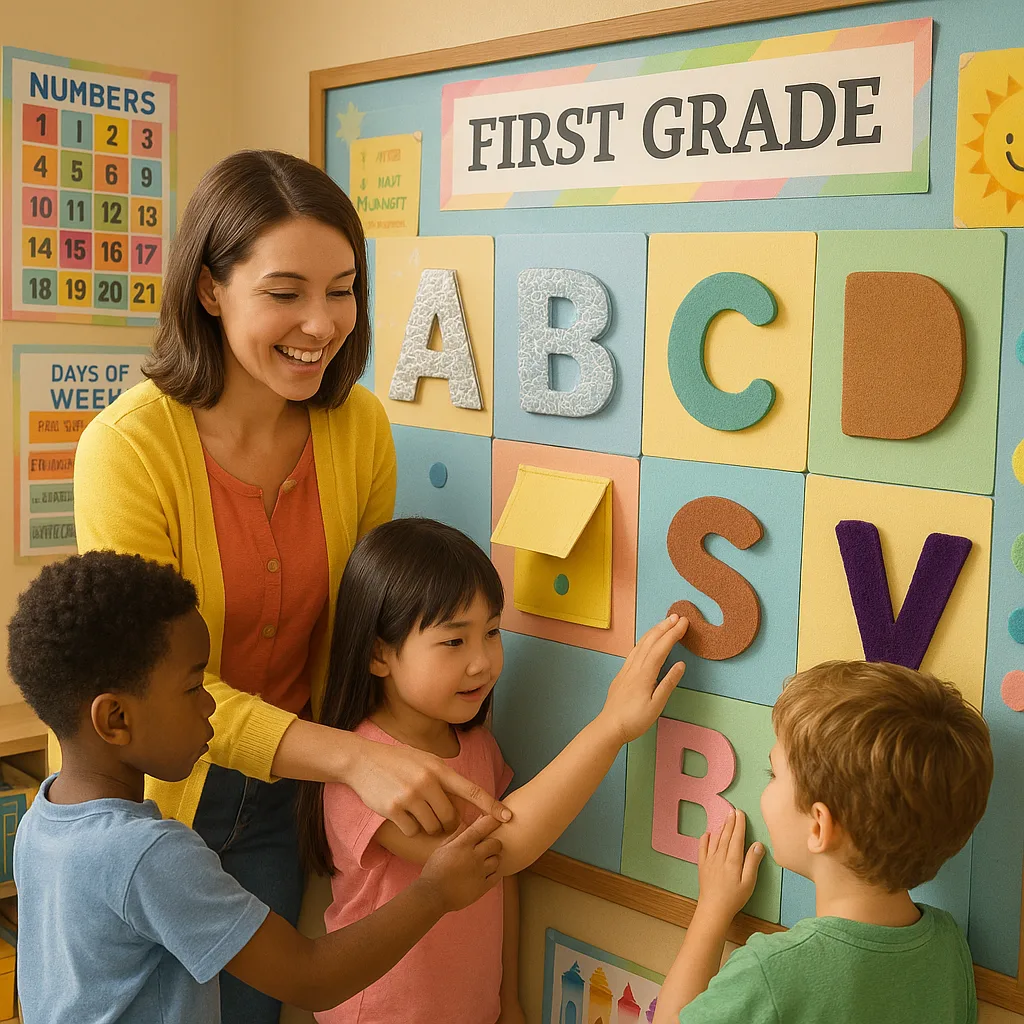
Oh my goodness, friends! Let me tell you about the most exciting discovery I made this week. I was watching my first graders trace letters in the air (again), and it hit me – what if our alphabet wall could actually be touched, moved, and explored? That’s when I discovered how our poster machine alphabet walls could transform into interactive learning wonderlands!
Why Traditional Alphabet Walls Fall Short
Picture this: rows of perfectly printed letters marching across the wall, looking beautiful but… static. Sure, they’re colorful and neat, but for my wiggle-worm six-year-olds who learn best by doing? These traditional displays might as well be wallpaper. Furthermore, research shows that kinesthetic learners (which includes most of my class!) need to physically interact with learning materials to truly grasp concepts.
That’s where interactive alphabet walls come in! By combining the printing power of poster maker machines with creative laminating and assembly techniques, we can create letter displays that invite little hands to explore, manipulate, and discover. Additionally, these multi-sensory experiences help cement letter-sound connections in ways that passive viewing simply can’t match.
of my students showed improved letter recognition after 3 weeks with our interactive wall!
Creating Your Poster Machine Alphabet Walls
Materials You’ll Need
Here’s what I gathered for my interactive alphabet project:
• Your trusty poster machine (I use the Amplify!)
• Coated poster paper for durability
• Clear contact paper or laminating sheets
• Velcro dots (lots of them!)
• Textured materials (sandpaper, felt, fabric scraps)
• Small magnets
• Ziploc bags for storage
• Double-sided tape
• Scissors and a paper cutter

Design Ideas That Actually Work
After lots of trial and error (and a few happy accidents!), I’ve discovered several interactive elements that my first graders absolutely love. Moreover, these designs are simple enough that I can create them during my prep period without feeling overwhelmed. Let me share my favorites with you!
Texture Letters
Sandpaper 'S', Velvet 'V', Bubble wrap 'B'How It Works
Students trace the textured letter while making the sound. The tactile feedback reinforces letter formation and phonics simultaneously!Lift-the-Flap
Letters hide pictures that start with their soundDiscovery Time!
Under letter ‘C’ find a cat, car, and cookie! Kids love the surprise element and it reinforces beginning sounds naturally.Match & Move
Velcro letters with matching objectsActive Learning
Moveable pieces let students sort uppercase/lowercase or match letters to beginning sound pictures. Perfect for morning work!Step-by-Step Creation Process
Making Your First Interactive Letter
Let me walk you through creating a textured letter ‘A’ – it’s easier than you think!
Step 1: Design and Print
First, I create a bold, simple letter design on my computer. I make it about 8×10 inches – big enough for little hands but not overwhelming. Then, I send it to our poster machine using the highest quality settings. The vibrant colors and crisp lines make such a difference!
Step 2: Add Texture
While the print dries (which happens super fast with our poster maker machines!), I cut out my textured material. For ‘A’, I love using aluminum foil because it makes a fun crinkly sound. Next, I carefully glue the texture to the printed letter, leaving a small border of the original print visible.
Step 3: Laminate for Durability
This is crucial! I cover the entire piece with clear contact paper or run it through our cold laminator. This protects the texture while keeping it touchable. Additionally, it makes the piece sturdy enough to withstand enthusiastic first-grade fingers!
Step 4: Add Interactive Elements
Finally, I attach velcro dots to the back and corresponding spots on my wall. Sometimes I add a small pocket underneath to hold matching picture cards or mini objects that start with that letter.
Creative Laminating Techniques
Here’s where the magic really happens! These laminating tricks have transformed my poster machine alphabet walls into durable, interactive masterpieces.
Leave one edge open to create storage pockets for letter cards!
Cut windows before laminating to create peek-through spaces!
Add magnetic sheets between print and laminate layers!
Preserve fabric and sandpaper textures under laminate!
Activities That Bring Letters to Life
Morning Meeting Magic
Every morning, we start with our “Letter of the Day” routine. One student gets to be the Letter Detective and explores today’s featured letter on our interactive wall. They trace it, find the hidden pictures, and even wear the letter necklace I created with my poster machine!
The best part? While they’re investigating, the rest of the class makes the letter sound and thinks of words that start with it. It’s amazing how this simple routine has boosted both letter recognition and classroom community. Additionally, shy students often open up during their turn as Letter Detective!
Small Group Rotations
During literacy centers, I set up different interactive alphabet stations:
• Texture matching: Students close their eyes and identify letters by touch
• Sound sorting: Move letters to match beginning sound pictures
• Letter building: Use velcro pieces to construct letters
• Mystery bag: Feel and guess the textured letter without looking
Troubleshooting Common Challenges
Challenge: Pieces Getting Lost
Solution: I learned to create “home spots” for every moveable piece. Using my poster machine, I print matching shadows or outlines where each piece belongs. Also, I store extra pieces in labeled bags attached to the wall!
Challenge: Durability Issues
Solution: Double laminating is my secret weapon! I also discovered that heavyweight coated paper from our poster supplies holds up much better than regular paper.
Challenge: Wall Space Limits
Solution: I created a rotating display! Each week, 5-6 letters are featured on our main wall, while others are stored in our “Alphabet Library” for small group work.
Ready to Transform Your Classroom?
Creating interactive alphabet walls with your poster machine is easier than you might think! Start small, experiment with different textures and techniques, and watch as your students’ engagement and learning soar. Remember, the goal isn’t perfection – it’s creating meaningful, hands-on experiences that help our little learners connect with letters in ways that stick.
I’d love to see what you create! Share your interactive alphabet walls with me, and let’s inspire each other to make learning more tactile, more engaging, and more fun. After all, when we combine the power of poster maker machines with our teacher creativity, there’s no limit to what our students can achieve!
Happy teaching, and here’s to making every letter an adventure!
– Ms. Sarah 🌟