Poster Machine Maker for Science Labs
Level Up Your Science Lab with #VisualLearning
Hey there, fellow educators! 🚀 Ready to transform your science classroom into an interactive wonderland? Let me share how a poster machine maker for science experiments can revolutionize the way your middle schoolers engage with the scientific method.
The Science Behind Visual Learning in Middle School
Let’s dive into why this approach works so brilliantly for our 11-14 year-olds. Middle schoolers are navigating that fascinating bridge between concrete and abstract thinking. Therefore, giving them oversized visual tools helps them literally see the bigger picture of scientific processes.
Research consistently shows that visual learning aids boost retention by up to 400%. Additionally, when students physically interact with learning materials—writing hypotheses, sketching observations, plotting data—they’re engaging multiple neural pathways. Furthermore, collaborative poster work naturally encourages peer discussion, which reinforces understanding through social learning.
What’s really exciting is how a poster machine maker enables you to create customized materials that match your exact curriculum needs. Instead of generic store-bought charts, you’re designing experiments that connect to your students’ interests and your state standards.

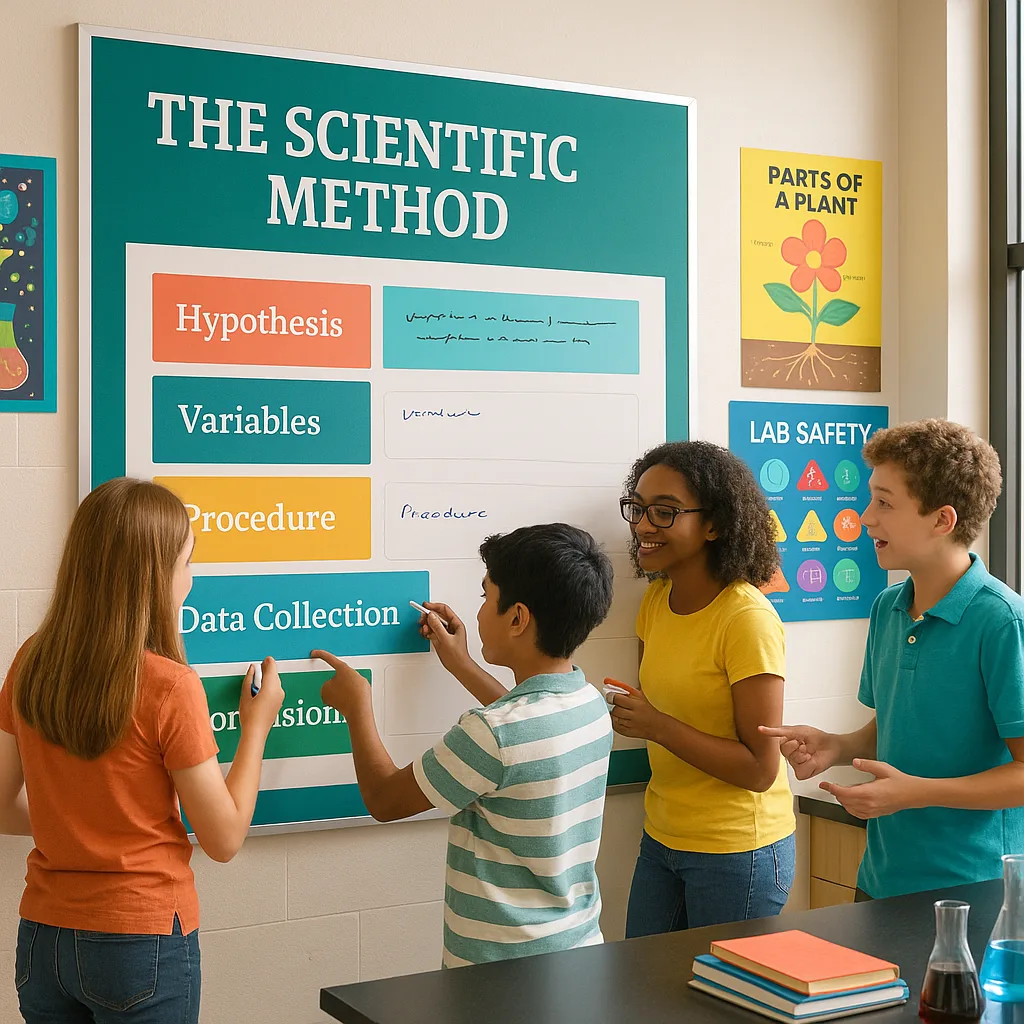
Students collaborate on hypothesis boards
Poster Machine Maker for Science Experiments: Practical Implementation
Let me share some game-changing strategies I’ve gathered from teachers who are crushing it with interactive science posters:
Start Small, Think Big: Begin with one unit or experiment type. Once students get comfortable with the format, expand to other topics. Furthermore, involve your students in the design process—they love having ownership!
Storage Solutions: Create a poster portfolio system using large art portfolios or DIY hanging storage. Additionally, number each poster and maintain a digital catalog for easy reference.
Multi-Class Management: Use different colored markers for each class period. Therefore, you can track progress and compare results across sections while using the same base posters.
Digital Integration Tips
Blend physical and digital learning seamlessly:
✓ Add QR codes linking to video instructions
✓ Create AR markers for 3D molecule models
✓ Use tablets to photograph poster progress
✓ Connect to Google Classroom for documentation
Having your own printer for posters means you can iterate quickly based on what works in your unique classroom environment!
Top Poster Templates for Science Experiments
Reaction tracking boards
Ecosystem mapping
Motion tracking charts
Weather pattern logs
Making It Work: Budget and Implementation
I know what you’re thinking—”This sounds amazing, but what about the budget?” Great news! Many funding sources specifically support visual learning tools:
• Title I Funds: Perfect for schools serving diverse populations
• STEM Grants: Ideal for science-specific equipment
• PTO Fundraising: Parents love supporting engaging classroom tools
Explore all your funding options to make this happen for your students. Furthermore, when you calculate the total cost of ownership, you’ll find that having your own poster machine maker pays for itself within the first year!
Your Next Steps
Ready to bring interactive science posters to your classroom? Here’s your action plan:
1. Assess Your Needs: Consider your class sizes, experiment types, and available space
2. Choose Your Equipment: Compare our Campus Pro 36 and Classroom Pro 24 options
3. Select Materials: Start with our versatile coated poster paper for your first projects
4. Design Templates: Create reusable formats for common experiment types
5. Launch and Iterate: Start with one class, gather feedback, and expand
Remember, visual learning isn’t just a trend—it’s a research-backed approach that meets students where they are. Moreover, when you have the tools to create custom, engaging materials on demand, you’re empowered to adapt to your students’ evolving needs.
Let’s make science visible, tangible, and unforgettable for our middle schoolers! 🔬✨
What experiments will you visualize first? Drop me a line on X @MsRTorres—I’d love to see your creative poster ideas in action!