Poster Machine Maker Monthly Classroom Guide

Why Every New Teacher Needs a Poster Machine Maker Monthly Guide
When I first stepped into my empty classroom last August, I felt overwhelmed. The blank walls seemed to mock me, and my teacher preparation program hadn’t exactly covered “how to make your classroom inviting on a shoestring budget.” That’s when our school’s Classroom Pro 24 Poster Maker Advanced Package became my secret weapon.
Initially, I thought poster makers were just for printing pretty pictures. Boy, was I wrong! Having a poster print machine at my fingertips meant I could create custom visual aids, behavior charts, and learning displays whenever inspiration struck—or whenever I realized my lesson needed a visual boost (which happened more often than I’d like to admit!).
August: Setting the Foundation
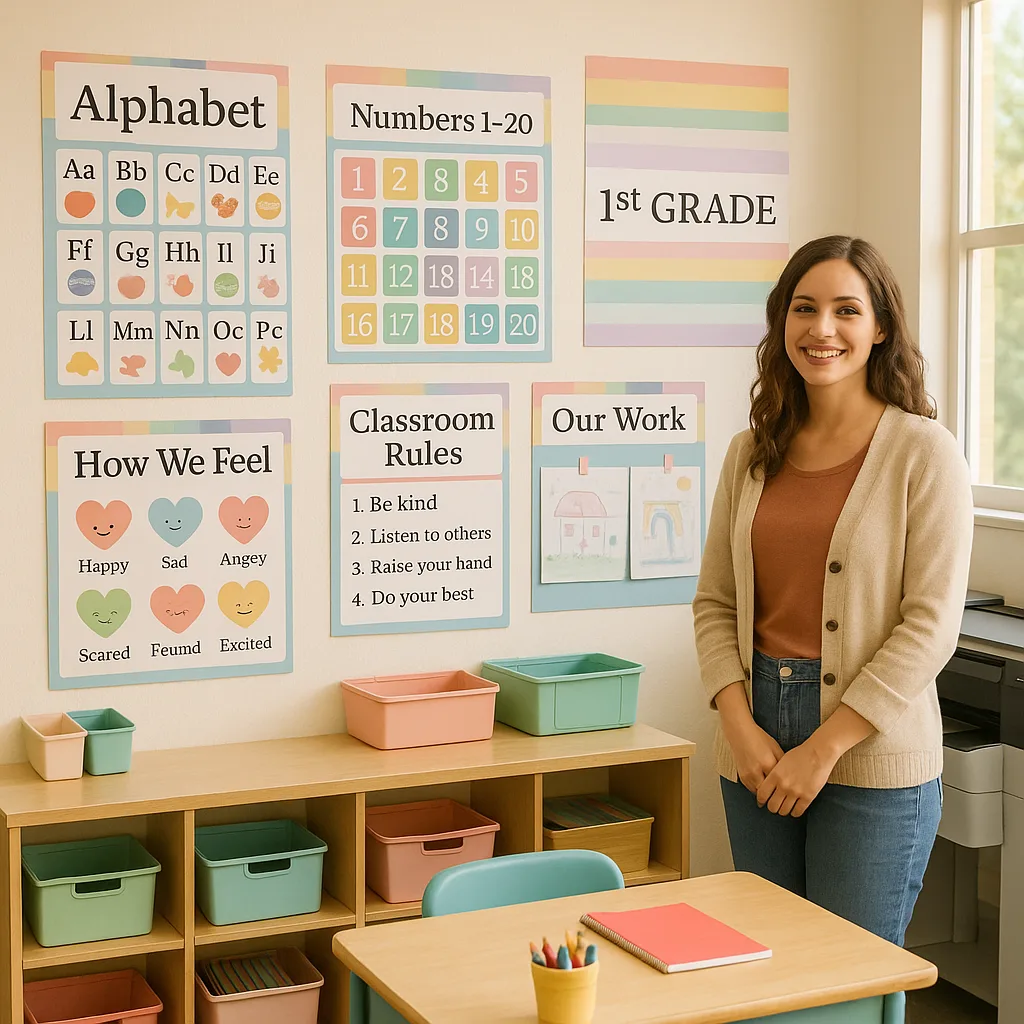
My first project with the poster machine maker was creating a welcome banner for Meet the Teacher night. Instead of spending $50 at the teacher store, I designed a colorful “Welcome to First Grade” banner using free templates online. The coated poster paper gave it a professional finish that parents actually complimented!
For classroom setup, I focused on essentials:
– Alphabet strip with corresponding images
– Number line (0-20) with visual representations
– Classroom rules poster with student-friendly illustrations
– Daily schedule with clock visuals
– Weather chart for morning meetings
Rookie Mistake Alert: I tried to laminate everything myself with those desktop laminators. After three hours and several crinkled posters, I discovered our poster print machine could handle larger sizes, and the school had a Cold Laminator that made the job so much easier!
October-November: Academic Content Takes Center Stage
By October, we were deep into academics, and my poster machine maker was working overtime. I learned to batch-create materials during my planning periods, saving designs for future use.
October Focus:
– Sight word walls (adding 5 new words weekly)
– Math strategy posters for addition facts
– Halloween-themed behavior incentive charts
– Fall science vocabulary with real photos
– Reading comprehension anchor charts
November Additions:
– Thanksgiving gratitude displays
– Writing process posters with student examples
– Number bond visuals for math centers
– Interactive weather tracking graph
The Campus Pro 24 Poster Maker in our workroom became my best friend during this time. Its larger format allowed me to create bulletin board headers that actually fit!
Budget Tracking
Traditional Classroom Decor: $275Smart Savings
Using our poster print machine:– Paper costs: $45
– Ink usage: $32
– Time saved: Priceless!
Total savings: $198!
December-February: Holiday Magic and Mid-Year Adjustments
December brought the challenge of maintaining learning focus amid holiday excitement. My poster print machine helped create structure during chaos:
December Creations:
– Countdown to winter break calendar
– Holiday around the world posters
– Winter vocabulary word walls
– Gift of kindness tracking chart
– Snow day activity choice boards
January felt like starting over. Half my class forgot our routines! I reprinted key procedure posters but added “2.0” updates based on what I’d learned. The Gloss Photo Paper made our “New Year, New Goals” displays look amazing.
February Focus:
– Valentine’s Day math centers signage
– Black History Month biography posters
– 100th day of school celebration banners
– Reading fluency progress charts
– Friendship recipe anchor charts
Essential Tips from My Poster Machine Maker Monthly Guide
After a full year of learning, here are my top recommendations for new teachers using a poster print machine:
1. Start Simple
Don’t try to create Pinterest-perfect everything immediately. Focus on functional posters that support your teaching. Pretty comes with practice!
2. Invest in Quality Materials
The Coated Poster Paper lasts longer than regular paper. For high-traffic items, consider laminating or using Outdoor Banner Vinyl for durability.
3. Create Templates
Save time by creating base templates for common posters. I have templates for:
– Weekly newsletters
– Center signs
– Student certificates
– Behavior charts
– Schedule cards
4. Batch Print
Use planning periods wisely. I dedicate Friday afternoons to printing next week’s materials. The Amplify Poster Maker can handle multiple projects quickly.
5. Store Digitally
Keep all designs organized in folders by month and subject. You’ll thank yourself next year!