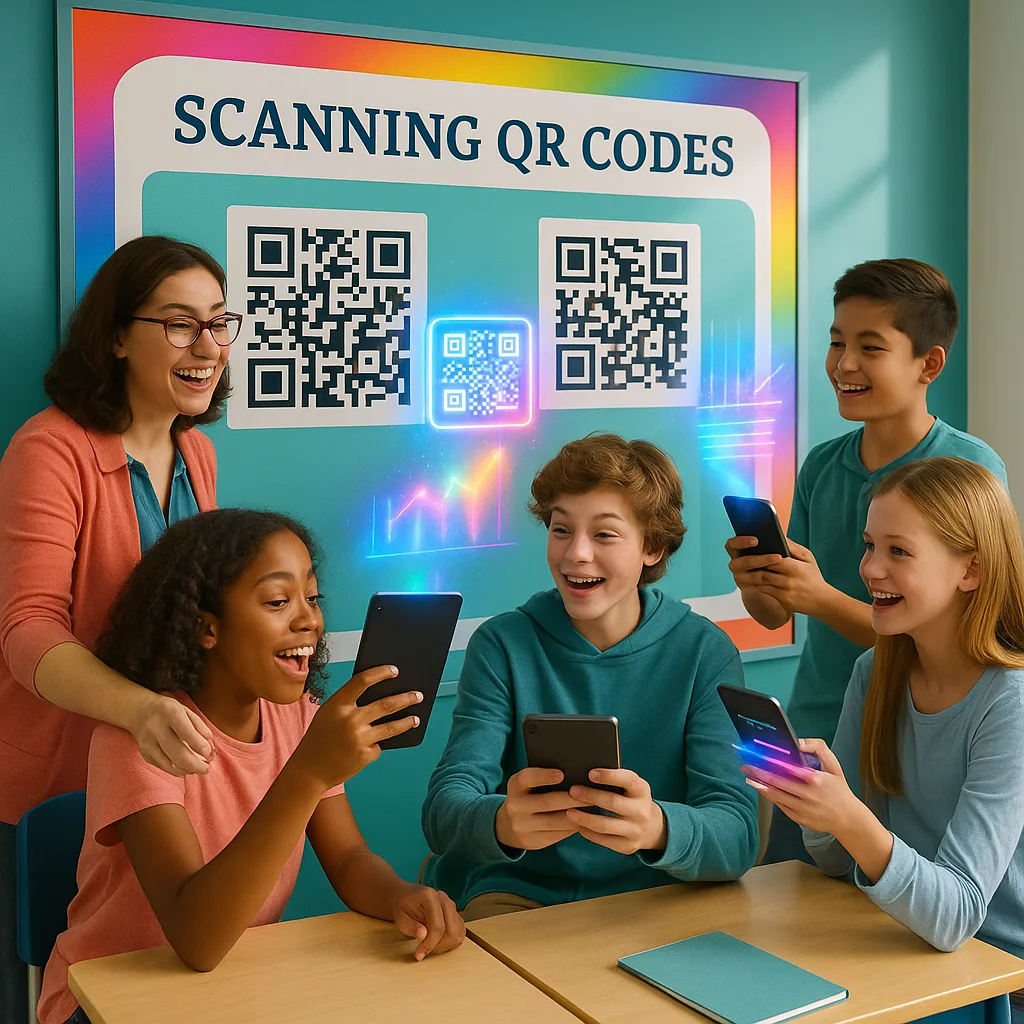
Poster Machine Maker QR Integration Guide
Level Up Your Classroom with #VisualLearning
Transform static bulletin boards into dynamic learning portals with QR-enhanced posters!
Hey there, fellow educators! 🎉 If you’ve been scrolling through #EdTwitter lately, you’ve probably noticed the buzz about hybrid learning environments. As someone who’s always looking for ways to merge the best of physical and digital worlds, I’m super excited to share how a poster machine maker QR codes combination can totally revolutionize your classroom displays. Trust me, once you see how easy it is to create interactive posters that bridge the gap between traditional bulletin boards and cutting-edge tech, you’ll wonder why you didn’t start sooner!
Why Hybrid Learning Displays Are the Future
Remember when we thought laminating was the height of poster technology? Well, times have changed! Today’s students are digital natives who expect interactive experiences. By incorporating QR codes, AR markers, and even NFC tags into our physical displays, we’re meeting them where they are – at the intersection of tangible and digital learning.
The beauty of using poster printer machines for this purpose is that you maintain the tactile, always-visible aspect of traditional displays while adding layers of digital content. Students can physically interact with the poster, scan a code, and suddenly they’re transported to a virtual museum, watching a science experiment in action, or playing an educational game. It’s like having a portal to unlimited resources right on your classroom wall!
Poster Machine Maker QR Codes: Getting Started
Student Engagement
increases with interactive displays
Better Retention
with multi-sensory learning
Customizable
to your curriculum needs
Essential Tools and Materials
Before we dive into the creative process, let’s talk tools. First up, you’ll need a reliable poster printer that can handle your creative vision. The Campus Pro 36 Poster Maker Advanced Package is perfect for creating those larger-than-life displays that really grab attention. For smaller classrooms or more intimate learning spaces, the Classroom Pro 24 Poster Maker Elite Package offers the same quality in a more compact size.
Next, you’ll need QR code generation tools. Free options like QR Code Generator or Canva work great for basic needs. For more advanced features like tracking scans or dynamic QR codes that you can update without reprinting, consider tools like QR Code Dynamic or Flowcode. Pro tip: always test your codes before printing – there’s nothing worse than a beautiful poster with a broken link!

Poster Machine Maker QR Codes: Advanced Techniques
Ready to level up? Let’s explore some advanced techniques that’ll make your colleagues think you’re some kind of EdTech wizard! 🧙♀️
AR Markers
Use apps like HP Reveal or Metaverse to create augmented reality experiences. Students point their device at the poster and 3D models appear!
NFC Tags
For device-enabled classrooms, NFC tags offer instant connectivity. Just tap and go – no camera needed!
Dynamic QR Codes
Change the destination without reprinting! Perfect for weekly vocabulary words or rotating content.
Real Classroom Success Stories
Let me share some wins from my own classroom and those of my PLN (Professional Learning Network)! Last month, I created a “Women in STEM” poster series using our Campus Pro Poster Maker Ink for vibrant, long-lasting prints. Each poster featured a scientist with QR codes linking to:
The engagement was through the roof! Students who usually rushed through displays were stopping, scanning, and diving deep into content. One parent even told me their daughter spent an hour at home exploring all the links from photos they took of the posters!
Gamification Ideas That Actually Work
Who says learning can’t be fun? Gamifying your interactive posters takes engagement to the next level. Here’s what’s been working in classrooms across the country:
Hide QR codes around themed posters. Each scan reveals a clue to the next location!
Making It Work for Remote and Hybrid Learning
One of the biggest advantages of QR-enhanced posters is their flexibility for different learning environments. During distance learning, I mailed poster photos to families or shared high-res images in our LMS. Students could still access all the digital content from home!
For hybrid schedules, interactive posters become anchor points that work whether students are in-person or remote. In-class students interact with the physical posters, while at-home learners access digital versions. Everyone stays connected to the same content, just through different entry points.
In-Person Benefits:
Remote Access Features:
“Since implementing QR-enhanced posters with our poster printer machines, I’ve seen student engagement skyrocket. It’s like having a magic portal on every wall!”
Your Next Steps
Creating hybrid learning displays with poster machine maker QR codes doesn’t have to be overwhelming. Start small with one interactive poster and build from there. Remember, the goal isn’t to digitize everything – it’s to create meaningful connections between physical and digital learning experiences.
Choose Your Equipment
Select the right poster maker for your needs and budget
Plan Your Content
Map out static and interactive elements for maximum impact
Create and Iterate
Design, print, test, and refine based on student feedback
Whether you’re teaching in-person, remote, or somewhere in between, interactive posters offer endless possibilities for engagement. With the right poster printer machines, some creativity, and a willingness to experiment, you can transform your classroom into a dynamic learning environment that speaks to today’s digital natives while honoring the power of physical displays.
So what are you waiting for? Grab your favorite design tool, fire up that QR code generator, and start creating posters that blur the lines between physical and digital learning. Your students (and your teaching practice) will thank you for it! Drop me a line on Twitter/X and share your creations – I’d love to see how you’re using interactive posters in your classroom! #EdTech #VisualLearning #HybridClassroom 🚀

