Poster Machine Outdoor Laminating Guide
Weatherproofing Your Investment: Advanced Laminating for Outdoor Learning
Your guide to creating durable educational materials that brave the elements!
Hey there, fellow first-grade teachers and outdoor learning enthusiasts! I’m Sarah from Maplewood Elementary, and I’ve discovered something magical this year. After watching my beautiful alphabet posters dissolve in our garden learning space (yes, literally melt away in the rain), I knew there had to be a better way. That’s when I dove deep into the world of laminating and weatherproofing for poster machine outdoor materials.
Understanding Poster Machine Outdoor Materials Basics
When I first started using our school’s Classroom Pro 24 Poster Maker, I thought all laminating was the same. Boy, was I wrong! Outdoor materials need special consideration because they face challenges our indoor posters never dream of – UV rays, moisture, temperature swings, and curious little hands (sometimes muddy ones).
The secret lies in understanding that not all laminating films are created equal. Standard classroom laminating works great for indoor use, but outdoor learning materials need something more robust. Think of it like choosing between a light sweater and a heavy-duty raincoat – both have their place, but only one will keep you dry in a downpour!

Choosing the Right Laminating Film
Through trial and error (and yes, a few more dissolved posters), I’ve learned that outdoor laminating films come in several varieties. Each has unique properties that make them suitable for different outdoor applications.
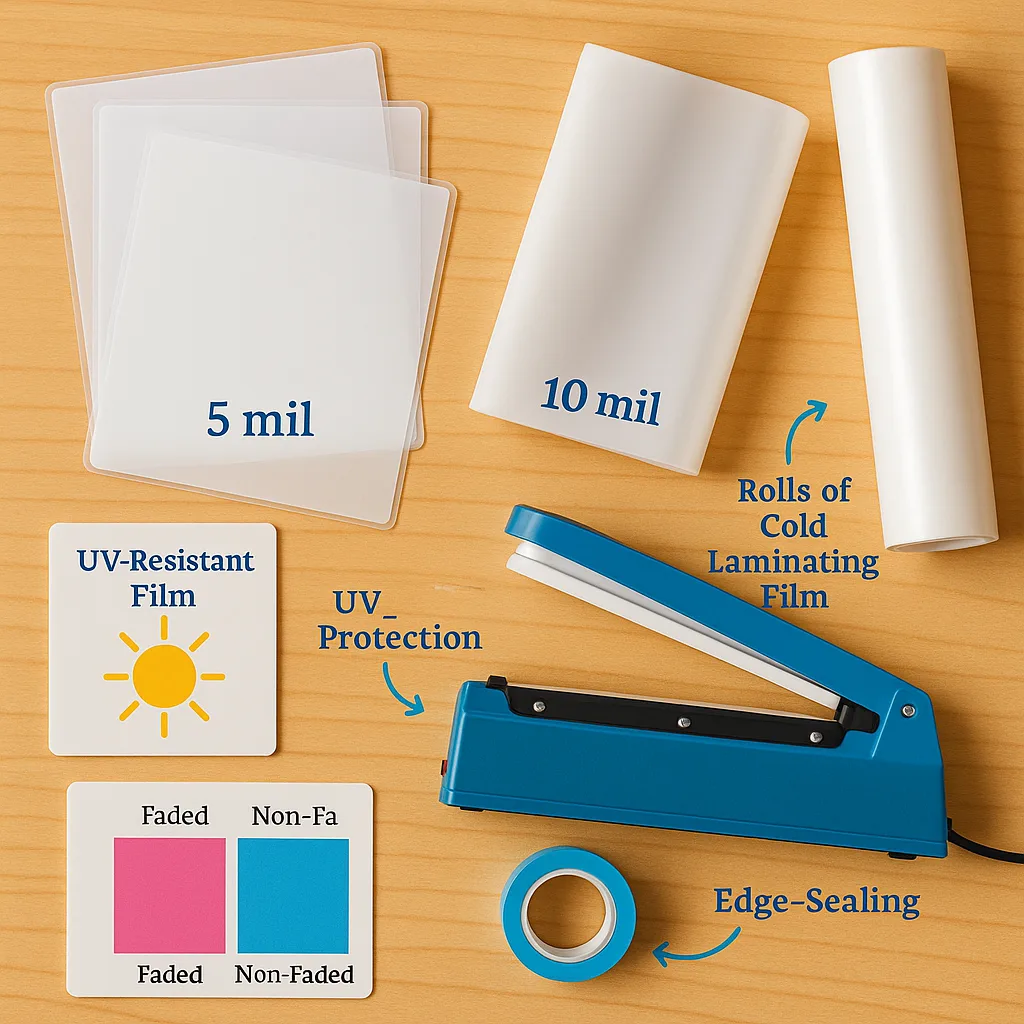
Thermal Laminating Films: These are heat-activated and create an incredibly strong bond. I use 5-10 mil thickness for our garden signs and playground rules. The thicker the film, the more protection it offers against physical damage and weather.
Cold Laminating Films: Perfect when you can’t use heat or need to laminate immediately after printing. Our Cold Laminator has been a game-changer for quick outdoor projects!
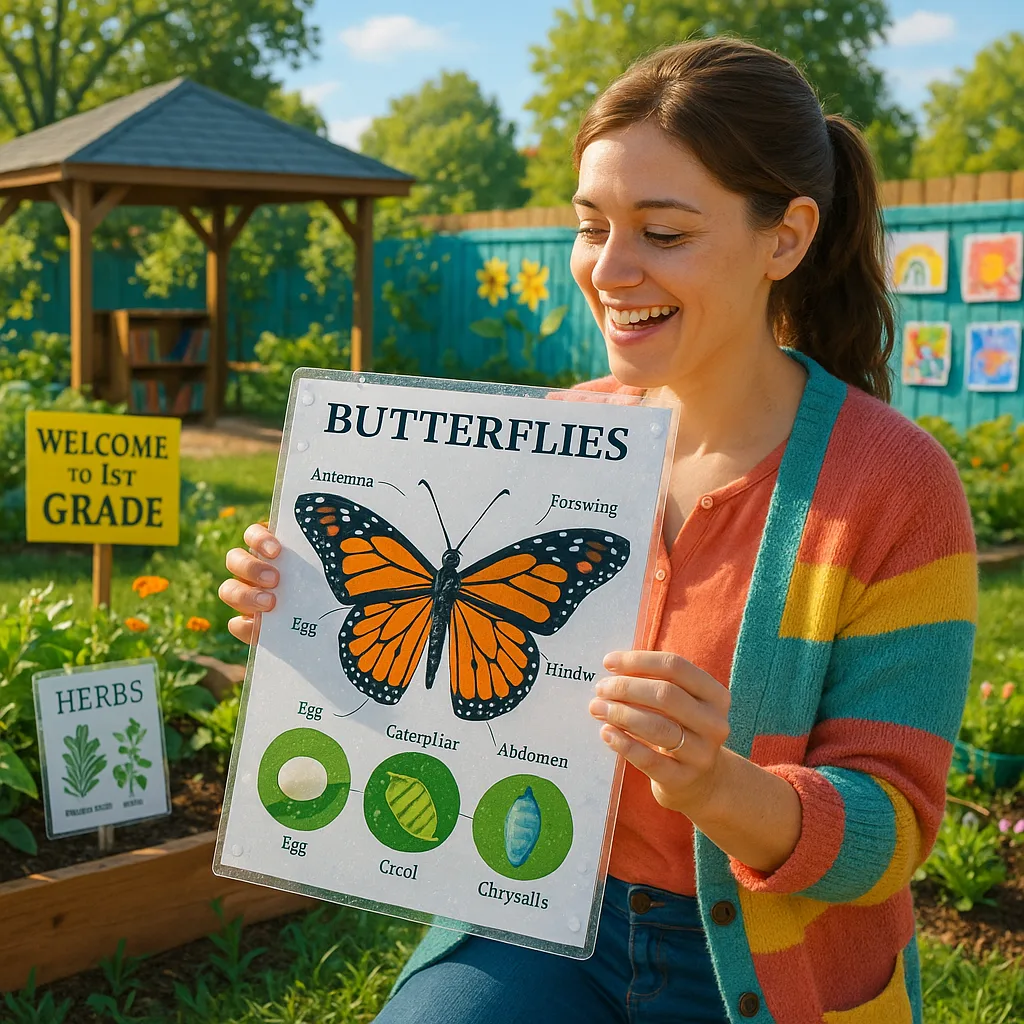
UV-Resistant Films: Essential for any poster that will see direct sunlight. Without UV protection, even the brightest poster printer machine output will fade within weeks. I learned this the hard way when our beautiful butterfly lifecycle poster turned into a ghostly shadow by October.
Here’s what I’ve discovered about edge sealing – it’s absolutely crucial for poster machine outdoor materials! Water is sneaky and will find any tiny opening to seep in and destroy your beautiful work.
The Border Method: Leave a 1-2 inch border of laminating film around your poster. This creates a watertight seal that prevents moisture infiltration. I mark this border with a ruler before laminating to ensure consistency.
Double Lamination: For our most precious outdoor displays, I sometimes double laminate. First, I run the poster through with a standard film, then add a second layer focusing on the edges. It’s like giving your poster a raincoat with an extra waterproof hood!
Heat Sealing: After laminating, I use a heat sealer or even a household iron (with parchment paper protection) to ensure those edges are completely fused. Just be careful not to melt the film – I keep the iron on medium heat and work quickly.
Smart Mounting Options for Every Outdoor Space
Once your posters are properly laminated, mounting them correctly is the next crucial step. I’ve experimented with various mounting methods in our outdoor learning spaces, and each has its perfect application.
Mounting Methods That Work
Grommets and Bungee Cords: My go-to for fence mounting! I use a grommet tool to create reinforced holes in the laminated corners. Then, I thread weather-resistant bungee cords through them. This method allows for some movement in wind, preventing tearing.
Velcro Mounting: Surprisingly effective for covered outdoor areas! I use industrial-strength, weather-resistant Velcro. The key is ensuring both surfaces are completely clean and dry during application. This works wonderfully for our covered outdoor reading nook.
Frame and Protect: For permanent installations, I invest in weather-resistant frames with UV-protective acrylic covers. Yes, it’s more expensive, but for important displays like our outdoor classroom rules or garden plant identification guides created with our poster printer machine, it’s worth every penny.
Paper Selection
Choose the right base materialBest Papers for Outdoor Use
Our Outdoor Banner Vinyl is specifically designed to withstand weather. For paper posters, use heavyweight coated options that resist moisture better than standard paper.Laminating Thickness
Match thickness to useMil Recommendations
Light use (covered areas): 3-5 milMedium use (partial exposure): 5-7 mil
Heavy use (full exposure): 10+ mil
Consider double laminating for extreme conditions!
UV Protection
Shield from sun damagePreventing Fade
Always choose UV-resistant films for any poster exposed to direct sunlight. Even covered areas benefit from UV protection to maintain vibrant colors throughout the school year.Real-World Applications in Our Outdoor Classroom
Let me share some specific projects where proper laminating has made all the difference in our outdoor learning spaces!
Garden Learning Station Success with Poster Machine Outdoor Materials
Our vegetable garden became a living classroom after I created weatherproof plant identification cards. Using our poster machine, I designed colorful cards featuring photos of each plant at different growth stages. After printing on heavyweight paper, I laminated each with 7 mil UV-resistant film, leaving a 2-inch border for edge sealing.
The result? These cards have survived rain, sprinkler accidents, and countless curious fingers. They’re mounted on stakes using the grommet method, allowing easy repositioning as plants grow. Parents constantly compliment how professional they look – little do they know it all started with our classroom poster printer machine and some dedication to proper weatherproofing!
Troubleshooting Common Outdoor Laminating Challenges
Even with the best intentions, outdoor laminating can present challenges. Here are solutions to problems I’ve encountered (so you don’t have to learn the hard way!):
The initial investment in quality laminating equipment and materials pays for itself surprisingly quickly. When I calculated the cost of repeatedly printing new posters versus properly protecting them once, the choice became clear. Plus, there’s the environmental benefit of creating less waste!
Our principal was so impressed with the durability of our outdoor learning materials that she approved funding for a dedicated outdoor display budget. This includes top-quality laminating supplies and even helped justify our upgrade to a larger poster printer machine for bigger outdoor projects.
Quick Reference Guide: Matching Methods to Projects
Here’s my go-to guide for choosing the right laminating approach:
Temporary Displays (1-3 months): 3 mil lamination, basic edge seal
Seasonal Displays (3-6 months): 5-7 mil lamination, reinforced edges, UV protection
Permanent Installations (6+ months): 10+ mil lamination, professional mounting, frame protection
High-Touch Areas: Double lamination, antimicrobial film, frequent inspection
Ready to Weather Any Storm!
Creating durable outdoor learning materials doesn’t have to be intimidating. With the right techniques and a quality poster machine, you can transform any outdoor space into an engaging, weather-resistant classroom. Start small, experiment with different methods, and soon you’ll be the go-to expert at your school!
Remember, every protected poster is an investment in countless learning moments. Whether it’s identifying plants in the garden, following playground rules, or exploring nature facts on the trail, your weatherproofed materials will be there through sunshine and storms, supporting our little learners every step of the way.

