Poster Maker Machine for Interactive Learning
Hey there, fellow educators! 🎨 Let’s talk about something that’s been absolutely game-changing in my classroom lately. You know how we’re always looking for ways to make our materials last longer AND more engaging? Well, I’ve discovered that combining a poster maker machine for interactive learning with some next-level laminating techniques can transform basic classroom materials into brilliant, reusable teaching tools that students actually beg to use!
From Basic to Brilliant: Laminating Magic
Discover how advanced laminating techniques transform ordinary posters into extraordinary interactive learning experiences
Why Interactive Learning Materials Matter Now More Than Ever
You’ve probably noticed it too – students today crave hands-on, interactive experiences. They’re growing up in a world of touchscreens and instant feedback, so why shouldn’t our classroom materials reflect that? That’s where the magic happens when you combine a quality poster maker machine for schools with creative laminating techniques.
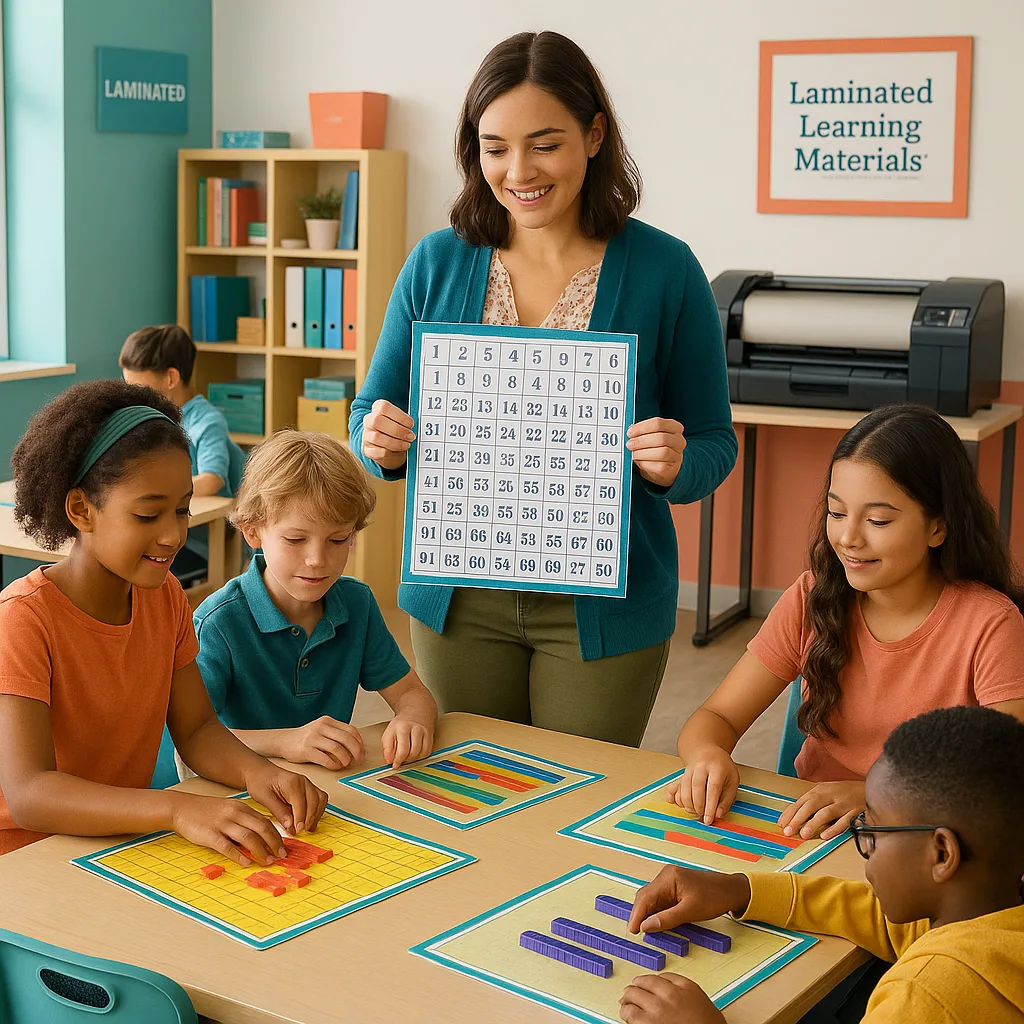
I remember the “aha moment” when I realized I could create dry-erase surfaces from ANY poster. One morning, I laminated a multiplication grid I’d printed on our Amplify Poster Maker, and suddenly my students were racing to solve problems on it. The engagement level? Through the roof! 🚀
What really excites me is how these techniques support Universal Design for Learning (UDL) principles. By creating materials that students can touch, manipulate, and interact with repeatedly, we’re addressing multiple learning modalities and making content accessible to everyone.

Poster Maker Machine for Interactive Learning: Getting Started
Before we dive into the advanced techniques, let’s talk foundation. The quality of your interactive materials starts with the poster itself. Using the best printer for posters makes a HUGE difference in how well your laminated materials hold up to daily student use.
Here’s what I’ve learned works best:
Paper Selection Matters:
• Coated poster paper for dry-erase surfaces
• Heavyweight paper for manipulatives that need structure
• Photo paper for vibrant visuals that pop
• Check out all paper types to match your project
Design Considerations:
• Leave 1/2 inch borders for lamination seal
• Use high-contrast colors for visibility
• Include visual cues for interaction points
• Think about repeated use from Day 1
Advanced Laminating Techniques That Transform Learning
Technique 1: Creating Dry-Erase Learning Surfaces
This is where the magic really happens! Any poster can become a reusable dry-erase surface with the right lamination. Here’s my step-by-step process:
Materials Needed:
• Poster printed on coated paper (best results with a poster maker machine for schools)
• Hot laminator or quality cold laminating sheets
• Dry-erase markers and erasers
The Process:
1. Print your design with bold, clear graphics leaving interaction spaces
2. For hot lamination: Use 5-10 mil pouches for best durability
3. Run through laminator at recommended temperature (usually 250-300°F)
4. Let cool completely before trimming
5. Test with dry-erase markers – glossy lamination works best!
Classroom Applications:
• Math problem-solving stations
• Grammar editing exercises
• Science diagram labeling
• Daily schedule updates
• Student self-assessment rubrics
Technique 3: Reusable Manipulatives & Game Pieces
Here’s where having the best printer for posters really shines! Creating durable, reusable manipulatives saves money and reduces waste while providing endless learning opportunities.
Step-by-Step Creation Process:
1. Design Phase: Create your manipulatives with clear visual elements
– Use bright, contrasting colors
– Include visual and text labels
– Size appropriately for small hands (2-4 inches typically)
2. Printing Phase: Use heavyweight paper for structure
– The Campus Pro 44 Elite Package handles heavy stock beautifully
– Print multiple sets at once for efficiency
3. Lamination Phase: Choose thickness based on use
– 10 mil for heavy-use items
– 5 mil for lighter manipulatives
– Consider cold lamination rolls for large batches
4. Finishing Phase: Round corners for safety
– Use corner rounders or careful scissors
– Add velcro dots for interactive boards
– Store in labeled containers
Real Classroom Success Stories
Let me share some wins from my classroom and teacher friends on #EduTwitter!
Math Manipulatives
Created fraction bars and geometric shapesThe Results
Students improved fraction understanding by 40% in just 3 weeks! The tactile element made abstract concepts concrete. Parents requested sets for home practice.Language Learning
Laminated conversation cards with QR codesStudent Feedback
“I love practicing with my partner using the cards! We can write on them and start over.” – Maria, 7th grade. ELL students gained confidence through repetition.Science Labs
Reusable experiment recording sheetsTeacher Time Saved
Saved 3+ hours weekly on prep! No more photocopying lab sheets. Students take ownership of their reusable materials. Cost savings are incredible!Subject-Specific Interactive Material Ideas
Let’s get specific! Here are my favorite interactive laminated materials for each subject area:
Mathematics Magic
• Number Line Runners: Floor-sized laminated number lines for kinesthetic learning
• Equation Builders: Moveable number and operation cards
• Geometry Explorers: Dry-erase coordinate planes and shape templates
• Fraction Pizzas: Manipulative pieces that stick to laminated “plates”
Science Stations
• Lab Safety Checklists: Reusable safety protocol cards
• Observation Journals: Dry-erase experiment recording sheets
• Classification Cards: Textured examples of different materials
• Weather Trackers: Daily recording charts with moveable pieces
Language Arts Tools
• Story Sequencing Strips: Reorderable plot elements
• Grammar Windows: Transparent overlays for sentence analysis
• Word Family Houses: Velcro-backed word sorting activities
• Character Trait Maps: Dry-erase character analysis tools
Social Studies Resources
• Timeline Builders: Moveable event cards with dates
• Map Overlays: Clear laminated sheets for geography practice
• Culture Cards: Textured materials representing different cultures
• Government Flowcharts: Interactive civic process diagrams


Making It Sustainable: Cost Analysis & Long-Term Benefits
I know what you’re thinking – “This sounds amazing, but what about the budget?” Let me break down why investing in a quality poster maker machine for schools and laminating equipment actually SAVES money long-term:
Final Thoughts & Your Next Steps
Y’all, I can’t stress enough how much these interactive laminated materials have revolutionized my classroom. From struggling readers who now confidently manipulate sentence strips to math-anxious students who love working problems on our dry-erase multiplication grids, the transformation has been incredible.
The key is starting small. Pick one subject area, create a few interactive materials using your poster maker machine for interactive learning, and watch the magic happen. Once you see those lightbulb moments and hear the excited chatter of engaged students, you’ll be hooked!
Remember, this isn’t just about making pretty classroom materials (though they definitely are Instagram-worthy! 📸). It’s about creating learning experiences that stick, supporting all types of learners, and yes – saving your sanity (and budget) by not constantly making new copies.
Your Action Plan:
1. Choose one lesson next week to transform with interactive materials
2. Explore which poster maker fits your needs
3. Start with simple dry-erase surfaces before moving to complex textures
4. Share your creations with your teaching team (and tag me on social! 🙌)
5. Track student engagement – you’ll be amazed at the difference
The best printer for posters combined with creative laminating techniques isn’t just a game-changer – it’s a teaching revolution. Your students deserve interactive, engaging materials, and you deserve tools that make your job easier and more enjoyable.
Ready to join the interactive learning movement? Let’s make education tangible, one laminated masterpiece at a time! 🌟
What interactive materials are you excited to create? Drop a comment below or find me on X @MsTorresTeaches – I’d love to see your innovations!