Poster Maker Machines for Collaborative Murals
Before I discovered poster printing, our mural attempts involved butcher paper taped to the wall (hello, falling corners!) and tempera paint that somehow ended up everywhere except the paper. Now? We design digitally, print professionally, and my custodian actually smiles when he sees me in the hallway!
Here’s what changed everything for us. First, we can plan and revise without wasting materials. Second, every child’s contribution gets preserved perfectly. Third, the final product looks museum-quality (seriously, parents ask if we hired an artist!). Plus, using poster maker machines means we can create multiple versions – one for display, one for our class book, and smaller copies for each student to take home.
The best part? Integration with curriculum is seamless. Last month’s community helpers mural reinforced our social studies unit while building fine motor skills. Moreover, the collaborative process teaches patience, compromise, and teamwork better than any worksheet ever could!

Skill-Building Exercises Before the Big Project
Jumping straight into a collaborative mural? That’s like asking six-year-olds to write a novel before learning letters! Here’s my tried-and-true progression:
Week 1: Pattern Play
We start with simple patterns on strips of paper. Each child creates a pattern, then we combine them into a “Pattern Snake” that winds around our room. This teaches the concept of individual parts making a whole.
Week 2: Color Coordination
Using paint chips from the hardware store, we practice color families. Students sort, match, and create color stories. This foundation helps when they need to work within a color scheme later!
Week 3: Size Relationships
We trace hands in different sizes, discussing how elements in murals need variety. Big trees, medium houses, small flowers – spatial awareness develops through hands-on practice.
Week 4: Collaborative Mini-Murals
Partner work begins! Two students create one 11″ x 17″ piece together. They learn negotiation, sharing space, and blending styles. These mini-murals become our practice gallery!
Curriculum Integration Magic ✨
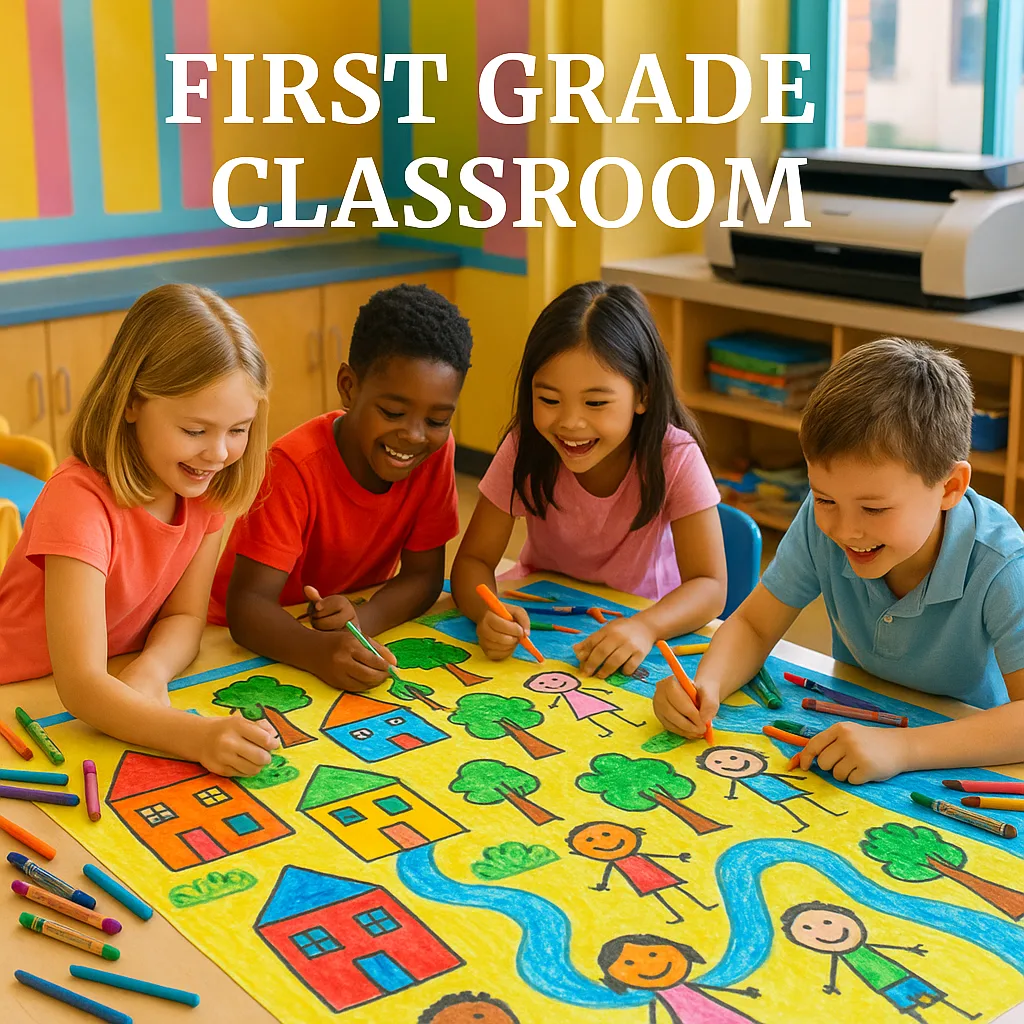
Student engagement during mural projects
The beauty of collaborative murals? They naturally weave through every subject area! Here’s how we’ve connected our projects:
Mathematics Murals:
Our “Shape City” mural reinforced geometry concepts. Each student designed a building using assigned shapes. We counted windows, created patterns in sidewalks, and even added a number line road!
Science Connections:
“Life Cycle Lane” showed butterflies, frogs, and plants in various stages. Students researched, sketched, and labeled. The Campus Pro 24 Poster Maker printed our masterpiece with such clarity that you could read every tiny label!
Literacy Links:
After reading “The Very Hungry Caterpillar,” we created a story sequence mural. Each child illustrated one food item or day. The linear progression reinforced story structure beautifully.
Social Studies Spectacular:
Our “Community Helpers” mural featured each student as a different helper. Parents loved seeing their child as a firefighter, teacher, or doctor. We used real photos combined with drawn backgrounds!

Real Classroom Management During Mural Madness
Let’s be honest – managing 26 first graders during art time requires strategy! Here’s what actually works:
The Station Rotation System:
While groups of 4-5 work on mural pieces, others rotate through:
• iPad station (digital drawing practice)
• Planning station (sketching ideas)
• Color mixing station (exploring combinations)
• Gallery walk (viewing past murals)
This keeps everyone engaged without overwhelming your sanity!
Time Management Magic:
I use visual timers for everything. “Artists, you have 10 minutes to add details!” The poster maker machines handle the technical timeline – scanning and printing happen during specials or lunch.
Mess Minimization:
Confession time: I’m not a messy-art teacher. That’s why our design-scan-print process works so well! Markers and colored pencils create beautiful results without paint catastrophes. For texture, we use oil pastels sparingly.
Documentation Station:
Assign one student as the “photographer” each session. They capture work-in-progress shots using our class tablet. These photos become a digital portfolio showing our creative journey!
Assessment and Display Ideas
How do you grade a collaborative project? Focus on process, not product! Here’s my approach:
Individual Assessment:
• Effort and participation rubric (kid-friendly with smiley faces)
• Peer feedback forms (“I liked how [friend] helped by…”)
• Self-reflection sheets with picture prompts
• Photo documentation of each child working
Display Strategies:
Our completed murals don’t just hang on walls – they travel! Thanks to the durability of prints from our best printer for posters, we can:
• Create a “Mural Museum” in the hallway with QR codes linking to process videos
• Make mini versions for take-home portfolios
• Design greeting cards using mural sections for school fundraisers
• Laminate and use as tablecloths for special events (yes, really!)
Digital Portfolio Magic:
Each mural gets its own digital folder with:
• Individual artwork scans
• Work-in-progress photos
• Student voice recordings explaining their contributions
• Final mural in various sizes
Parents LOVE accessing these through our class website!