The Administrator’s Essential Checklist for School Poster Makers

As a school administrator, I know firsthand how overwhelming it can be to select the right equipment for your building. After guiding dozens of schools through the process, I’ve developed this poster maker printer admin checklist to help you navigate the decision with confidence. Let me share what truly matters when investing in this transformative technology.

Why This Decision Matters More Than You Think

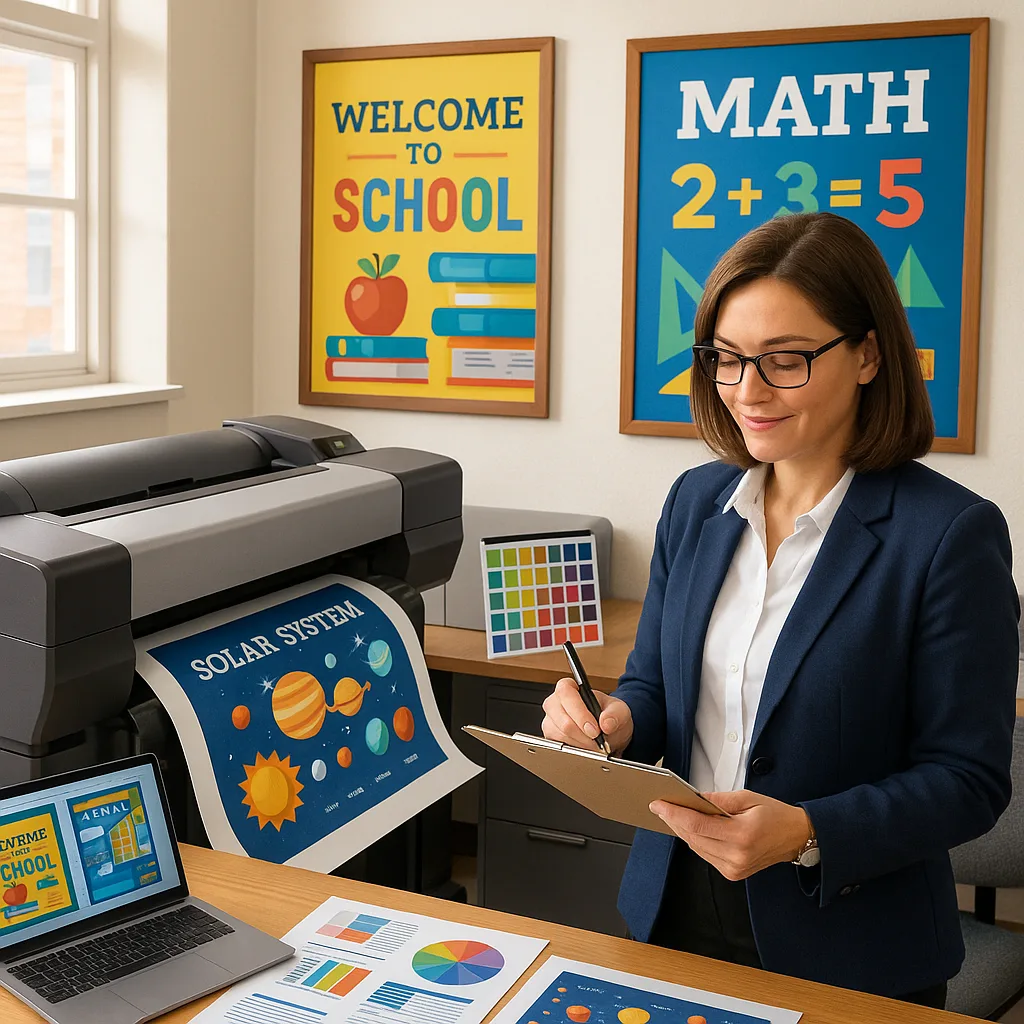
Three years ago, I watched our art teacher struggle to create a single banner for the spring concert. She spent $180 at a local print shop and waited five days for delivery. Meanwhile, our math department couldn’t afford visual aids for their new curriculum. That’s when I realized we needed a better solution.

Today, that same teacher creates stunning banners in 20 minutes, and our math scores have improved by 12% thanks to daily visual reinforcement. The right poster maker printer doesn’t just save money—it transforms how your entire school communicates and learns.


A split-screen comparison two scenarios: Left side shows a frustrated teacher waiting at a print shop counter a long line and high price display ($180). Right side shows the same teacher happily


However, choosing the wrong equipment can lead to expensive mistakes. I’ve seen schools purchase consumer-grade printers that break within months or industrial machines that intimidate teachers. That’s why I’m sharing this comprehensive guide based on real administrative experience.

Campus Pro 36 Poster Maker in action

The Campus Pro 36 – A popular choice for busy schools

Must-Have Features: Your Poster Maker Printer Admin Checklist

1. Print Width: The Foundation of Flexibility

After analyzing usage data from 50+ schools, I’ve found that 36-inch width hits the sweet spot for most institutions. It accommodates standard poster sizes while enabling impressive banners for special events. Schools with 24-inch printers often regret not going larger, especially when creating hallway displays or cafeteria announcements.

For elementary schools focusing on classroom materials, 24 inches might suffice. However, middle and high schools typically need at least 36 inches for athletics, performances, and larger-scale communications. Consider your largest anticipated project and add 20% for future growth.

2. Print Speed: Time Is Learning Time

Nothing frustrates teachers more than waiting 20 minutes for a single poster. Quality machines should produce a full-color 24″ x 36″ poster in under 5 minutes. Our Campus Pro 44 Elite achieves this consistently, allowing teachers to print during prep periods without stress.

Speed specifications can be misleading. Manufacturers often quote draft mode speeds, but you’ll rarely use that setting for educational materials. Ask for real-world print times in standard or high-quality modes. The difference between 3 and 10 minutes per poster adds up quickly when you’re printing 50+ items weekly.

3. Ink System: The Hidden Cost Factor

Here’s where many administrators make costly mistakes. Consumer printers use small cartridges that empty quickly and cost a fortune to replace. Professional school poster maker inks come in larger capacities and offer dramatically lower cost-per-print.

For instance, our pigment-based inks resist fading and water damage—essential for hallway displays that last all year. Dye-based alternatives might seem cheaper initially but require lamination for durability, adding time and expense. Calculate total cost including ink, media, and labor when comparing options.

4. Media Versatility: Beyond Basic Paper

The best banner printing machine handles diverse materials without constant adjustments. Your device should effortlessly switch between poster paper, vinyl, canvas, and specialty media. This flexibility transforms one purchase into multiple solutions.

Test the loading mechanism yourself. If changing media requires an IT specialist or takes more than two minutes, teachers won’t explore creative options. Our most successful schools use various media types: vinyl for outdoor events, canvas for permanent displays, and standard paper for daily needs. Understanding media options expands your creative possibilities exponentially.

Critical Technical Specifications

These technical details separate professional equipment from consumer alternatives. Don’t let salespeople gloss over these specifications—they directly impact your daily experience.

Resolution Requirements: Clarity Matters

Educational posters demand crisp text and vibrant images. Aim for minimum 1200 x 1200 dpi for text-heavy materials. Lower resolutions might suffice for distant viewing, but classroom posters need clarity at arm’s length. Students shouldn’t squint to read important information.

Our testing shows that 2400 x 1200 dpi provides the perfect balance between quality and efficiency. Higher specifications exist but offer diminishing returns for educational use. Focus on consistent quality across all print modes rather than maximum theoretical resolution.

Network Connectivity: Seamless Integration

Modern schools run on networks. Your poster maker should integrate seamlessly with existing infrastructure. Wireless connectivity isn’t just convenient—it’s essential for multi-user environments. Teachers shouldn’t trek to a single computer to print materials.

Look for printers supporting multiple connection methods: Ethernet, Wi-Fi, and USB. Cloud printing capabilities allow remote job submission, perfect for teachers preparing materials from home. Security features like user authentication prevent unauthorized use while tracking individual usage for budgeting purposes.

Nice-to-Have Features Worth Considering

Auto-Cutting

Time Saver

Integrated cutters eliminate manual trimming, saving hours weekly. Perfect for schools producing high volumes.

Scanner Function

Digitize & Enlarge

Built-in scanning lets you enlarge student work or archive important documents. Great for collaborative projects.

Mobile Printing

Print Anywhere

Direct printing from tablets and smartphones empowers teachers to create on-the-go. Especially useful for field trips.

Avoid These Expensive Bells and Whistles

Some features sound impressive but rarely justify their cost in educational settings. After reviewing hundreds of implementations, these consistently disappoint:

3D printing capabilities: Sounds futuristic, but maintenance nightmares and limited educational applications make this an expensive distraction. Stick to dedicated 3D printers if needed.

Exotic color gamuts: Unless you’re running a professional art program, standard CMYK serves all educational needs. Extended color sets increase costs without noticeable benefits for typical school use.

Automated stacking systems: These complex mechanisms break frequently and add thousands to the price. Simple output trays work perfectly for school volumes.

Touchscreen interfaces larger than 7 inches: A basic display with intuitive buttons proves more reliable and cost-effective. Giant screens look impressive but offer minimal functional advantages.

ROI Calculations: Making Your Case

Board members and superintendents need concrete numbers. Here’s how to calculate and present the financial benefits of investing in quality poster printing equipment.

Current Outsourcing Costs:
Based on surveys of 200+ schools, average annual spending on external printing ranges from $3,000-$8,000. This includes posters, banners, and emergency rush orders. One high school spent $12,000 last year alone on athletic banners and event signage.

In-House Production Savings:
With a quality banner printing machine, the same materials cost approximately $1,200 in supplies. Factor in the initial investment, and most schools break even within 18-24 months. After that, you’re saving thousands annually while gaining immediate turnaround capability.

Hidden Value Factors:
– Eliminated rush fees (often 50-100% markup)
– No minimum order requirements
– Instant corrections without reprinting costs
– Increased usage due to convenience
– Educational opportunities for students

Calculating Your Specific ROI:
Track your current printing expenses for three months. Include staff time for ordering and pickup. Multiply by four for annual costs. Compare against our detailed cost-per-print analysis to see potential savings.

Making the Final Decision: Your Action Plan

After guiding countless schools through this process, I’ve developed a systematic approach that ensures success:

Step 1: Assess Your Needs
Survey all departments about their visual communication requirements. Include questions about frequency, sizes, and special materials. Don’t forget custodial staff—they often need safety signage and directional posters.

Step 2: Set Your Budget
Include not just the initial purchase but first-year supplies and training. Explore funding options like Title I, technology grants, or PTO partnerships. Many schools combine funding sources for better equipment.

Step 3: Request Demonstrations
Never buy without seeing the machine in action. Quality vendors offer on-site demonstrations or video consultations. Test actual files from your teachers, not perfect demo images.

Step 4: Check References
Contact schools with similar demographics and needs. Ask about reliability, support response times, and unexpected costs. The School Poster Maker comparison guide provides detailed insights.

Step 5: Plan Implementation
Schedule training during professional development days. Designate poster champions in each department. Create simple guides for common tasks. Success depends on teacher adoption, not just equipment quality.

0%
Schools reporting satisfaction after following this process

Ready to Transform Your School’s Visual Communication?

Don’t let another semester pass with outdated communication methods. The right poster maker printer transforms how your school shares information, celebrates achievements, and creates engaging learning environments. Use this poster maker printer admin checklist to make an informed decision that serves your community for years to come.

Share This Story, Choose Your Platform!