Poster Makers for School Safety Protocols
The Critical Role of Visual Safety Communication
Every morning, over 1,200 people walk through our doors at Sunnyvale Elementary. Students, teachers, staff, parents, substitute teachers, delivery personnel – each person needs instant access to safety information. Traditional verbal announcements and written procedures simply aren’t enough anymore. Visual safety protocols bridge language barriers, accommodate different learning styles, and provide immediate guidance during high-stress situations.
Research from the National Clearinghouse for Educational Facilities shows that schools with comprehensive visual safety systems reduce evacuation times by up to 40%. That’s not just a statistic – it’s potentially life-saving minutes. Moreover, visual protocols enhance daily safety awareness, preventing incidents before they occur.
However, creating effective visual safety systems involves more than posting a few exit signs. It requires strategic planning, thoughtful design, and the right tools to produce professional-quality materials that withstand daily wear while remaining clearly visible in all conditions.
Building Your Visual Safety Infrastructure with Poster Makers for School Safety Protocols
After implementing visual safety systems in three different schools, I’ve developed a comprehensive framework that addresses every critical area. The foundation of this system relies on having the right equipment – specifically, a reliable Amplify Poster Maker that can produce weather-resistant materials for both indoor and outdoor use.

Let me walk you through the essential components of a complete visual safety system:
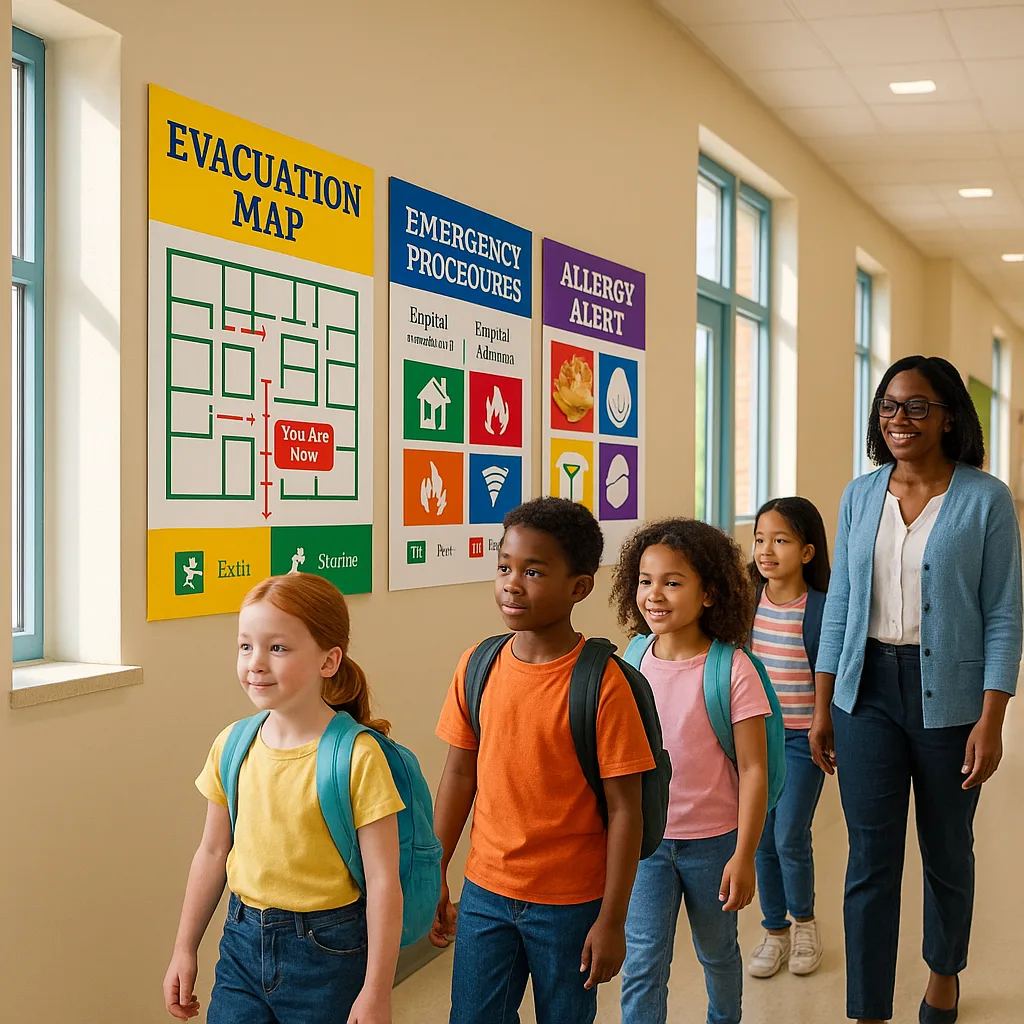
Emergency Evacuation Maps
These aren’t your standard floor plans. Effective evacuation maps use color-coding, universal symbols, and clear directional indicators. Each map should display:
• Primary and secondary exit routes
• Assembly point locations
• Fire extinguisher and AED positions
• Areas of refuge for mobility-impaired individuals
• Current location markers (“You Are Here”)
Multi-Hazard Response Guides
Different emergencies require different responses. Your visual guides should clearly distinguish between:
• Fire evacuation procedures
• Lockdown protocols
• Severe weather sheltering
• Earthquake response
• Medical emergency procedures
Allergy and Medical Alert Stations
With food allergies affecting 1 in 13 children, visual allergy alerts have become non-negotiable. These stations should include:
• Photo identification systems for severe allergies
• EpiPen location markers
• Common allergen visual guides
• Emergency contact information
• Step-by-step anaphylaxis response procedures
Quick Implementation Checklist
✓ Conduct safety audit
✓ Map all exit routes
✓ Identify high-risk areas
✓ Design visual protocols
✓ Select durable materials
✓ Create multilingual versions
✓ Train staff on systems
✓ Schedule regular updates
✓ Test with drills
✓ Gather feedback
Creating Compliance-Ready Visual Systems
Meeting regulatory requirements while maintaining visual clarity requires strategic design and the right production tools.
Meeting Federal and State Requirements
Navigating compliance requirements can feel overwhelming. However, visual safety protocols actually simplify compliance when designed correctly. Federal regulations under the Americans with Disabilities Act (ADA) and Occupational Safety and Health Administration (OSHA) mandate specific visual communication standards.
Your safety posters must include:
• High-contrast color schemes (minimum 70% contrast ratio)
• Sans-serif fonts at specified minimum sizes
• Tactile elements for vision-impaired individuals
• Pictograms meeting ISO 7010 standards
• Reflective materials for low-light visibility
State requirements often add additional layers. For instance, California’s Title 24 requires specific seismic safety postings, while Florida mandates hurricane preparedness visuals. Using a professional-grade Campus Pro 44 Poster Maker Elite Package ensures your materials meet durability standards for both indoor and outdoor posting requirements.
Designing for Different Stakeholders Using Poster Maker Machine for Schools
One size doesn’t fit all when it comes to safety communication. Each stakeholder group in your school community has unique needs and perspectives. Let me share how we’ve successfully tailored our visual safety protocols for different audiences.
For Elementary Students:
Young learners respond best to character-based safety guides. We’ve created friendly mascots that guide students through different procedures. For example, “Safety Sam the Owl” appears on all our evacuation maps, pointing the way to exits. Color-coding matches their classroom organization systems – if their reading group is “blue,” they follow the blue arrows during drills.
For Middle and High School Students:
Teenagers appreciate straightforward, respect-based communication. Our teen-focused posters use infographic styles with QR codes linking to video demonstrations. This tech-forward approach increases engagement while providing detailed information for those who want it.
For Staff Members:
Teachers and support staff need quick-reference guides that include their specific responsibilities. We’ve developed role-specific posters using a poster maker machine for schools that detail exactly what each staff member should do during various emergencies. These laminated guides attach to lanyards for immediate access.
For Visitors and Substitutes:
People unfamiliar with your building need ultra-clear guidance. Our visitor safety stations include simplified maps with photographs of actual locations, not just architectural drawings. Every substitute folder contains a condensed visual safety guide highlighting essential procedures.
For Non-English Speakers:
Visual communication transcends language barriers, but we enhance this with multilingual support. Our district serves families speaking 23 different languages. Using pictograms as the primary communication method, supplemented with translations in the five most common languages, ensures everyone understands critical safety information.
Measuring Success and Continuous Improvement
After implementing visual safety protocols in over 50 schools across our district, we’ve learned that success measurement goes beyond compliance checkboxes. Real success means faster emergency response times, fewer safety incidents, and a more confident school community.
Track these key metrics:
• Evacuation drill completion times (target: under 3 minutes)
• Staff confidence ratings in emergency procedures (survey quarterly)
• Visitor compliance with safety protocols (observation data)
• Incident reduction rates (compare year-over-year)
• Student demonstration of safety knowledge (age-appropriate assessments)
Furthermore, establish a review cycle for your visual materials. Safety protocols evolve, building layouts change, and new threats emerge. Schedule quarterly reviews of your visual systems, updating materials as needed. Having poster makers for schools on-site makes these updates cost-effective and timely.
Additionally, create feedback loops with all stakeholders. Our “Safety Suggestion Box” – both physical and digital – has generated invaluable improvements. One parent’s suggestion about color-blind-friendly evacuation maps led to a complete redesign that benefits 8% of our male students.
Your Next Steps Forward
Creating effective visual safety protocols isn’t just about compliance – it’s about building a culture of preparedness that permeates every corner of your school. Throughout my years in education, I’ve seen firsthand how well-designed visual systems can transform a school’s safety readiness.
Remember, the best safety system is one that’s actually used. Start small if needed, but start today. Whether you’re updating existing protocols or building from scratch, having the right tools makes all the difference. Poster makers for schools provide the flexibility to create, update, and customize safety materials as your needs evolve.
Your school community deserves clear, accessible safety communication. From kindergarteners learning their first evacuation routes to substitute teachers navigating unfamiliar hallways, everyone benefits from thoughtfully designed visual protocols. Take the first step today – conduct that safety audit, identify your gaps, and begin building a visual safety system that speaks to everyone who enters your doors.
Together, we can create schools where safety isn’t just a priority – it’s visibly woven into the fabric of daily life. Because when everyone knows exactly what to do in an emergency, we can focus on what truly matters: educating and nurturing our students in a secure, prepared environment.