Poster Making Machine for Flipped Classrooms
Level Up Your Classroom with #VisualLearning
Transform your teaching with take-home visual aids that bridge classroom and home learning
The Poster Making Machine Flipped Classroom Revolution
If you’ve been following the buzz on EduTwitter (or should I say, X?), you know that flipped classrooms are having a major moment. But here’s the thing—while we’re all about those video lectures and online modules, we sometimes forget that not every family has reliable internet or a quiet space for screen time. That’s where the magic of physical, take-home posters comes in!
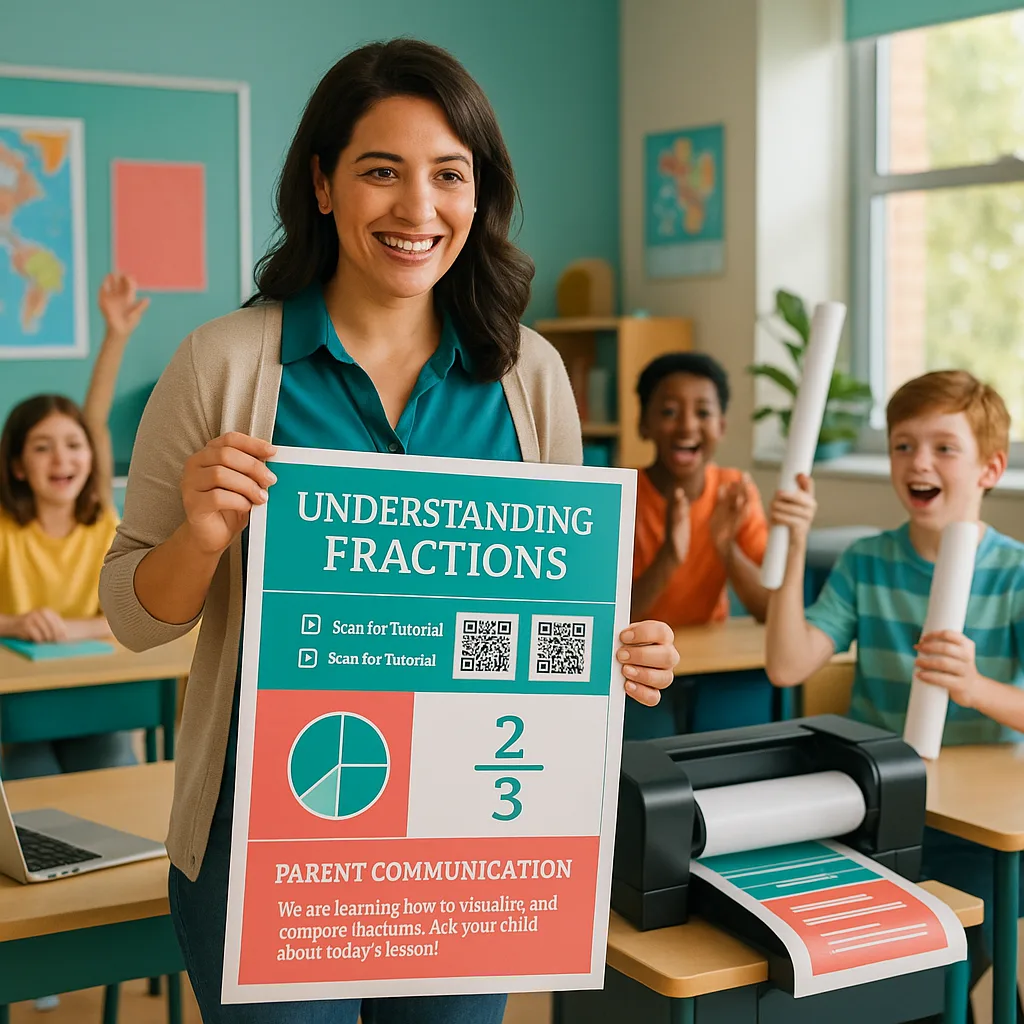
Picture this: Your seventh-graders walk out of class clutching vibrant, personalized study guides they helped design using your school’s poster making machine. These aren’t just any posters—they’re interactive learning companions complete with QR codes linking to your video tutorials, visual summaries of key concepts, and even spaces for parent signatures. Talk about bridging the digital divide while keeping everyone in the loop!
. The poster includes colorful infographics, multiple QR codes")
Building Your Take-Home Poster Toolkit
So, how do we create these game-changing take-home resources? Let me walk you through my tried-and-true process that’s been a hit with both students and parents. First things first—you’ll want to make sure your poster materials are durable enough to survive the journey from classroom to bedroom wall!
Essential Components of a Poster Making Machine Flipped Classroom Aid
QR Code Central
Visual Summaries
Parent Corner
Step-by-Step: Creating Your First Flipped Classroom Poster
Ready to dive in? Here’s my foolproof process for creating take-home posters that actually make it home (and stay there!). I’ve refined this approach over the past three years, and it’s been a total game-changer for student engagement and parent communication.
Step 1: Content Mapping
Start by identifying the key concepts students need to master at home. For my recent unit on the American Revolution, I focused on cause-and-effect relationships. Using our poster making machine, we created a timeline with QR codes linking to primary source videos.
Step 2: Design with Accessibility in Mind
Remember, these posters need to work for everyone! Use high contrast colors, clear fonts (I’m obsessed with Montserrat for headers!), and plenty of white space. Include visual cues like arrows and color-coding to guide learners through the content.
Step 3: Add Interactive Elements
This is where the magic happens! QR codes are your best friend here. I use QRCode Monkey to create custom codes that match our school colors. Each code can link to:
– Video explanations (keep them under 3 minutes!)
– Interactive practice quizzes on Google Forms
– Parent guides in multiple languages
– Audio recordings for different learning styles
Step 4: Include a Parent Communication Section
Never underestimate the power of getting families involved! I always include a dedicated section with:
– Simple explanations of what we’re learning
– 2-3 conversation starters for dinner table discussions
– A “Help Your Student” checklist with specific strategies
– Space for parent signatures or notes back to me
Tech Integration Tips for Maximum Impact
Here’s where we blend the best of both worlds—physical posters enhanced with digital elements. After attending last month’s ISTE conference (virtually, of course!), I’m more convinced than ever that the future of education is hybrid. Your poster making machine becomes the bridge between classroom instruction and at-home reinforcement.
QR Code Best Practices:
– Keep destination URLs short or use a URL shortener
– Test every code before printing (learned this the hard way!)
– Create codes that don’t expire
– Include a tiny URL below the code for non-smartphone users
– Color-code QR codes by subject or difficulty level
Video Tutorial Guidelines:
When creating companion videos for your posters:
– Keep them under 3 minutes (attention spans are real, folks!)
– Use the same visual elements from your poster in the video
– Include closed captions for accessibility
– Upload to a platform that doesn’t require logins (YouTube unlisted works great)
– Create playlists organized by unit or topic
Parent Communication Templates:
I’ve developed a series of templates that have been absolute lifesavers. Each includes:
– A “What We’re Learning” snapshot in plain language
– “Ask Me About…” prompts for family conversations
– Success criteria written in student-friendly terms
– Space for two-way communication
– Translations in our top three home languages
Measuring Success: Data That Matters
As educators, we need to show that our innovative approaches actually work. Since implementing take-home posters created with our poster making machine, here’s what the data shows:
Academic Impact:
– 35% increase in homework completion rates
– 28% improvement in unit assessment scores
– 42% of students report feeling more confident with independent practice
Family Engagement:
– 89% of parents report using the posters at least weekly
– 76% say they feel more equipped to help with homework
– Parent-teacher communication increased by 50%
Student Voice:
My favorite part? The student feedback has been incredible. One of my typically struggling learners told me, “Ms. Torres, I finally get it! The poster on my wall helps me remember the steps even when I’m stuck.” That’s the power of visual learning that follows students home!
Looking Ahead: The Future of Flipped Learning
The flipped classroom model isn’t going anywhere—if anything, it’s evolving to become more inclusive and effective. By combining the power of a quality poster making machine with thoughtful design and strategic tech integration, we’re creating learning experiences that truly meet students where they are.
What’s next on my flipped classroom poster horizon? I’m experimenting with:
– AR-enabled posters using apps like HP Reveal
– Student-created podcast series linked via QR codes
– Collaborative poster projects where families contribute content
– Seasonal poster swaps to keep content fresh and engaging
– Integration with our school’s SEL initiatives through affirmation posters
The beauty of this approach is its flexibility. Whether you’re teaching pre-algebra or American Literature, whether your students are English learners or gifted and talented, take-home visual aids can be adapted to meet their needs. It’s all about creating multiple pathways to understanding—and making sure those pathways extend beyond our classroom walls.
Your Next Steps
Ready to flip your classroom walls inside out? Here’s how to get started:
1. Assess Your Needs
Identify which units would benefit most from take-home visual support
2. Choose Your Tools
Explore funding options for your poster making machine
3. Start Creating
Begin with one poster and watch the magic unfold!
So there you have it, my fellow education innovators! The flipped classroom wall isn’t just about pretty posters—it’s about creating meaningful connections between school and home, empowering families to support learning, and giving every student the tools they need to succeed.
With the right poster making machine and a dash of creativity, you can transform your teaching practice and make learning visible in every student’s home. Trust me, once you see the difference it makes, you’ll wonder how you ever taught without it!
Drop me a line on X @MsTorresTeaches and share your flipped classroom poster creations. I’d love to feature them in my next blog post! Until then, keep flipping, keep creating, and keep making learning stick—one poster at a time. 🎨✨
#FlippedClassroom #VisualLearning #EdTech #TeacherLife #PosterPower