Poster Making Machine Museum Exhibitions Teachers Guide
Every art teacher dreams of showcasing student work in a way that honors their creativity and hard work. With a poster making machine museum exhibitions become not just possible, but practical and affordable for any school. In this comprehensive guide, I’ll share the strategies and techniques I’ve developed over 15 years to transform ordinary classroom artwork into extraordinary gallery experiences that inspire students, engage parents, and strengthen our entire school community.
Understanding the Power of Professional Presentation
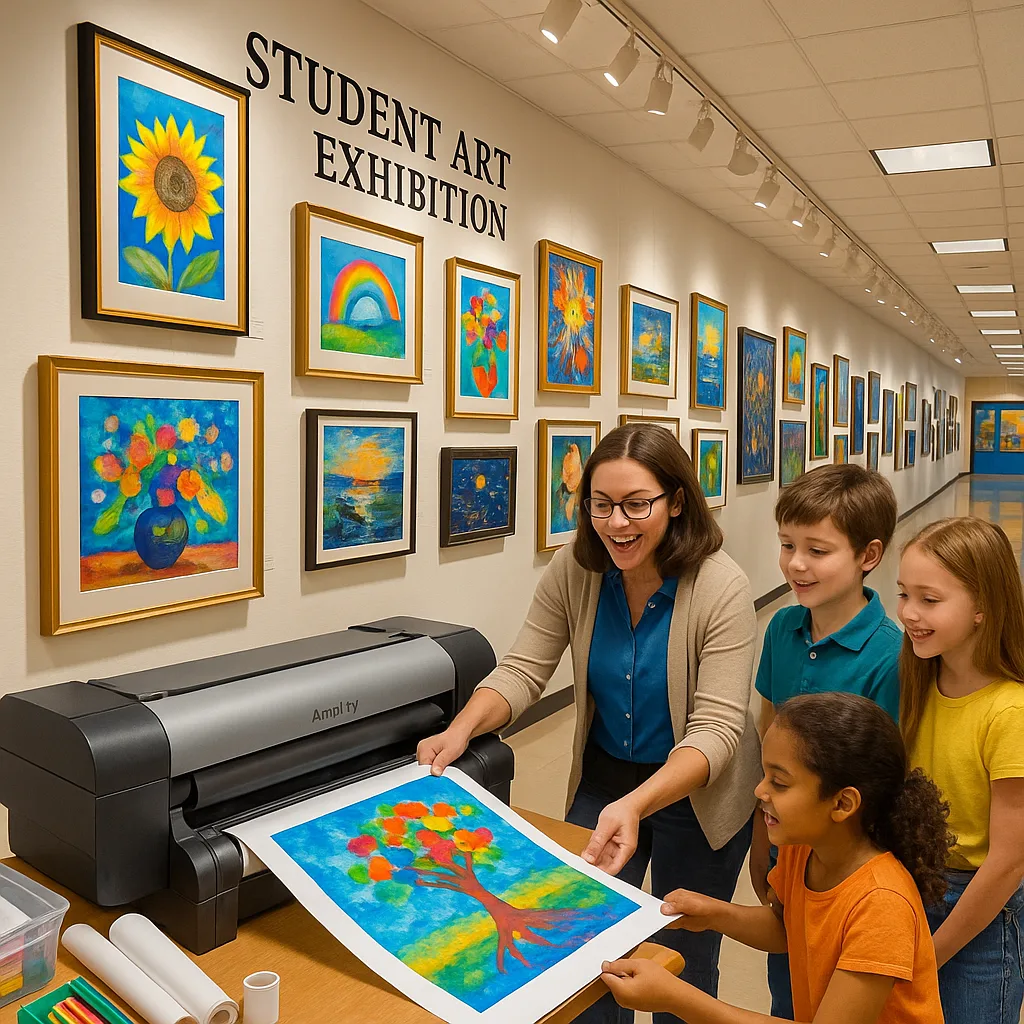
When students see their artwork displayed with the same care and attention as pieces in a professional gallery, something magical happens. Their confidence soars, their commitment to artistic excellence deepens, and they begin to see themselves as real artists. Moreover, these exhibitions create powerful connections between school and community, turning hallways into destinations and transforming how stakeholders perceive arts education.
Professional presentation through quality printing elevates student work from simple classroom projects to gallery-worthy pieces. The difference lies in attention to detail: proper mounting, optimal print quality, cohesive theming, and strategic placement all contribute to an exhibition that commands respect and admiration.
Essential Equipment: Your Poster Making Machine Museum Exhibitions Toolkit
Creating museum-quality exhibitions starts with having the right tools. While professional galleries might spend thousands on printing services, schools can achieve comparable results with in-house poster printing for teachers. Let me walk you through the essential equipment and materials needed to transform your art room into a professional print studio.
Core Printing Equipment
Your poster making machine serves as the heart of your exhibition preparation. For art teachers serious about creating professional displays, I recommend considering machines that offer:
• Wide format capabilities (24″ to 44″ width)
• High resolution printing (at least 2400 x 1200 dpi)
• Color accuracy with multiple ink cartridges
• Ability to handle various media types
• Reliable performance for heavy use
The Campus Pro 44 Poster Maker Elite Package exemplifies what to look for in exhibition-quality printing. Its 44-inch width accommodates large-scale reproductions, while water-resistant pigment inks ensure longevity—critical for pieces that may travel between classrooms or be displayed in high-traffic areas.
Media Selection for Different Art Styles
Choosing the right printing media dramatically impacts how artwork translates from original to exhibition piece. Through years of experimentation, I’ve developed this matching guide for common student art mediums:
Watercolor and Light Washes: Use heavyweight matte paper (at least 190gsm) to capture subtle color gradations without unwanted shine. The texture complements the original medium while preventing warping during mounting.
Pencil and Charcoal Drawings: Select smooth matte or satin finish papers that won’t introduce texture conflicts. Fine art papers with slight tooth can enhance graphite works by adding dimensionality.
Digital Art and Photography: Glossy or semi-gloss photo papers showcase vibrant colors and sharp details. For a more sophisticated look, consider premium photo paper options that resist fingerprints and provide archival quality.
Mixed Media and Textured Works: Canvas prints add authenticity to pieces originally created with texture. The Cotton Art Canvas beautifully reproduces oil painting effects and mixed media compositions.

Mastering Print Settings for Poster Making Machine Museum Exhibitions
Achieving gallery-quality prints requires understanding how different settings affect final output. Rather than relying on default configurations, customize your approach based on the specific artwork and intended display environment. Here’s my tested framework for optimal results:
Color Management
Pro Settings
Front: Essential for accurate reproduction• Use sRGB color space for consistency
• Calibrate monitors monthly
• Print test strips before final runs
• Match lighting conditions to display area
• Document successful settings for future use
Resolution Guidelines
Quality Standards
Front: Crisp details at any viewing distance• 300 DPI minimum for close viewing
• 150-200 DPI acceptable for large pieces viewed from distance
• Scan originals at 600 DPI for flexibility
• Maintain aspect ratios to prevent distortion
• Save master files in lossless formats
Advanced Techniques for Different Art Mediums
Each artistic medium presents unique challenges when translating to print. Through extensive testing with poster printing for teachers, I’ve developed specific protocols that preserve the essence of original works:
Reproducing Texture and Depth: For heavily textured pieces like impasto paintings or collages, photograph artwork at an angle with raking light to capture shadows and dimension. Then adjust contrast and shadows in editing software before printing. This technique creates visual depth that flat scanning misses.
Preserving Delicate Color Transitions: Watercolors and pastels often contain subtle gradations lost in standard printing. Increase color depth to 16-bit, enable gradient smoothing, and use papers specifically designed for photographic reproduction. The investment in quality media pays dividends in faithful color reproduction.
Handling Metallic and Specialty Effects: Student work incorporating metallic paints, glitter, or other specialty materials challenges standard printing. Consider using specialty films or papers with pearlescent finishes to approximate these effects.
Professional Mounting and Display Techniques
The difference between amateur and professional exhibitions often lies in presentation details. Proper mounting elevates printed reproductions to gallery status while protecting them for long-term display. Let me share the techniques I’ve refined through countless student exhibitions.
Float Mounting for Premium Presentation: This technique creates the illusion that artwork hovers above the backing, adding sophisticated depth. Cut mounting board 2-3 inches larger than the print on all sides. Use acid-free mounting tape to secure the print from behind, ensuring no adhesive touches the artwork face. This method works exceptionally well for pieces printed on heavyweight papers.
Window Matting for Classic Elegance: Traditional window mats remain the gold standard for formal presentations. When cutting mats, maintain consistent borders (typically 3-4 inches) and ensure openings are slightly smaller than the artwork to hide edges. For student exhibitions, pre-cut mats in standard sizes streamline the process while maintaining professional appearance.
Direct Mounting for Modern Impact: Contemporary galleries often mount prints directly to rigid substrates like foam core or gatorboard. This approach works particularly well with full-bleed prints and creates clean, modern presentations. Apply mounting adhesive evenly to prevent bubbles, working from center outward.
Creating Cohesive Exhibition Themes
Successful exhibitions tell stories. Rather than simply hanging artwork randomly, curate displays that guide viewers through meaningful narratives. This approach transforms hallway galleries from decoration into powerful communication tools that celebrate student growth and creativity.
Thematic Organization Strategies
Chronological Journeys: Display work showing artistic development over time. This approach particularly resonates during parent conferences or portfolio reviews, visually demonstrating student progress.
Technique-Based Groupings: Organize exhibitions around specific skills or mediums—all printmaking in one section, watercolors in another. This arrangement helps viewers appreciate the breadth of your art program while students see peer approaches to similar challenges.
Conceptual Connections: Group artwork exploring similar themes or ideas. For instance, a “Perspectives on Community” exhibition might feature diverse interpretations of local landmarks, creating dialogue about shared experiences through different artistic lenses.
Cross-Curricular Celebrations: Partner with other departments to create interdisciplinary exhibitions. Science teachers contribute botanical drawings, history classes provide historical recreations, and literature students offer visual interpretations of texts.
Exhibition Planning with Your Poster Making Machine Museum Exhibitions
Strategic planning ensures smooth execution and maximum impact. I’ve developed this timeline for organizing successful student exhibitions:
8 Weeks Before: Select theme and begin collecting student work. Start digitizing pieces using your poster making machine’s scanning capabilities if available. The Amplify Poster Maker excels here with integrated scanning functionality.
6 Weeks Before: Finalize artwork selection and begin test printing. Experiment with different papers and settings to determine optimal combinations for each piece. Document successful settings for consistent reproduction.
4 Weeks Before: Complete all printing and begin mounting process. Order any additional supplies needed. Calculate total costs using cost-per-print guidelines to stay within budget.
2 Weeks Before: Design promotional materials using your poster printer—invitations, signage, artist statements. Involve students in creating exhibition collateral to build ownership and excitement.
1 Week Before: Install exhibition with student assistance. Teaching proper handling and installation techniques provides valuable real-world experience while building anticipation for the opening.
Building School-Community Connections Through Art
Professional student exhibitions create powerful bridges between school and community. When families see their children’s work presented with museum-quality care, they understand the value of arts education in new ways. These displays become conversation starters, pride points, and evidence of your program’s impact.
Consider expanding beyond school walls by partnering with local businesses, libraries, or community centers to host satellite exhibitions. Your poster printing for teachers capabilities make creating multiple copies feasible, allowing simultaneous displays that maximize exposure and celebrate student achievement broadly.
Furthermore, document exhibitions professionally using your printing equipment. Create catalogs, portfolios, and promotional materials that students can keep forever. These tangible reminders of their artistic achievements often become treasured keepsakes that inspire continued creative exploration.
Getting Started: Your Action Plan
Ready to transform your student exhibitions? Here’s your step-by-step action plan for implementing museum-quality displays:
1. Assess Your Current Resources: Inventory existing equipment and identify gaps. If you lack adequate printing capabilities, explore options like the Campus Pro 36 Poster Maker Advanced Package for a complete solution.
2. Start Small: Begin with a focused exhibition featuring one class or grade level. Perfect your techniques before scaling up to school-wide shows.
3. Document Everything: Create templates and checklists for future exhibitions. Record successful print settings, popular themes, and effective promotional strategies.
4. Build Partnerships: Connect with local frame shops for discounts, art supply stores for materials, and community venues for exhibition space.
5. Invest in Quality: While budget constraints are real, remember that total cost of ownership for in-house printing equipment often proves more economical than outsourcing, especially for schools hosting multiple exhibitions annually.
Conclusion: Elevating Student Artists Through Professional Display
Creating museum-quality exhibitions with your poster making machine transforms more than hallways—it transforms how students see themselves as artists and how communities value arts education. Through careful attention to printing quality, professional mounting techniques, and thoughtful curation, every school can provide students with gallery experiences that inspire continued creative growth.
Remember, the goal extends beyond beautiful displays. These exhibitions teach students about presentation, build confidence through public recognition, and create lasting memories of artistic achievement. When we honor student creativity with professional treatment, we communicate powerfully that their work matters, their voices deserve amplification, and their artistic journey merits celebration.
Start today by assessing your current capabilities and envisioning what’s possible. Whether you’re upgrading equipment, refining techniques, or planning your first professional exhibition, remember that every step toward museum-quality presentation is a step toward empowering young artists. Your commitment to excellence in display matches your dedication to excellence in teaching—and students notice the difference.