Poster Printer Machine File Formats Guide
Why File Preparation Matters for Your Poster Printer Machine
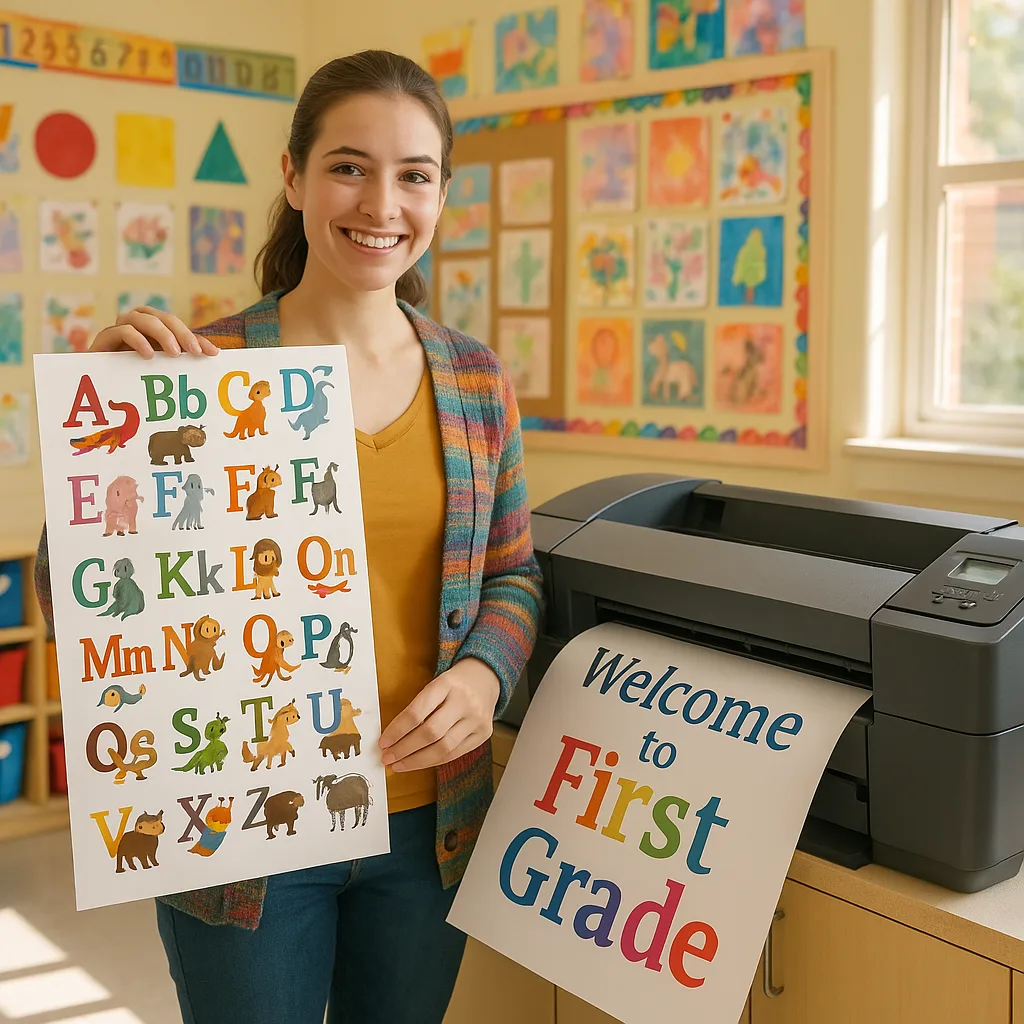
When I first started teaching, I thought creating posters was as simple as clicking “print.” Boy, was I wrong! After wasting countless sheets of paper (and probably a small forest’s worth), I discovered that each type of paper requires different digital settings. Whether you’re using a Campus Pro 24 Poster Maker or planning to upgrade to a larger model, understanding file formats is crucial.
Think of it this way: your digital file is like a recipe, and your poster printer is the oven. Just as you wouldn’t use the same temperature for cookies and bread, different paper types need different “recipes” to turn out perfectly. Today, I’m sharing everything I’ve learned through trial, error, and many late nights preparing classroom materials!
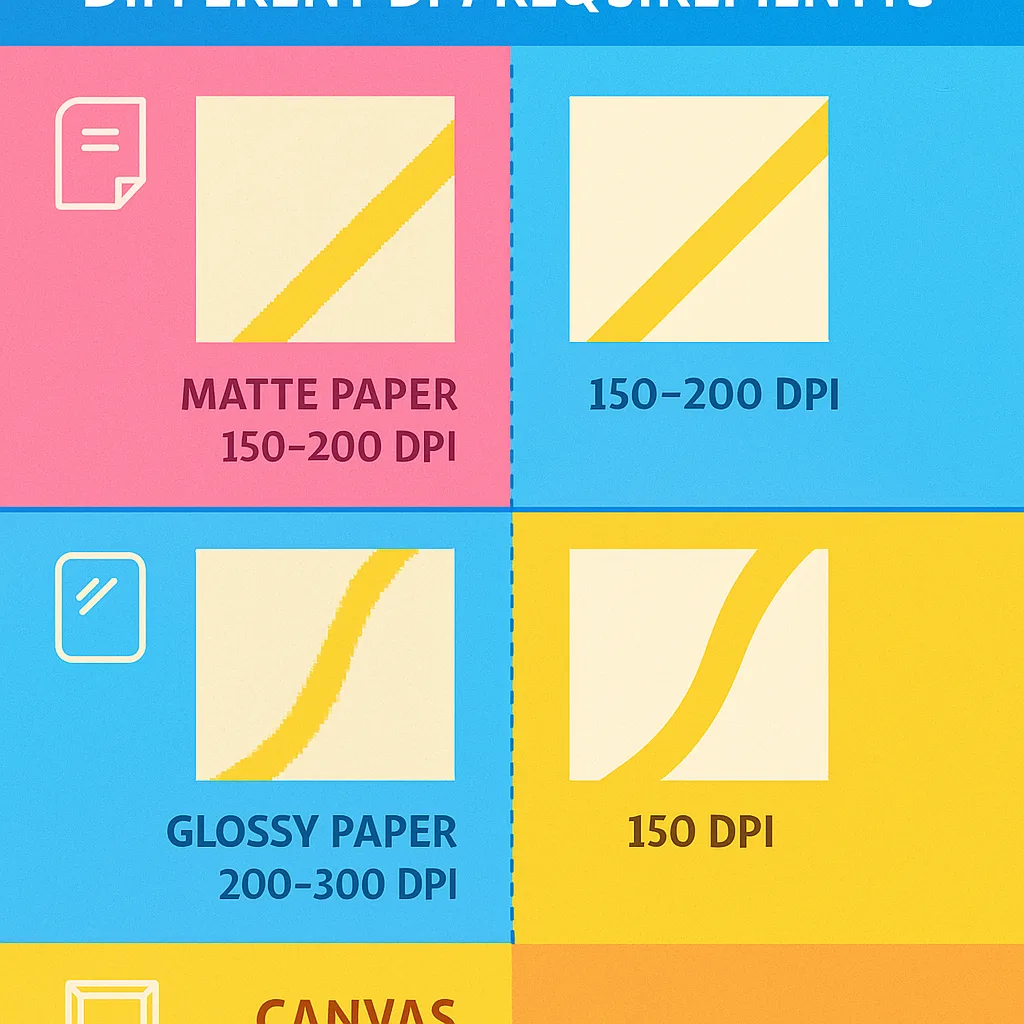
Poster Printer Machine File Optimization for Different Paper Types
Let me share what I’ve discovered about preparing files for different paper types. Each one has its own personality, just like my first graders!
Coated Paper
Bright, vibrant colors with sharp detailsBest Practices
• Use CMYK color mode• Add 3mm bleed
• Export as PDF/X-1a
• Sharpen images slightly
Banner Vinyl
Durable outdoor materialsSpecial Settings
• Increase contrast by 10%• Use weather-resistant profiles
• 5mm bleed minimum
• Bold fonts only
Photo Paper
Gallery-quality printsPro Settings
• RGB color space• 300+ DPI essential
• Soft proofing recommended
• Calibrate monitor first
Software Recommendations for Poster Printer Machine File Optimization
While I’m no tech wizard, I’ve found some user-friendly software that makes file preparation a breeze. Here are my go-to tools for creating print-ready files:
• Canva (with print settings)
• GIMP (open-source alternative)
• Inkscape (for vector graphics)
• Google Drawings (basic but effective!)
• Adobe Creative Suite
• Affinity Designer
• PosterMyWall (education discount!)
• CorelDRAW (great for banners)


