Poster Printer Machines for Emergency Evacuation Maps
Creating comprehensive evacuation maps for multi-story schools requires careful planning, attention to detail, and the right equipment. Furthermore, with poster printer machines emergency maps become an achievable in-house project that ensures your school maintains up-to-date, ADA-compliant safety materials throughout the building.
Why Poster Printer Machines Emergency Maps Matter
Every second counts during an emergency evacuation. Moreover, clear visual guidance can mean the difference between chaos and coordinated movement. Schools with multiple floors face unique challenges in emergency planning. Therefore, having professional-quality evacuation maps on every floor isn’t just recommended—it’s essential for student and staff safety.
Traditional outsourced printing often results in outdated maps that don’t reflect current building configurations. Additionally, emergency procedures may change based on new safety protocols or building modifications. In-house poster printer machines allow schools to update evacuation maps immediately when changes occur. This flexibility ensures your safety materials always reflect the current reality of your building layout.
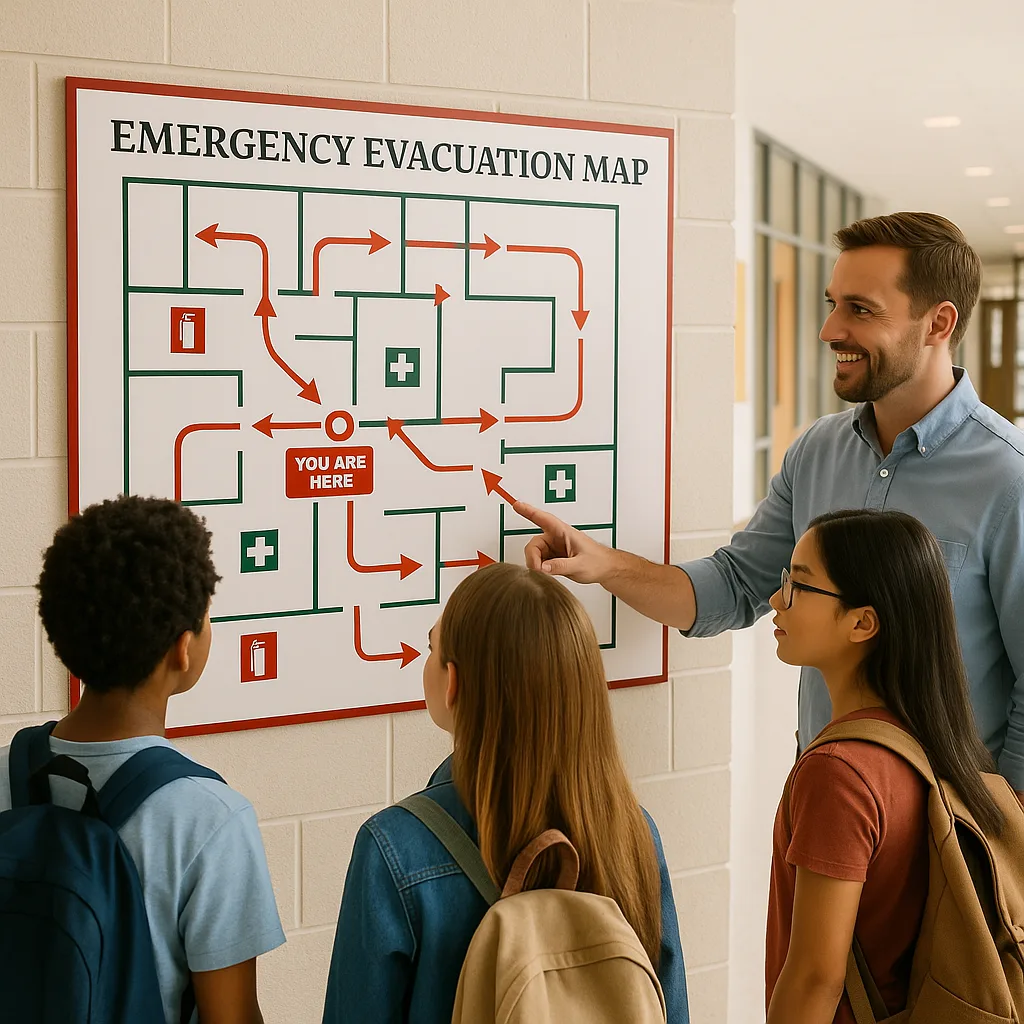
Beyond basic compliance, well-designed evacuation maps serve as daily reminders of safety procedures. Consequently, students and staff become familiar with evacuation routes through regular exposure. This passive learning significantly improves response times during actual emergencies.
Essential Elements of Effective Evacuation Maps
ADA Compliance
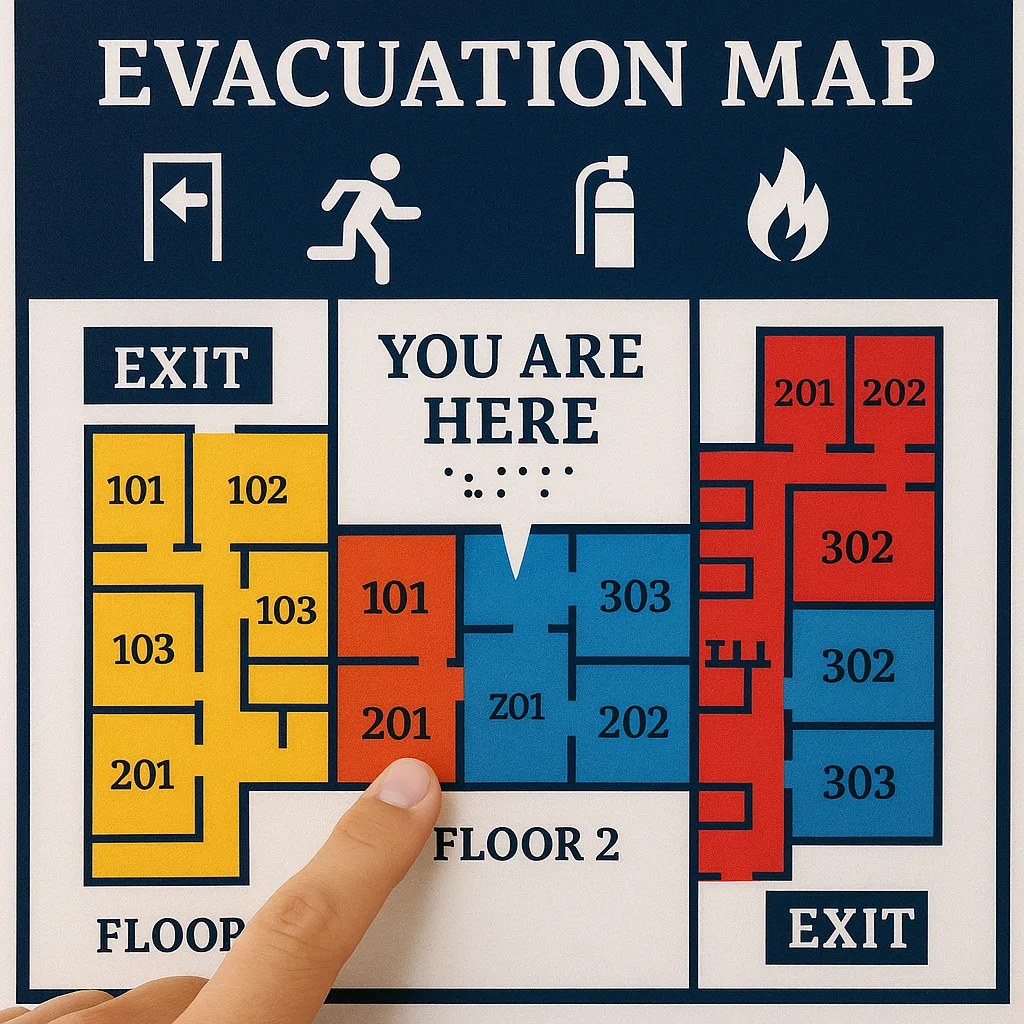
High contrast colors and braille elements ensure accessibility for all students
Color Codes
Different colors for fire, tornado, and lockdown procedures
Strategic Points
Optimal placement locations per floor for maximum visibility
Design Principles for Multi-Story Evacuation Maps
Designing evacuation maps for multi-story buildings requires understanding how people process visual information under stress. Subsequently, every design decision should prioritize clarity and immediate comprehension. The human brain processes colors and symbols faster than text during emergencies. Thus, your maps should rely heavily on visual elements rather than written instructions.
Floor-Specific Considerations
Each floor of your building presents unique challenges. Ground floors require clear marking of all exterior exits. Upper floors must highlight stairwell locations and indicate which are accessible during different emergency types. Basement levels need special attention to lighting conditions and alternative exit routes.
Consider traffic flow patterns specific to each floor. Science labs on the third floor may have different evacuation priorities than the cafeteria on the first floor. Your poster printer machines enable customized maps that address these floor-specific needs.
Universal Design Elements
ADA Compliance and Accessibility Features
Creating truly inclusive evacuation maps requires thoughtful consideration of all students’ needs. Subsequently, ADA compliance isn’t just about meeting legal requirements—it’s about ensuring every member of your school community can navigate to safety independently. Poster printer machines allow you to incorporate multiple accessibility features without compromising map clarity.
Visual Accessibility Standards
High-contrast color schemes ensure visibility for students with low vision. Therefore, maintain a contrast ratio of at least 4.5:1 between text and background colors. Black text on white backgrounds or white text on dark blue backgrounds provide optimal readability. Avoid color combinations that are problematic for colorblind individuals, such as red-green pairings.
Font selection plays a crucial role in accessibility. Sans-serif fonts like Arial or Helvetica offer better readability at various sizes. Additionally, maintain minimum font sizes of 18 points for room labels and 24 points for emergency instructions. Poster printer machines excel at producing crisp, clear text at these larger sizes.
Tactile Elements and Braille
While poster printer machines produce visual maps, you can enhance them with tactile overlays. Clear adhesive braille labels can be added to key locations after printing. Moreover, raised elements can be created using clear dimensional adhesives applied to evacuation routes. These additions don’t interfere with the visual design while providing essential information for visually impaired students.

Strategic Placement for Maximum Visibility
Height and Viewing Angle Considerations
Mount evacuation maps at a consistent height of 48-54 inches from floor to center. This height accommodates both standing adults and wheelchair users. Additionally, ensure maps are readable from at least 6 feet away. Your poster printer machines can produce maps large enough to meet these visibility requirements while maintaining sharp detail.
Lighting and Environmental Factors
Consider both natural and emergency lighting conditions when placing maps. Avoid locations with direct sunlight glare or areas that become dark during power outages. Furthermore, laminated maps resist moisture and temperature fluctuations better than standard prints. The Cold Laminator preserves map quality in high-traffic areas.
Creating Your School’s Evacuation Map System
Developing a comprehensive evacuation map system requires systematic planning and the right equipment. Therefore, investing in quality poster printer machines ensures you can produce professional-grade maps that meet all safety requirements. Let’s explore the step-by-step process for creating your school’s complete evacuation map system.
Step 1: Audit Your Building
Walk through each floor with your safety team, maintenance staff, and local fire marshal. Document all exits, stairwells, and potential obstacles. Moreover, photograph current conditions to reference during map creation. Note any areas requiring special consideration, such as science labs with hazardous materials or spaces used by students with mobility challenges.
Step 2: Design Your Templates
Create a master template that includes your school logo, emergency contact numbers, and standard symbols. Subsequently, develop floor-specific versions that maintain consistent design elements. Software compatibility with poster printer machines allows easy updates when building configurations change.
Step 3: Production and Quality Control
Print test versions on standard paper first to check accuracy. Once approved, use your poster printer machines to create final versions on durable media. The Campus Pro 44 Poster Maker Elite Package includes everything needed for large-scale map production.
Quick Reference
Essential elements checklist for evacuation mapsImplementation Timeline
Week 1-2: Building audit and planning
Week 3: Template design and review
Week 4: Test printing and revisions
Week 5: Final production
Week 6: Installation and training
Maintenance and Updates with Poster Printer Machines Emergency Maps
Emergency preparedness requires ongoing attention and regular updates to evacuation materials. Additionally, building modifications, new safety protocols, and lessons learned from drills necessitate map revisions. In-house poster printer machines make these updates cost-effective and timely. Instead of waiting weeks for external printing services, you can implement changes immediately.
Schedule regular reviews with your safety committee to identify needed updates. Moreover, establish a feedback system where teachers and staff can report concerns about evacuation routes. Document all changes in a master file to maintain consistency across all maps. Your poster printer machines allow you to test different versions before finalizing updates.
Consider seasonal factors that might affect evacuation procedures. Winter weather may make certain exits unusable. Construction projects could temporarily block normal routes. Therefore, having the ability to quickly produce updated maps ensures your emergency plans remain relevant year-round. The flexibility of in-house printing transforms how schools approach safety communication.
Investment in Safety That Pays Dividends
Quality evacuation maps represent more than compliance—they demonstrate your commitment to student safety and preparedness.

