Teacher Poster Maker Science Lab Adventures
The Laminating Laboratory: 30 Science Adventures!
Who knew that the humble laminator sitting in our supply closet could become a gateway to scientific discovery? As a first-year teacher, I’ve discovered that integrating teacher poster maker science experiments into my daily lessons creates those magical “aha!” moments that make teaching so rewarding. Today I’m sharing 30 incredible ways to transform your laminator into a hands-on science laboratory that will have your students buzzing with excitement!
Getting Started with Teacher Poster Maker Science Experiments
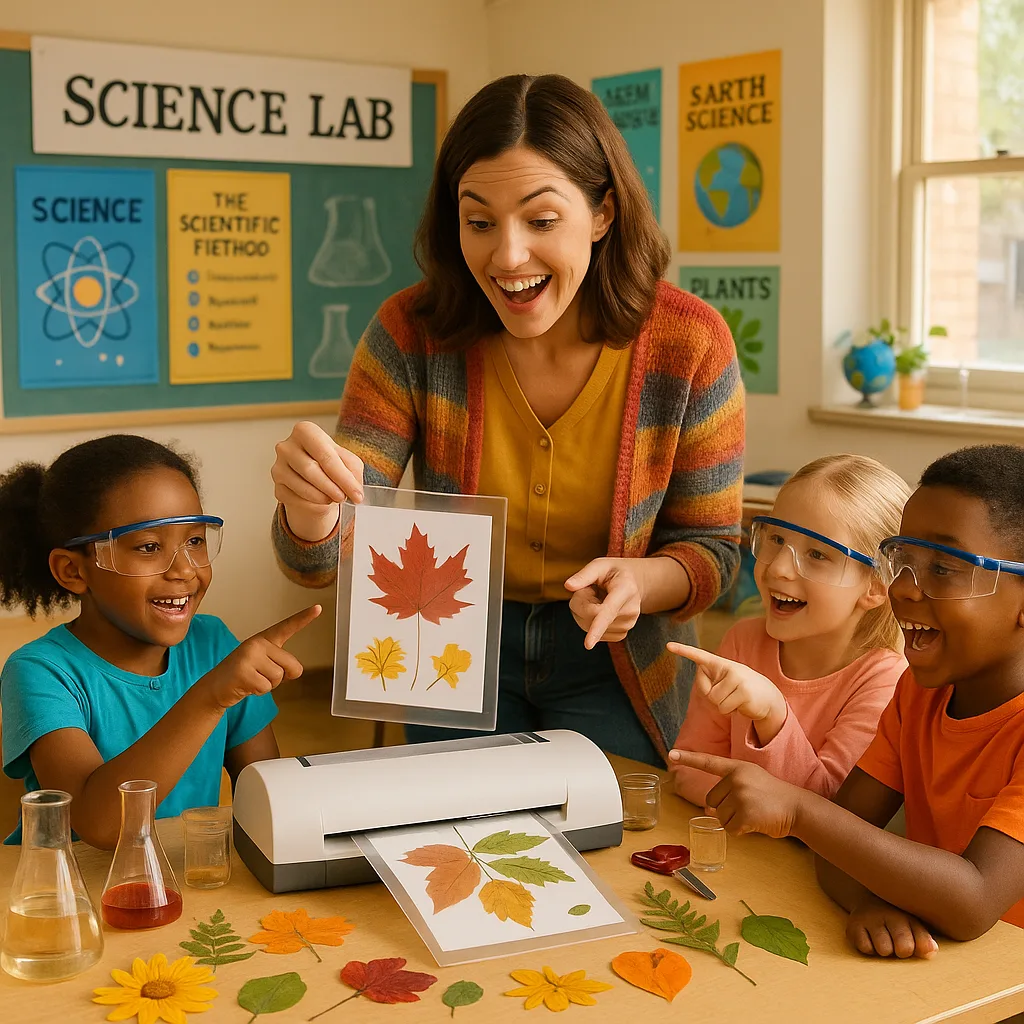
Before we dive into our scientific adventures, let me share a quick story. Last week, one of my students brought in a perfectly preserved fall leaf from her grandmother’s garden. However, she was heartbroken when it started crumbling in her backpack. That’s when inspiration struck – why not use our classroom laminator to preserve nature’s treasures while teaching about materials and preservation?
Furthermore, this simple moment sparked a whole unit on material science that had my first graders asking questions I never expected. They wanted to know why some things melt, how heat changes materials, and what makes plastic special. Best of all, these experiments require minimal prep and use materials you probably already have!
Essential Safety First!
30 Amazing Science Experiments Using Your Laminator
Nature Preservation Projects (Experiments 1-10)
1. Leaf Collection Science: Collect leaves of different shapes and colors. Predict which will preserve best. After laminating, discuss why some leaves maintain color better than others. This introduces concepts of chlorophyll and decomposition.
2. Flower Pressing Time Study: Press flowers for different lengths of time (0, 24, 48 hours) before laminating. Document color changes and create a timeline poster showing the preservation process.
3. Seed Observation Cards: Laminate various seeds between clear sheets. Students can observe seed structures with magnifying glasses without damaging specimens. Perfect for plant life cycle units!
4. Insect Wing Patterns: Carefully laminate butterfly wings or other insect parts (ethically collected). Study symmetry and patterns while keeping specimens protected for years of observation.
5. Feather Structure Study: Different bird feathers reveal amazing structures when laminated. Students can examine barbs and barbules safely while learning about adaptation.
6. Sand Sample Collections: Create sand sample cards from different locations. The lamination keeps grains in place for comparing texture, color, and composition.
7. Soil Layer Demonstrations: Layer different soil types in clear pouches before laminating. This creates permanent cross-section models for geology lessons.
8. Crystal Growth Documentation: Photograph salt or sugar crystals at different growth stages, print using your Classroom Pro 24 Poster Maker Advanced Package, then laminate for a permanent crystal growth timeline.
9. Weather Collection Cards: Laminate snowflakes on black paper (work quickly in freezing conditions!), or create rain gauge measurement cards that can withstand outdoor use.
10. Ecosystem Sample Boards: Create mini ecosystem displays with materials from different habitats – pine needles from forests, grass from meadows, shells from beaches. These poster maker machines for schools help preserve these treasures perfectly!

Material Science Investigations with Teacher Poster Maker Science Experiments (11-20)
11. Heat Transfer Demonstration: Place temperature-sensitive stickers or liquid crystal sheets in laminating pouches. Watch colors change as heat transfers through the material. Document with before and after photos!
12. Plastic Types Testing: Test different plastic items (with adult supervision) to see which can withstand laminating heat. This introduces polymer science and recycling codes.
13. Paper Absorption Experiment: Laminate different paper types with drops of food coloring. Observe how absorption patterns are preserved and discuss paper fiber structures.
14. Fabric Preservation Study: Test various fabric swatches to see how different fibers react to heat and pressure. Cotton, polyester, and blends show different results!
15. Color Mixing Pouches: Create sealed pouches with primary color liquids (use gel food coloring in glycerin). Students can squeeze to mix colors without mess – perfect for young scientists!
16. Static Electricity Cards: Laminate tissue paper pieces and small foam balls separately. The laminated surface creates great static demonstrations when rubbed with wool.
17. Thickness Investigation: Layer different numbers of paper sheets and laminate. Measure total thickness to explore how laminating film adds to dimensions.
18. Transparency Experiments: Test materials for transparency by laminating and holding up to light. Create a transparency scale from opaque to translucent to transparent.
19. Texture Preservation Tests: Try laminating textured materials like sandpaper, fabric, or corrugated cardboard. Which textures transfer through the plastic?
20. Magnet Strength Testing: Laminate iron filings in patterns, then test if magnets still attract through the plastic. Great for exploring magnetic fields safely!
Quick Teacher Tip!
I’ve found that creating a “Science Experiment Request Form” helps manage the excitement when students want to test everything! They write their hypothesis, materials needed, and expected results. Therefore, it teaches scientific method while keeping our experiments organized.
Applied Science Projects (Experiments 21-30)
21. Solar Print Preservation: Create sun prints on special paper, then laminate to preserve. Students learn about UV radiation and chemical reactions.
22. Growth Chart Time Capsules: Laminate height measurement strips with handprints at the start of the year. Compare with new measurements monthly – a living science journal!
23. Weather-Resistant Plant Labels: Design and laminate plant identification cards for your school garden. Test durability through seasons while learning plant biology.
24. Microscope Slide Alternatives: Create “macro slides” by laminating tiny specimens between clear sheets. While not true microscope slides, these work great with magnifying glasses for young scientists.
25. Constellation Maps: Punch holes in black paper to create constellation patterns, then laminate. Hold up to light to see “stars” – perfect for astronomy units!
26. Water Cycle Demonstration Cards: Create interactive water cycle cards with moveable parts sealed in laminate. Students can trace water’s journey with dry-erase markers.
27. Fossil Imprint Experiments: Press objects into clay, remove them, then laminate the impressions. This simulates fossil formation and preservation.
28. Color Spectrum Wheels: Laminate color wheels and filters. Students can layer them to explore color mixing and light properties.
29. Measurement Tool Creation: Design and laminate custom rulers, protractors, or grid sheets. Test their accuracy and discuss standardized measurements.
30. Science Fair Display Protectors: Laminate key components of science fair projects. This preserves student work and allows for easy cleaning between presentations!
Integrating with Your Curriculum
These experiments align beautifully with science standards while making abstract concepts tangible. For instance, when teaching states of matter, students can observe how heat from the laminator changes materials. During our plant unit, preserved specimens become reference materials students return to throughout the year.
Additionally, I’ve discovered that combining these experiments with our Coated Poster Paper creates stunning display boards. Students can document their experiments with photos and observations, then create professional-looking presentations that survive handling and display.
Student Engagement Rate
Unique Experiments
Hands-On Learning
Tips from My First-Year Teaching Journey
Starting with simple experiments builds confidence. My first attempt at the leaf preservation project resulted in some crinkled specimens, but the students were thrilled regardless! They learned that science involves trial and error. Now, three months into the school year, they’re suggesting their own experiments and documenting results like real scientists.
Remember to connect with parents about these projects. I send home “Science at Home” extensions where families can try similar experiments. One parent told me her daughter now collects and preserves flowers from every family outing. That’s when I knew these hands-on experiences were making a real impact!
Most importantly, these experiments prove that you don’t need expensive equipment to create meaningful science experiences. Your teacher poster maker and laminator become gateways to discovery. Combined with curiosity and creativity, they transform ordinary classroom moments into extraordinary learning adventures.
Ready to Transform Your Classroom into a Science Lab?
These 30 experiments are just the beginning! With your creativity and the right tools, every day can become a scientific adventure. Whether you’re preserving autumn leaves or creating weather-resistant garden labels, these hands-on experiences make science concepts stick better than any textbook.
Start with one experiment this week. Watch your students’ eyes light up as they discover that science isn’t just in books – it’s all around us, waiting to be explored, preserved, and shared. Together, we’re not just teaching science; we’re inspiring the next generation of curious minds!